Irish Soda Bread Rounds

Mar 13, 2013 by

After a week of sniffles and being under the weather, I am so glad that it is almost over and I can finally breathe again. I think I really needed some rest and being sick helped me to achieve that a little. It was great to get back into the kitchen and catch up on my cooking and baking. I’m looking forward to a relaxing March break with my family and an awesome Spring! This recipe is a great way to start the season and is perfect for St. Patrick’s Day.

The recipe I’m sharing with you today has got to be one of the best breads I’ve had in a long time. I have baked Irish Soda Bread before, but these little darlings are way better. I couldn’t believe how good they were! I almost kicked myself that I reduced the recipe by half. But then again, I would have had more than I should have. So I suppose it was a good thing. We all enjoyed it very much and both my children raved about how good they were.


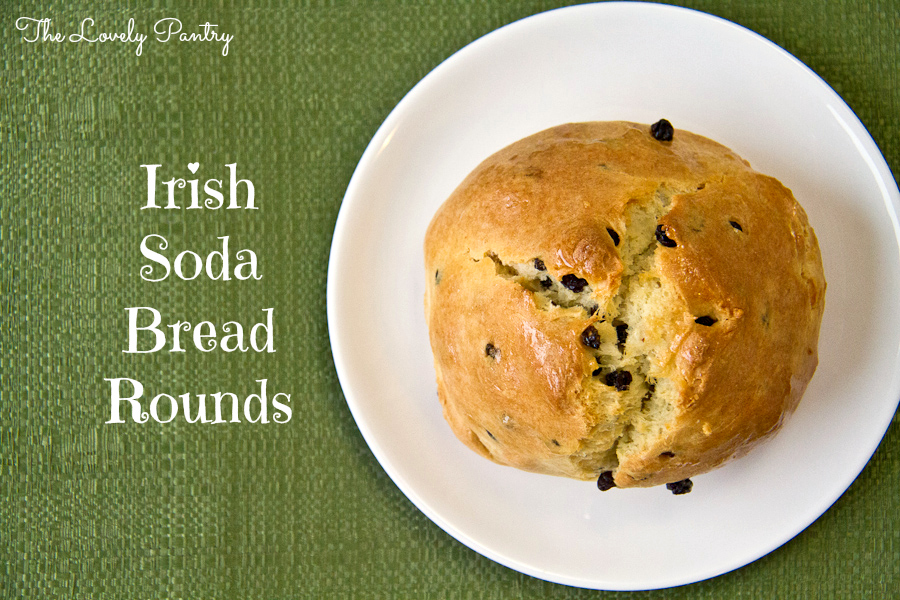
Irish Soda Bread Rounds


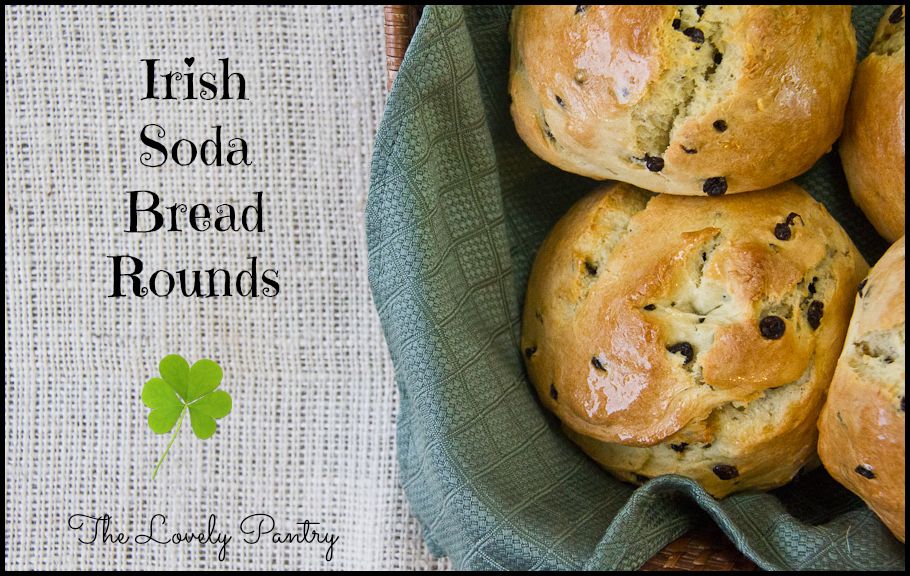
Irish Soda Bread Rounds

Prep Time: 20 minutes

Cook Time: 30 minutes

Total Time: 50 minutes

Yield: 4

Ingredients

  • 2 Cups All Purpose Flour, Unbleached
  • 2 Tbsp Granulated Sugar
  • 1 1/2 Tsp Baking Powder
  • 1/2 Tsp Baking Soda
  • 1/2 Tsp Salt
  • 6 Tbsp Unsalted Butter, cold and cubed
  • 1/2 Cup Currants
  • 3/4 Cup Plain Organic Yogurt (or buttermilk)
  • 1 Tbsp 2% Milk
  • 1 Egg
  • Optional Glaze: 1 Tsp Sugar dissolved in 1 Tsp hot water.

Instructions

  1. Preheat oven to 350F
  2. Line a baking tray with parchment paper. Grease with no-stick cooking spray. Set aside.
  3. In a large mixing bowl, sift in flour, sugar, baking powder, baking soda and salt.
  4. Using a pastry cutter, cut in butter until the mixture looks like coarse crumbs.
  5. Stir in currants
  6. In a medium bowl, whisk egg until frothy
  7. Add yogurt and milk. Whisk to combine
  8. Using a kneading attachment for your mixer, add the yogurt mixture to the flour mixture.
  9. Knead for about 5 minutes until fully combined and forms a dough that forms a ball
  10. Remove dough from bowl and add to a well floured surface
  11. Roll into a ball and cut into 4 even quarters
  12. Roll each quarter into a ball and gently press down the centre
  13. Score each ball with an X at the top
  14. Bake for 28-30 minutes or until a toothpick inserted into the centre comes out clean
  15. Remove from baking sheet and transfer to a wire rack. Cool for about 15 minutes.
  16. Brush each round with glaze for a sweet crust

Notes

Adapted from Irish Favourites

https://lovelypantry.com/2013/03/irish-soda-bread-rounds/


Irish Soda Bread Rounds-1

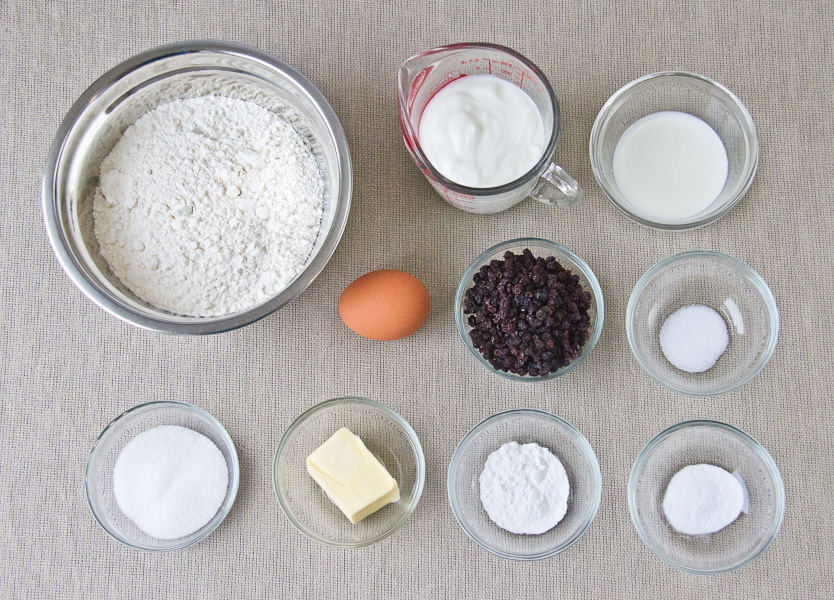
Irish Soda Bread Rounds – Ingredients


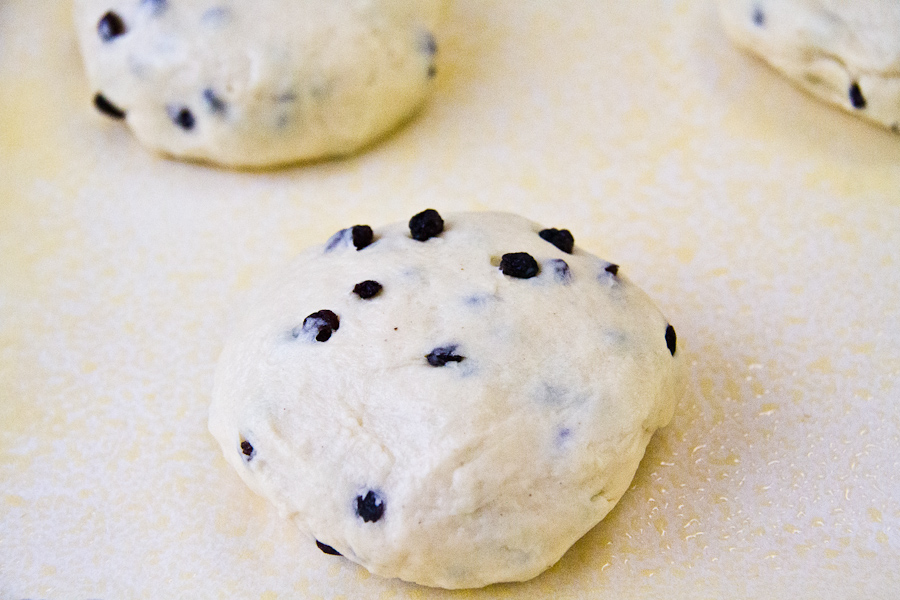
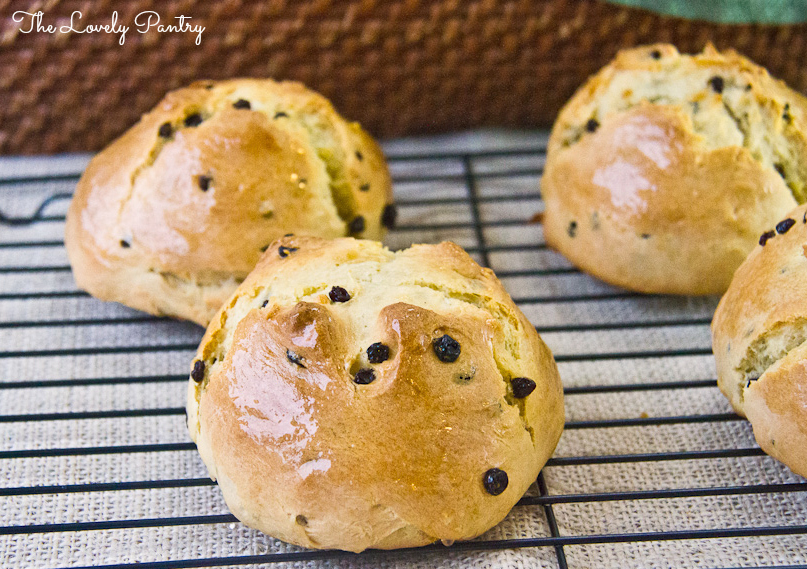
I made some changes out of necessity. The original recipe called for buttermilk which I did not have. So I substituted with some plain organic yogurt that I had and added a tablespoon of milk to thin it out just a little. Thank goodness I had it ~ I don’t care for plain yogurt very much so this recipe was right on time to use it up. I also used butter  instead of shortening. The dough came together quite well and it was easy to divide it into 4 portions using a sharp knife. I was sure to score the top of each round prior to baking.


Irish Soda Bread Rounds-2

Irish Soda Bread Rounds – Dough, ready for baking


I loved that this was a yeast-free bread. The kneading that was required was done by my mixer which truly earns its keep. This was very easy to make and was ready in under an hour.


Irish Soda Bread Rounds_2

Irish Soda Bread Rounds


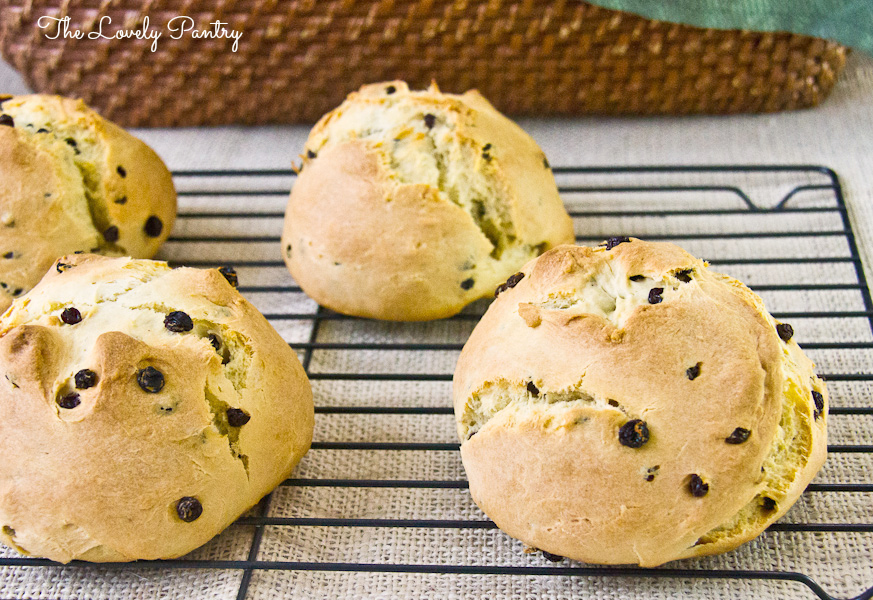
These Irish Soda Bread Rounds are a perfect accompaniment to a cup of tea or coffee. We had ours while it was still warm – it was absolutely delightful with butter. I know my parents would love this. It reminds me a lot of a raisin bread. I chose to brush it with a light sugar/water glaze for a little added sweetness.


Irish Soda Bread Rounds_3

Irish Soda Bread Rounds – with glaze


Irish Soda Bread Rounds_4

Irish Soda Bread Rounds


I hope you get to try this recipe. I was so happy with the results. My family enjoyed it and I’d bet yours would too.

~Lyn


read more

Roast Chicken With Orange Gremolata #WeekdaySupper

Feb 27, 2013 by

I love being in the kitchen. A while back, cooking used to be a leisurely hobby that I loved to do from the desire to nurture my family. On occasion, I will have the time to prepare wonderful meals that keep me in the kitchen and on my feet for a few hours. Being a stay at home Mother to my children allows me to support my family in a way that only I can, at the moment. As the kids get older and become more active and busy with life outside of the house, my cooking time gets cut down. Soon, I will have to start focusing on how I will prepare meals when I return to the working world. It’s okay if I cook on a Friday night now, but at some point – I’m pretty sure that will become history 🙂 I will need someone to cook for ME.

#SundaySupper is a movement that encourages families to eat together at least once a week, typically on a Sunday but this could be any day of the week based on a families scheduling. As an extension of #SundaySupper, we are pleased to share with you #WeekdaySupper! We will be sharing quick and easy meals every day of the week. How awesome is that? Today I am sharing with you a #WeekdaySupper that is super easy and flavourful with wonderful fresh ingredients ~ Roast Chicken with Orange Gremolata. I found this lovely recipe in the Weight Watchers New Complete Cookbook. I totally forgot I had it.

What I loved about this recipe the most, is that it used fresh ingredients to season and infuse flavour into the chicken. I didn’t change the ingredients, I just changed how I prepared it. The instructions required me to “grill” and turn each piece every 10 minutes until it was cooked through. Well, this is a mid-week supper. I could be doing something else while the chicken is in the oven. So, I roasted the chicken! Its my favourite way to prepare chicken these days anyhow.


Chicken with Orange Gremolata_2


WeekdaySupper

Roast Chicken With Orange Gremolata #WeekdaySupper

Prep Time: 20 minutes

Cook Time: 30 minutes

This recipe was slightly adapted from Weight Watchers, The New Complete Cookbook.

Ingredients

  • 8 Chicken Thighs, skin on
  • 1/2 Cup Chopped Fresh Parsley
  • Grated zest of an Orange
  • 3 Garlic Cloves, minced
  • 1 Tbsp Olive Oil + some to brush over chicken
  • 1 Tsp Cumin
  • 1 Tsp Salt
  • 1 Tsp Black Pepper
  • Additional Salt & Pepper

Instructions

  1. Preheat oven to 375C (Roast)
  2. Prepare Gremolata: In a small bowl, mix parsley, garlic, oil, parsley, cumin, salt and pepper. Reserve 3 tbsp for garnish
  3. Lightly brush chicken with olive oil. Season chicken thighs with salt and pepper
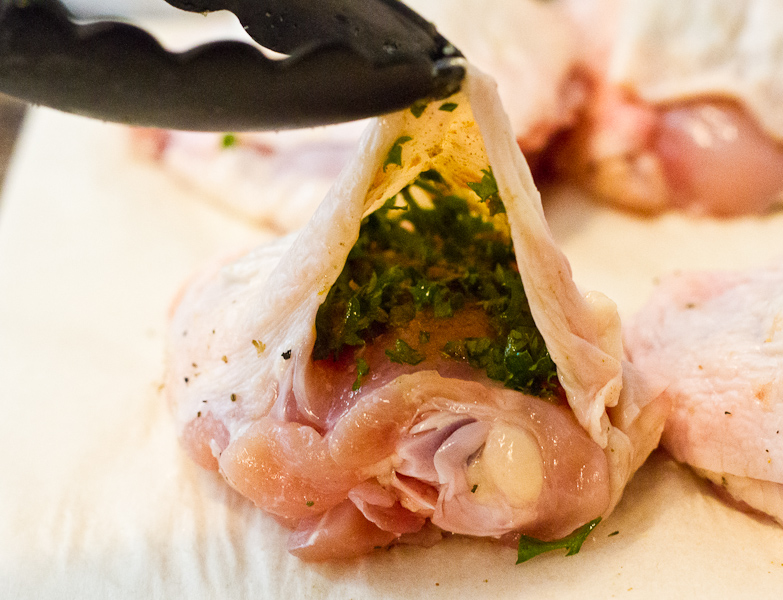
  4. Place about a teaspoon of the Gremolata under the skin of each chicken thigh.
  5. Roast chicken for about 30-40 minutes or until cooked through
  6. Serve with rice and garnish with fresh gremolata
https://lovelypantry.com/2013/02/roast-chicken-with-orange-gremolata-weekdaysupper/


The first question that came to mind when I saw this dish was “What is Gremolata?”. Gremolata is an Italian Condiment that typically consists of Parsley, Lemon Zest, Garlic and Oil. There are many variations, some substituting the parsley for herbs like rosemary, mint, sage or cilantro. Additions may include capers and chopped nuts. Gremolata can be served with pasta, most meats as well as fish. Lots of possibilities with this one. I’m sure I will be trying out some other recipes using Gremolata.


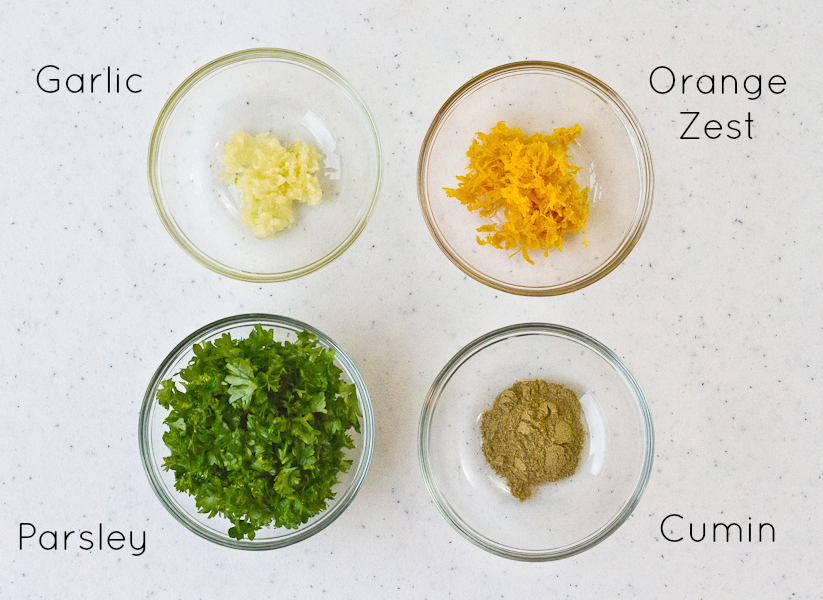
Orange Gremolata Ingredients


I was surprised how quickly this came together. So fresh and fragrant.


Orange Gremolata - ingredients

Orange Gremolata


A teaspoon of Gremolata goes a long way. I spread it evenly under the chicken skin.


Chicken with Orange Gremolata-3

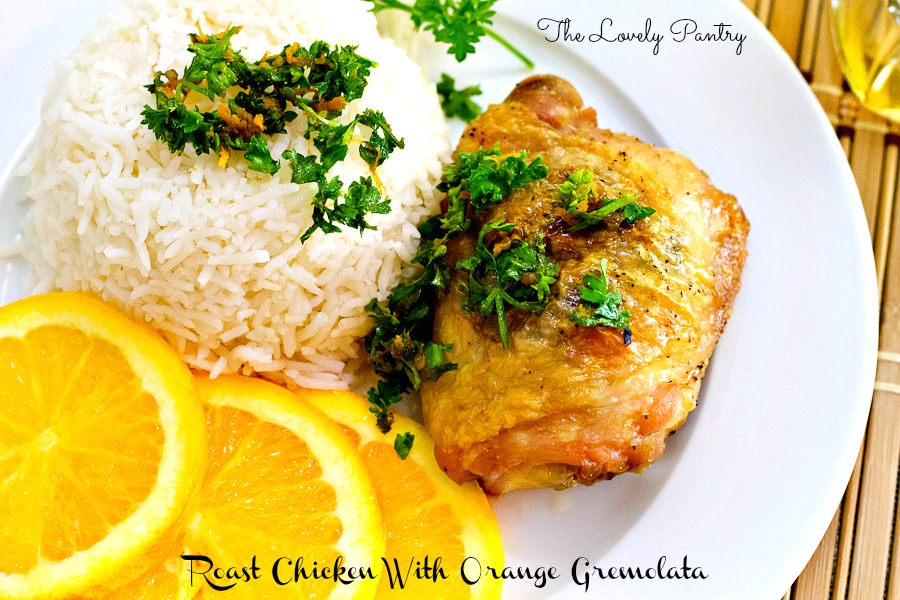
Roast Chicken with Orange Gremolata


Dinner is served in no time. My husband found this meal to be different from what we normally have so I got a nod for choosing this recipe. I hope you enjoy it as much as we did.


Chicken with Orange Gremolata-4

Roast Chicken With Orange Gremolata


Dinner during the week can be easy, flavourful and healthy too. 😉 Enjoy!


This Week’s  #WeekdaySupper Recipes:

read more

Chocolate Chip Banana Cake with Banana Cream for #SundaySupper

Feb 10, 2013 by

Welcome to the Valentine’s edition of #SundaySupper. Today we are sharing things we prepare for our loved ones. Our fabulous host is none other than Jen from Juanita’s Cocina! I’m looking forward to seeing all the wonderful main dishes, desserts and drinks being shared today!

My family loves sweet treats. Because of this, I try to substitute and lighten things up a bit or just keep it really simple. I love cooking and baking for them. Its one sure way that I can express my love for them. I knew exactly what I was going to make for today’s #SundaySupper. My kids ask for this cake often enough ever since I made it for the first time a few weeks ago. My baby girl can probably list the ingredients because she has been right there beside me each time I have made it. I’ve even offered it as a gift to a gathering that we went to recently. Total win. Simplicity at its very best.

Originally I was planning to post Bailey’s Banana Cream but it didn’t taste the same as how I did it the first time. So since I clearly haven’t perfected it, I will stick with the Banana Cream. It is the perfect complement to the Banana Cake. This recipe is from my very special book, A Real Taste of Jamaica by Enid Donaldson. There is absolutely no way that bananas should ever go to waste. Not with recipes like this one.


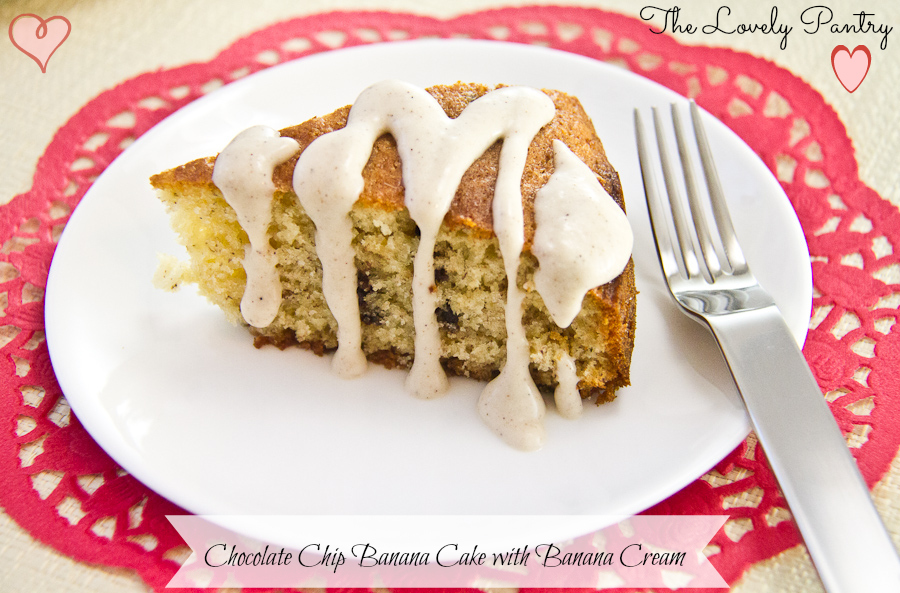
Chocolate Chip Banana Cake With Banana Cream


Chocolate Chip Banana Cake with Banana Cream for #SundaySupper

Ingredients

  • 1 Cups All Purpose Flour, Unbleached
  • 1 Tsp Baking Powder
  • 1/4 Tsp Baking Soda
  • 1 Eggs
  • 1 1/4 Very ripe Bananas, mashed
  • 1/2 Stick of Unsalted Butter
  • 2/3 Sugar
  • 1 Tsp Vanilla
  • A pinch of Cardamom
  • 1/4 Cup Mini Chocolate Chips
  • **Banana Cream**
  • 1 Very Ripe Banana
  • 2 Tbsp Sugar
  • 1/4 Tsp Allspice
  • 3/4 Cup Whipping Cream

Instructions

  1. **Banana Cream**
  2. Do this before you make the cake so that it can be refrigerated for a while.
  3. Whip cream either using a whisk, mini blender or regular blender. I used my Magic Bullet.
  4. Mix in the banana, sugar and allspice.
  5. Store in a small container in the fridge until the cake is ready to be served
  6. ***
  7. Preheat Oven to 375F
  8. Grease an 8-inch pan and line the base with parchment paper.
  9. In a medium bowl, sift flour, baking powder, baking soda, cardamom and salt
  10. In a large mixing bowl, cream sugar and butter.
  11. Add egg and mix to combine
  12. Add mashed banana and vanilla, then mix to combine
  13. Add the flour mixture into the banana mixture and mix just until combined. Finish combining by hand with a spoon if needed.
  14. Fold in the chocolate chips
  15. Bake for 25 minutes or until an inserted toothpick comes out clean
  16. Remove from oven and transfer to a cooling rack.
  17. Allow to cool for about 30 minutes before slicing.
  18. Serve topped with Banana Cream
https://lovelypantry.com/2013/02/chocolate-chip-banana-cake-with-banana-cream-for-sundaysupper/


I didn’t change much when it came to the ingredients. I added a pinch of cardamom – just because. For the Banana Cream I replaced nutmeg with allspice. Nutmeg isn’t my favourite. I’ll use it when I have to but for this recipe, the allspice was a lovely addition.


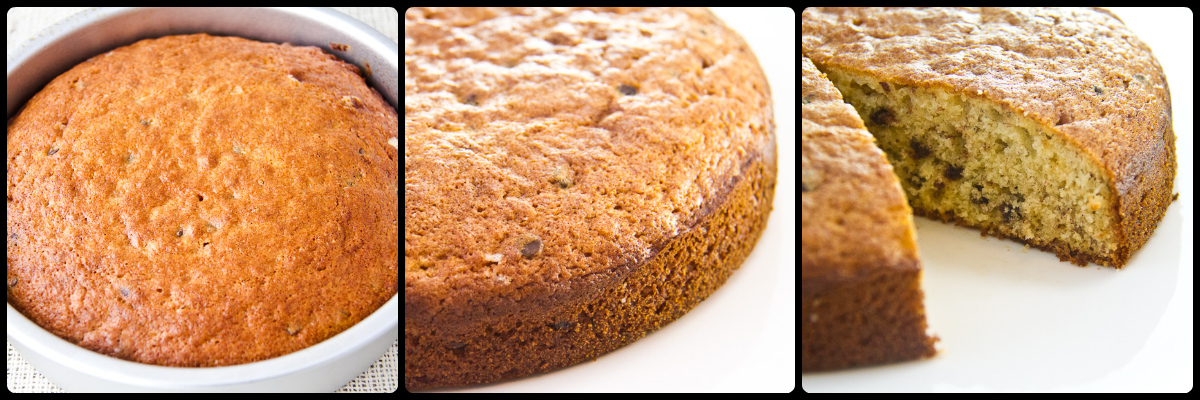
Chocolate Chip Banana Cake Collage


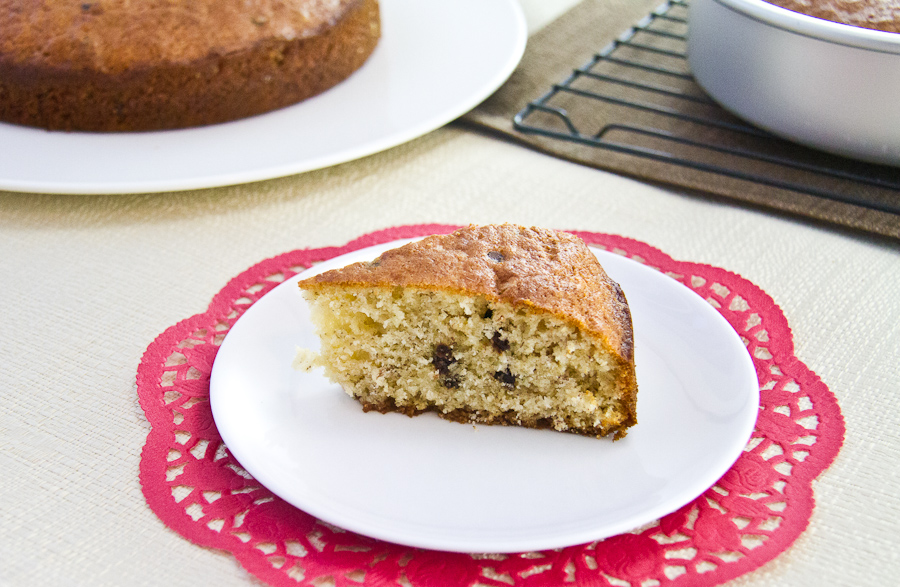
The chocolate chips are an additional treat for this recipe. By itself, it is simply wonderful. The aroma while it is baking is heavenly. Once baked, you’ll find yourself wanting more and more. I speak from personal experience. The banana adds such rich moisture to this cake.


Chocolate Chip Banana Cake With Banana Cream

Chocolate Chip Banana Cake


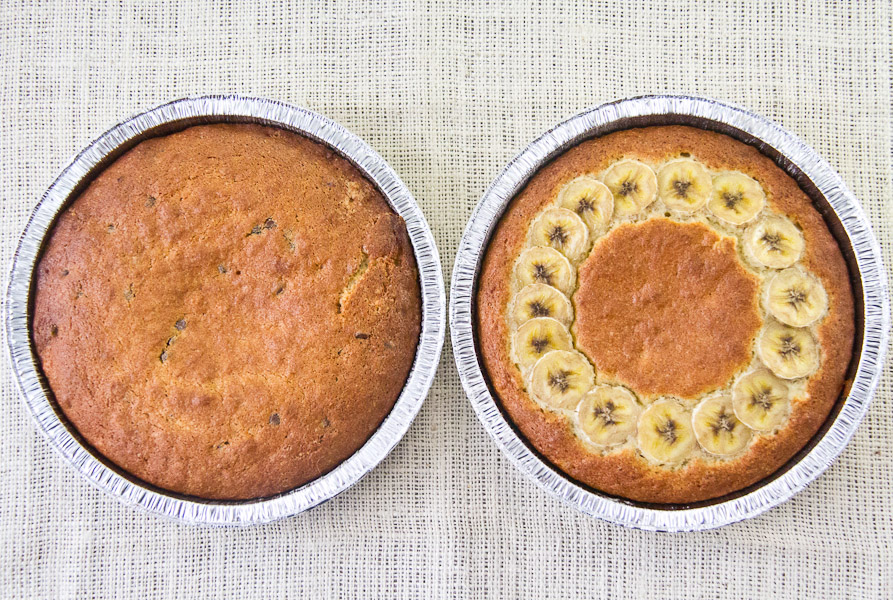
I was bringing desert over to a friend’s house recently. I wanted to dress up this sweet wonderful cake. I doubled the recipe and split the batter. Added chocolate chips to one half and left the other one plain. I decorated the plain cake with slices of banana. Oh, how I love a pretty cake. This cake goes well with Vanilla Ice Cream, of course.

Banana Cake as a gift

Banana Cake as a gift


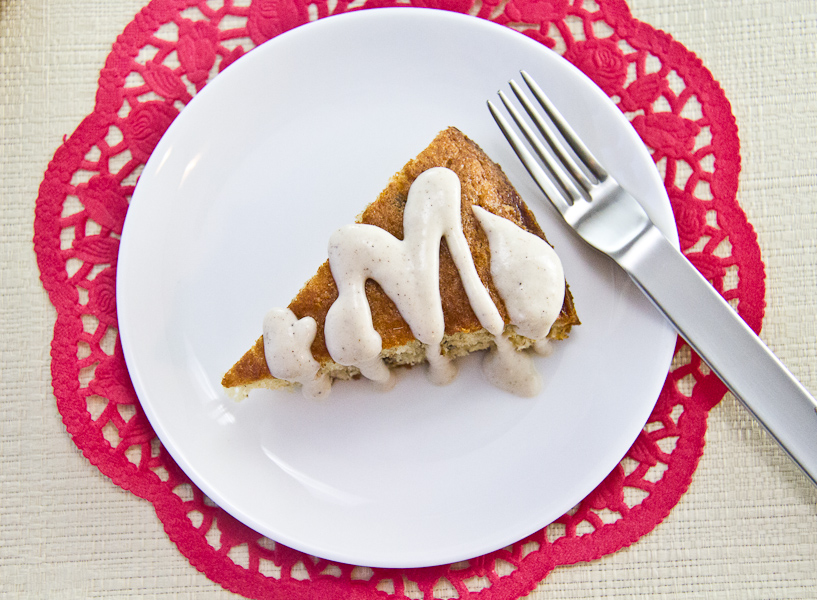
The cream was really lovely. I wondered at first if Banana Cream with Banana Cake would be too much banana. Well, the answer was no. It wasn’t. It was awesome. My kids loved it and have grown to expect it whenever I make this cake. I think I will have to break them out of that expectation.

Chocolate Chip Banana Cake With Banana Cream

Chocolate Chip Banana Cake With Banana Cream


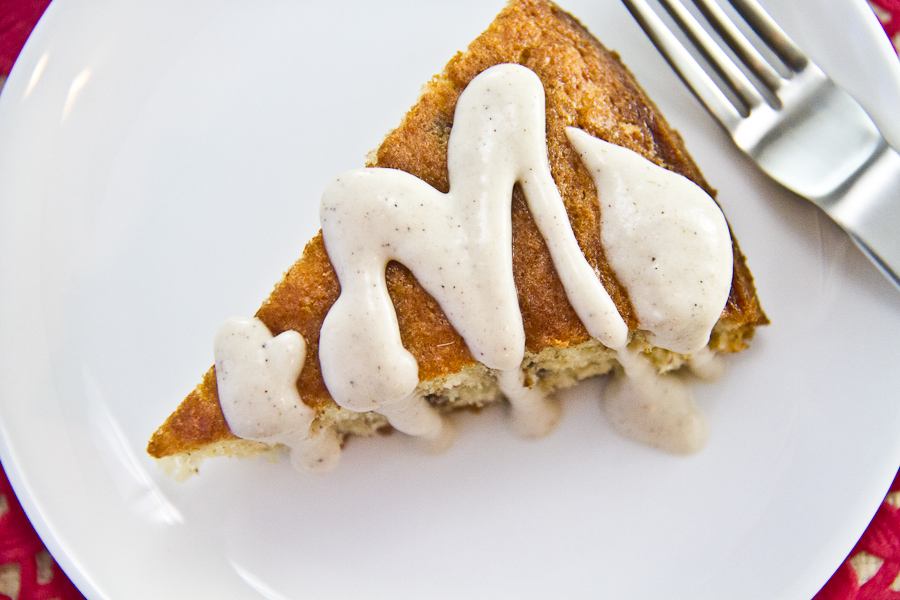
I just can’t get enough of this cream! I really should figure out the Bailey’s version. I must!!!


Chocolate Chip Banana Cake With Banana Cream

Chocolate Chip Banana Cake With Banana Cream


Please be sure to check out all the wonderful recipes brought to you by the #SundaySupper family!!

#SundaySupper Valentine’s Day Breakfasts, Apps & Main Dishes:

#SundaySupper Valentine’s Day Sweet Eats:

#SundaySupper Valentine’s Day Drinks:


#SundaySupper Valentine’s Day Tablescape:  A Romantic Table For Two Please from An Appealing Plan

***

Join the #SundaySupper conversation on Twitter on Sunday, February 10th to talk all about Valentine’s eats and treats!

We’ll tweet throughout the day and share recipes from all over the world.  Our weekly chat starts at 7:00 pm ET and you do not want to miss out on the fun.

Follow the#SundaySupper hashtag, and remember to include it in your tweets to join in the chat.

Check out our#SundaySupper Pinterest board for more fabulous recipes and food photos!


read more

Stamp and Go! {Jamaican Codfish Fritters} for #SundaySupper

Feb 3, 2013 by

Today is a BIG #SundaySupper. Its Superbowl Sunday and we have so many good dishes for this spectacular occasion. It’s spectacular for a few reasons. If you love American Football, then you’ve probably been eagerly anticipating this day. If you love food, well there will certainly no shortage of food today. If you’re like me, you’ll be looking forward to the Superbowl commercials and the half-time performance. Yes, that really is all that I’m looking forward to. Well that and these Jamaican Codfish Fritters! It’s a wonderful snack or side dish/appetizer and is one of my favourite Jamaican treats. My Grandmother used to make these fritters for me. I just loved them. The saltiness of the Codfish will always win me over. I made them for the first time and now I’m in fritter heaven!


Stamp & Go_Codfish Fritters_1


My recipe today was taken from my very special Jamaican cookbook by Enid Donaldson, “The Real Taste Of Jamaica”. This book has not failed me yet! I’m comforted knowing that it keeps me close to home for so many occasions including game time!


Stamp and Go! {Jamaican Codfish Fritters}

Prep Time: 30 minutes

Cook Time: 20 minutes

Ingredients

  • 1 Cup Salted (deboned) Codfish
  • 2 Cups All Purpose Flour, Unbleached
  • 2 Onions, Finely chopped
  • 2 Tomatoes, finely chopped, seeds removed
  • 2 Cloves Garlic, minced
  • 2 Stalks Escallion, finely sliced
  • 2 Tsp Black Pepper
  • 1/2 Scotch Bonnet Pepper, finely chopped (I omitted this ingredient)
  • 2 Tbsp Vegetable Oil + more for frying
  • 2 Tsp Baking Powder
  • 1 1/2 Cups Water, at room temperature

Instructions

  1. Soak codfish overnight in water or bring to a boil twice (for 12-15 minutes), draining and adding fresh water after each boil.
  2. Drain and rinse the codfish under running cold water
  3. Using a fork or your fingers, flake the codfish into small pieces, taking care to remove any remaining bones
  4. To a small skillet, add oil and allow to get hot. Add onion, garlic, tomatoes and escallions. Sautee until soft about 5 minutes. Add black pepper then combine. Remove from heat and allow to cool
  5. Add codfish to the seasonings. Stir to combine
  6. In a medium bowl, add flour and baking powder. Stir to incorporate
  7. add codfish mixture to the flour and stir to combine.
  8. Add water gradually, mixing by hand until a firm but loose batter is achieved
  9. Add by about 3 tbsp at a time and fry in oil at medium heat on both sides (about 3-5 mins) until golden brown and cooked through
  10. Transfer to absorbent paper towels to get rid of any excess oil.
  11. Transfer to a platter and serve warm
https://lovelypantry.com/2013/02/stamp-and-go-jamaican-codfish-fritters-for-sundaysupper/


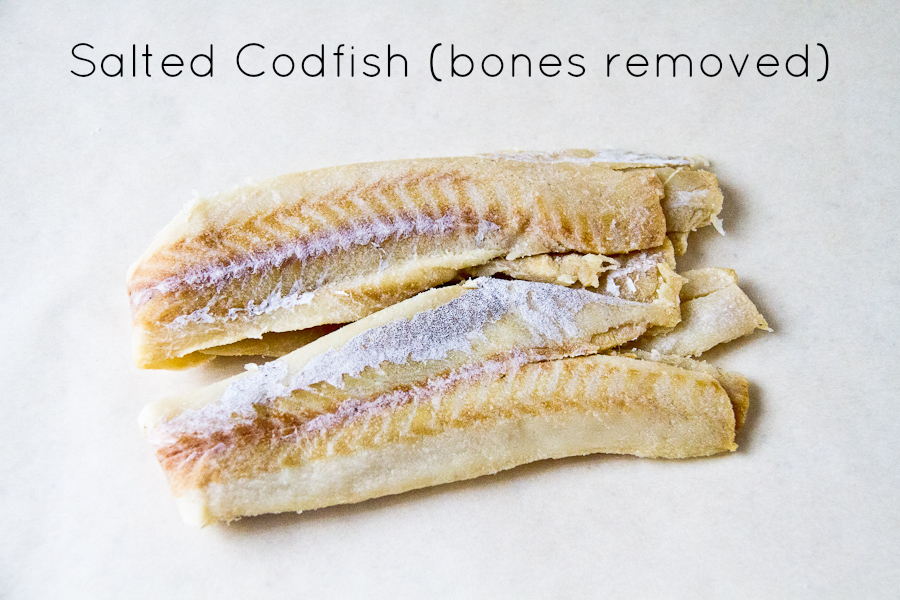
For those who are not familiar with Salted Cod/Cod Fish/Salt Fish – this is what it looks like straight out of the package. This looks pretty nice compared to what I grew up seeing. This is from an 11oz package. I used half of it to make this recipe. I got mine from the local West Indian Market but I have seen it in the regular supermarket also.


Stamp_and_Go_Salted Codfish

Salted Cod Fish direct from packaging


I remember having to flake codfish on a Saturday night in preparation for Ackee & Salt Fish on Sunday morning before church. The fish we had then wasn’t as refined and certainly was not de-boned. I had to use my fingers and flake while removing bones from the fish. Not a glamorous task at all. But I love Saltfish so it had to be done. I would flake the fish while my Mom would prepare the dumpling dough.

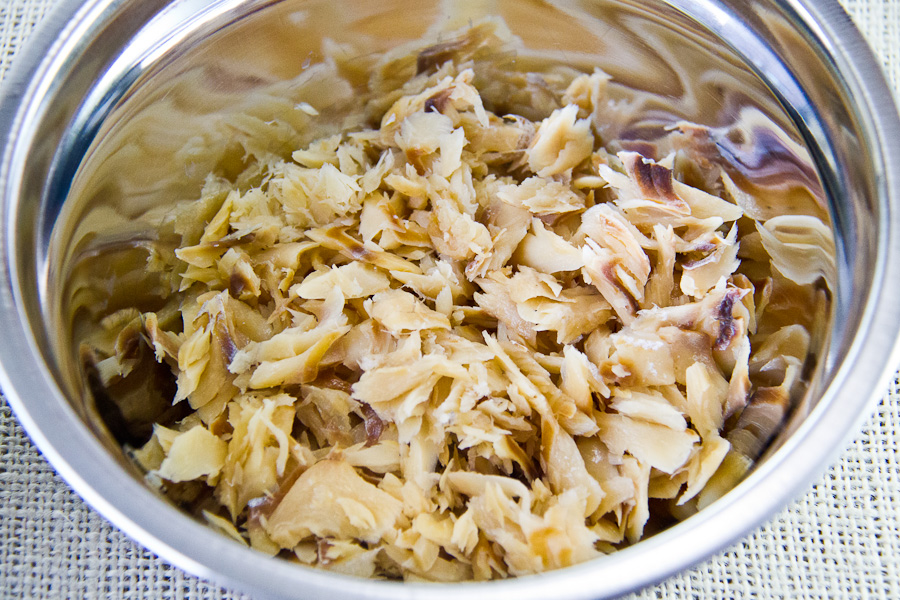
Once the fish has been boiled twice, taste the fish to see if it is to your liking. You don’t want to boil out all the salt. It should in fact still be salty. Keep in mind that it is going to be placed in a batter that will likely reduce the saltiness. Here is what the codfish looks like once cooled and flaked.


Stamp_and_Go_Codfish_Fritters-3

Flaked Cod Fish


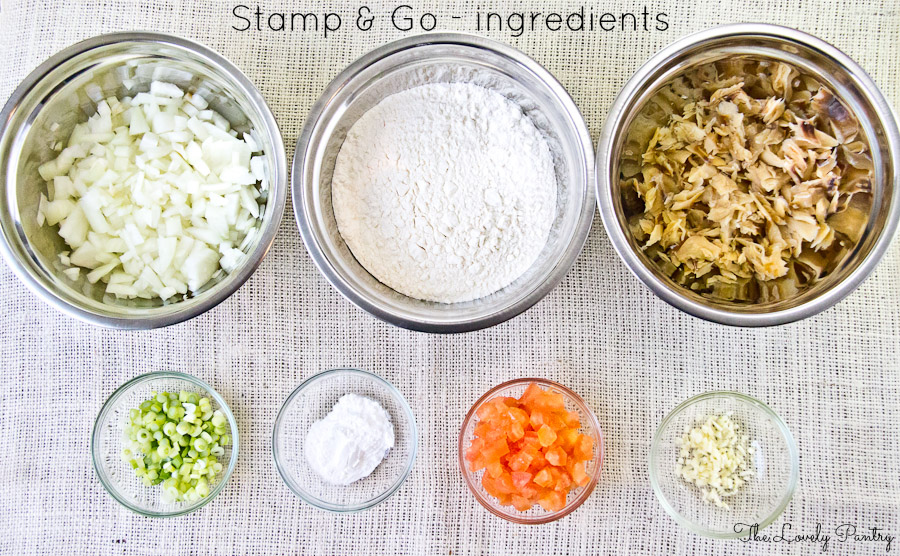
Stamp_and_Go_Codfish_Fritters_ingredients

Lets make Stamp & Go!


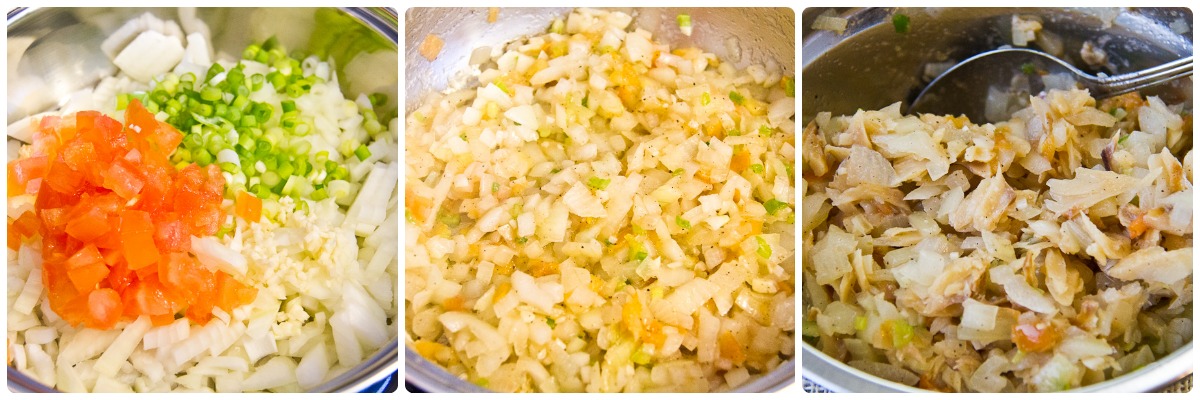
While sautéing the seasoning, you will notice the wonderful fragrance as they combine. I decided not to add Scotch Bonnet pepper this time but I’m sure I will the next time. I added black pepper instead.


Stamp & Go_ Seasoning + Fish

Sautee the onion, garlic, tomatoes and escallions. Combine with codfish.


Creating the batter was interesting. The recipe did not state how much water to use. I added 1/4 Cup of water at a time until I arrived at a nice consistency. I tested out a fritter to see how it came out after adding a cup of water to the batter. I only needed half a cup more to get it right. Fry these fritters at medium heat. And do not leave the skillet unattended while browning these fritters.


Stamp & Go_Prep


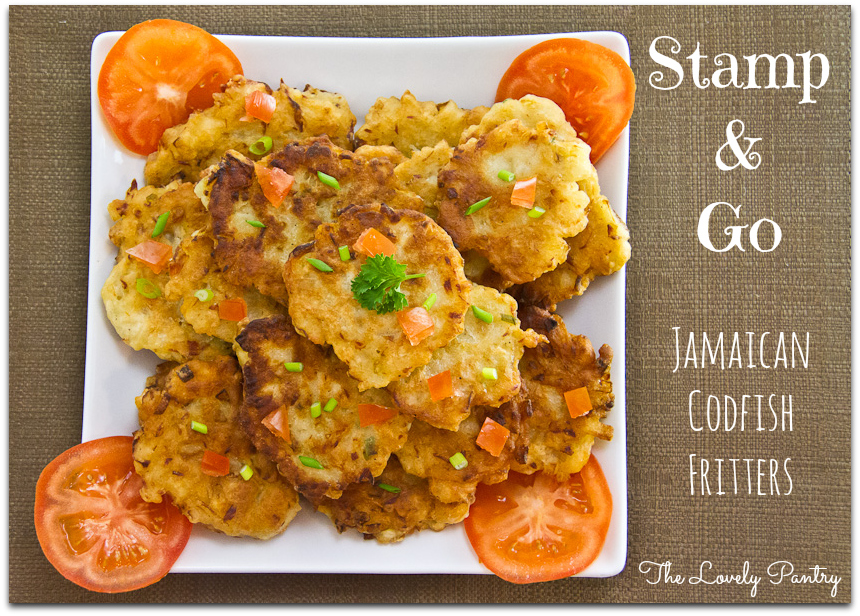
Wouldn’t you like to see these on your Superbowl party platter?  These are a definite crowd pleaser.


Stamp_and_Go_Codfish_Fritters_platter

Codfish Fritter Platter

Grab yourself a plate and dig in!


Stamp_and_Go_Codfish_Fritters_plate

Jamaican Cod Fish Fritters, also known as Stamp & Go


Be sure to visit the rest of the #SundaySupper team to see the amazing game day buffet items.

#SundaySupper Super Bowl Appetizers & Snacks:

#SundaySupper Super Bowl Main Dishes:

#SundaySupper Super Bowl Desserts:


#SundaySupper Super Bowl Tablescape:  10 Tips For A Winning Superbowl Buffet Table from An Appealing Plan

***

Join the #SundaySupper conversation on Twitter on Sunday, February 3rd to talk all about our Super Bowl Recipes!

We’ll tweet throughout the day and share recipes from all over the world.

Our weekly chat starts at 7:00 pm ET and you do not want to miss out on the fun.

Follow the #SundaySupperhashtag, and remember to include it in your tweets to join in the chat.

Check out our #SundaySupper Pinterest board for more fabulous recipes and food photos!


read more

Top 12 Recipes of 2012 – What a great year!

Dec 31, 2012 by

I hope you all had a wonderful Christmas, spent with family and friends. I took the week off to do my last-minute running around, making sorrel, baking cakes, doing some light housework, spent a day out of town… the family was quite busy. I even surprised myself when I realized that I had not physically been on the computer for 3 whole days. This type of scenario does not happen often. But it was all for a good cause, seeing as it was the most wonderful time of the year.

Well, it’s the end of 2012 and as I reflect, I know very well that I have much to be thankful for. I’m satisfied with my accomplishments in blogging and I’m ready for what 2013 has to offer. Bring it on! There’s so much more to be done! I feel like making some changes at The Lovely Pantry. I’m still tossing some ideas around in my head so I’m not 100% sure what I’ll be doing. Growth is a wonderful thing.

I don’t do resolutions anymore. If I really want to accomplish something, I will just do it. It’s just a matter of timing and priority. There are a few recipes that I plan to conquer in the new year. I’m creating a list of things I want to learn, both in and outside of the kitchen. As a life long learner, I don’t feel comfortable if I’m not growing in some way or the other. Looking at my posts throughout 2012, I see lots of growth. I see improvement in my photography and in the types of recipes that I’ve challenged myself with.


Lets take a look at what had people’s attention. Here are the top 12 posts for 2012 at The Lovely Pantry!


Top Recipes 2012 - The Lovely Pantry

Top Recipes 2012 – The Lovely Pantry


The top 3 posts:

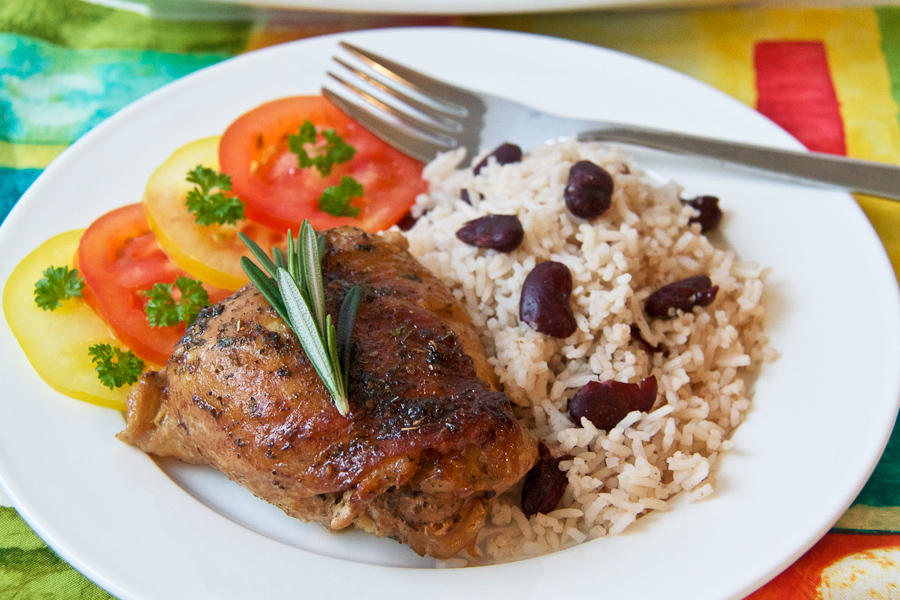
Cristina Ferrare’s Fall Off The Bone Chicken Thighs

This is my most popular post to date!

Fall Off The Bone Chicken Thighs, Recipe by Cristina Ferrare

Fall Off The Bone Chicken Thighs, Recipe by Cristina Ferrare


Hoisin Salmon with Quinoa & Zucchini

Everyone seemed to enjoy my very easy freestyle salmon. It went nuts on Pinterest!

Hoisin Salmon with Quinoa & Zucchini

Hoisin Salmon with Quinoa & Zucchini


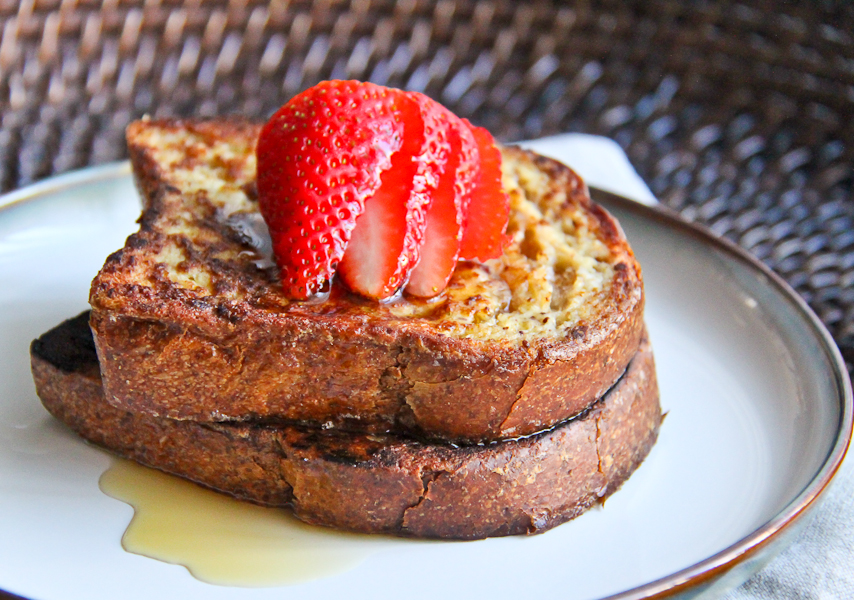
Whole Wheat French Toast

I guess it must be true when folks say “simple is best”. This post has always been popular, ever since it was published in February 2012.

Whole Wheat French Toast

Whole Wheat French Toast


The remaining posts are in no particular order.


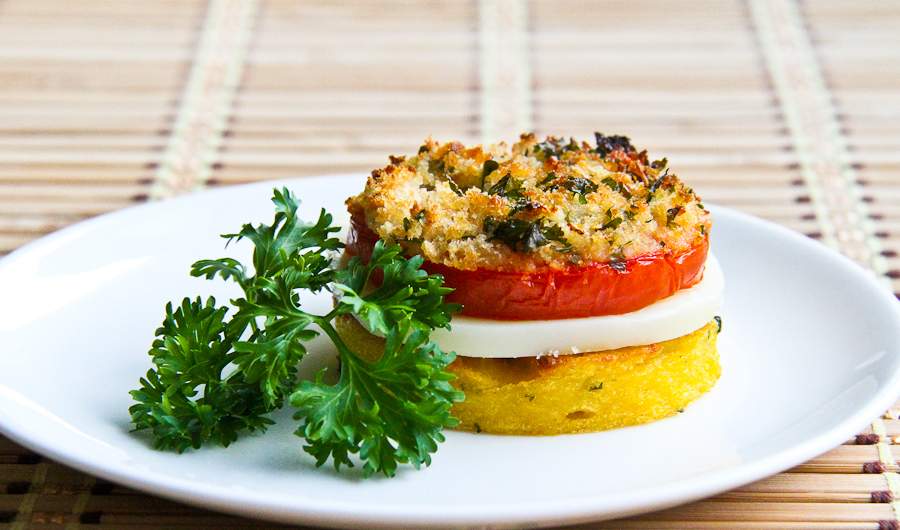
Polenta, Parmesan, Mozzarella and Tomato

Polenta, Mozzarella, Tomato

Polenta, Mozzarella, Tomato


Roasted Pumpkin & Coconut Soup

Roasted Pumpkin & Coconut Soup

Roasted Pumpkin & Coconut Soup


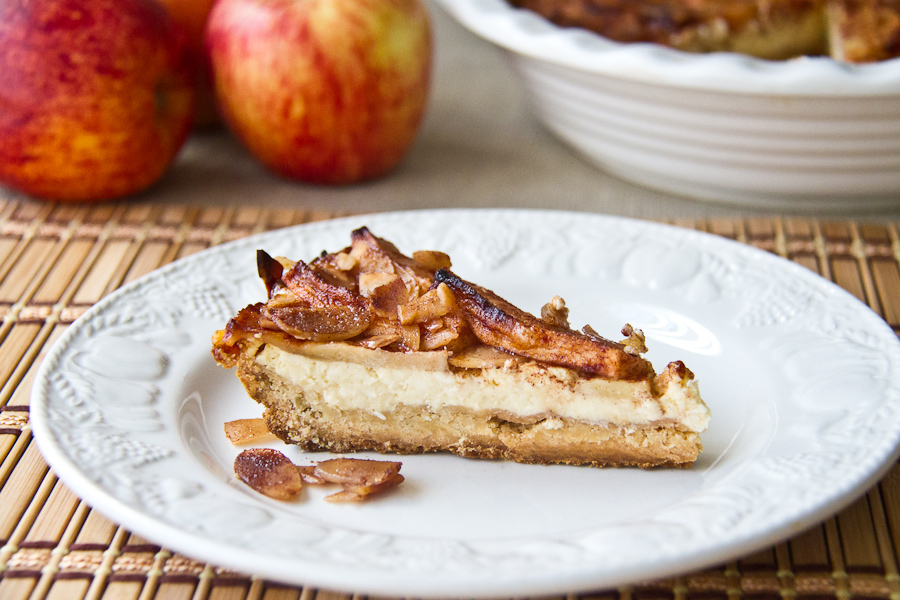
Bavarian Apple Torte

Bavarian Apple Torte

Bavarian Apple Torte


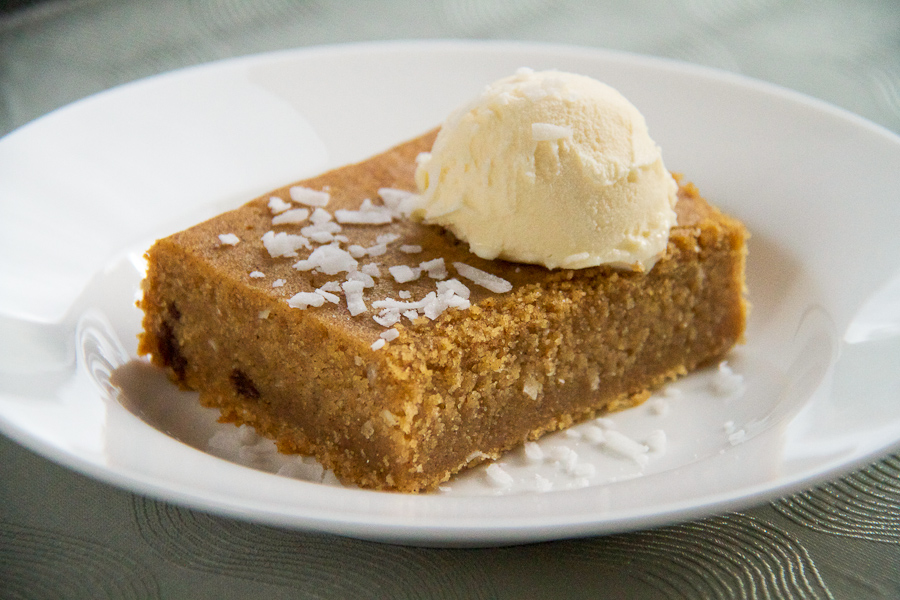
Jamaican Cornmeal Pudding

Cornmeal Pudding with Rum, Raisins and French Vanilla Ice Cream

Cornmeal Pudding with Rum, Raisins and French Vanilla Ice Cream


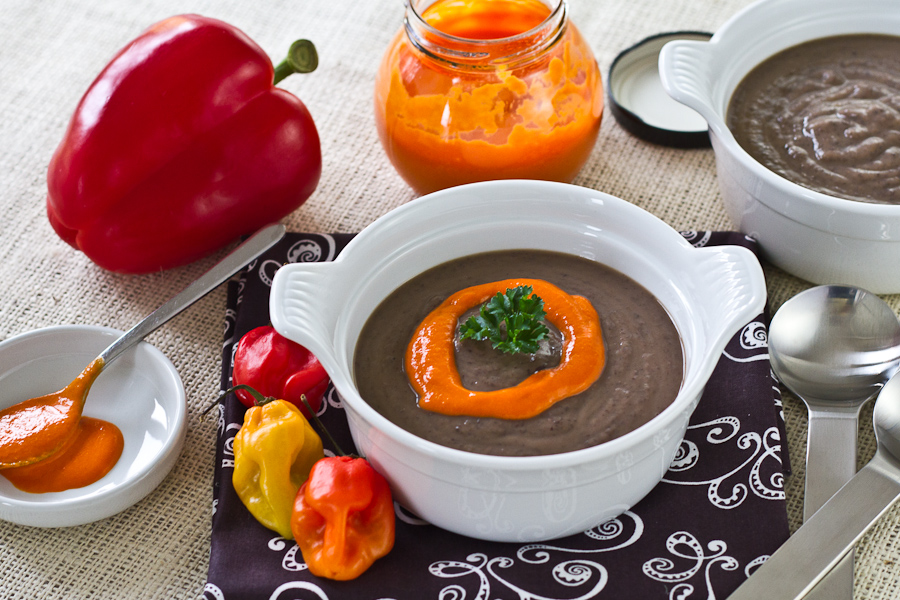
Black Bean Soup With Hot Roast Pepper Sauce

Black Bean Soup with Hot Roast Pepper Cream

Black Bean Soup with Hot Roast Pepper Cream


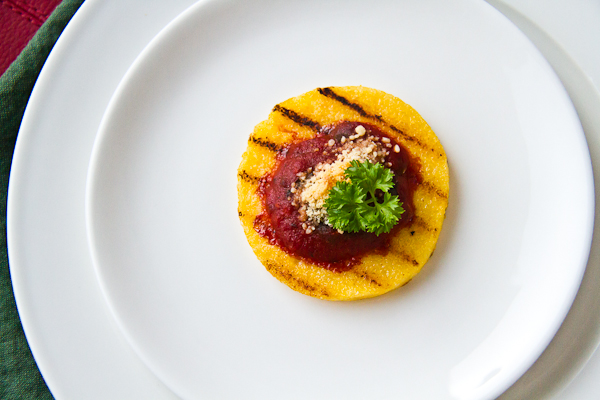
Grilled Polenta Cakes

Grilled Polenta Cakes

Grilled Polenta Cakes


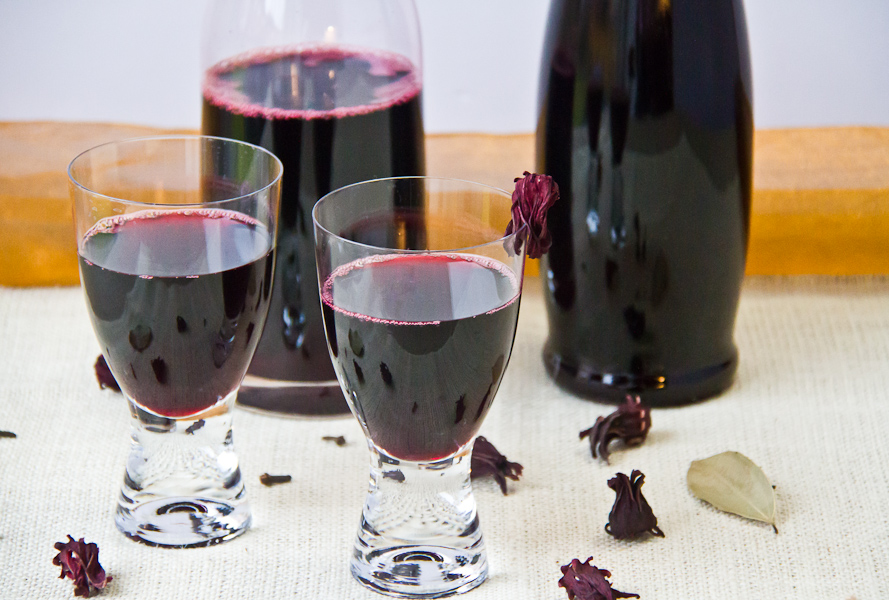
Jamaican Sorrel

Jamaican Sorrel

Jamaican Sorrel


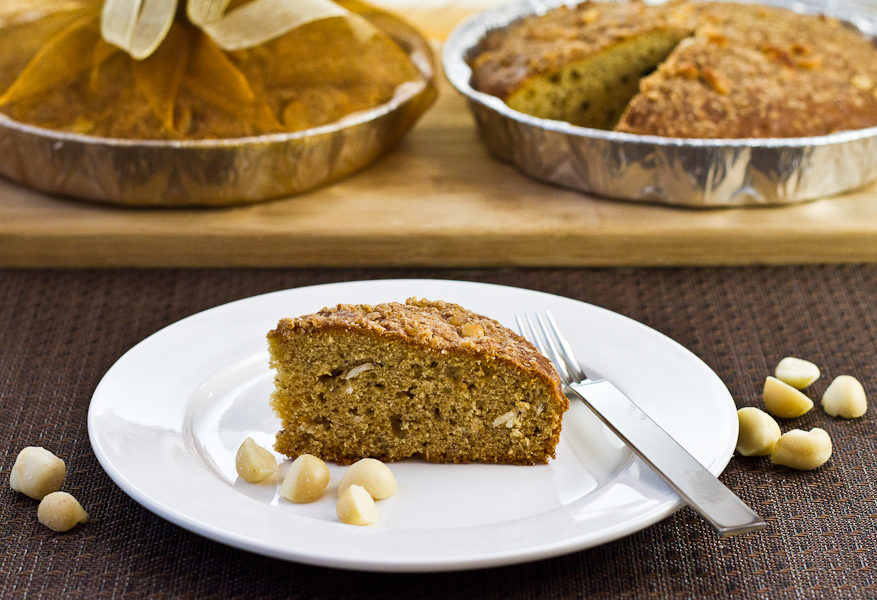
 Banana Coconut Coffee Cake with Macadamia Nut Streusel

Banana Coconut Coffee Cake With Macadamia Nut Streusel

Banana Coconut Coffee Cake With Macadamia Nut Streusel


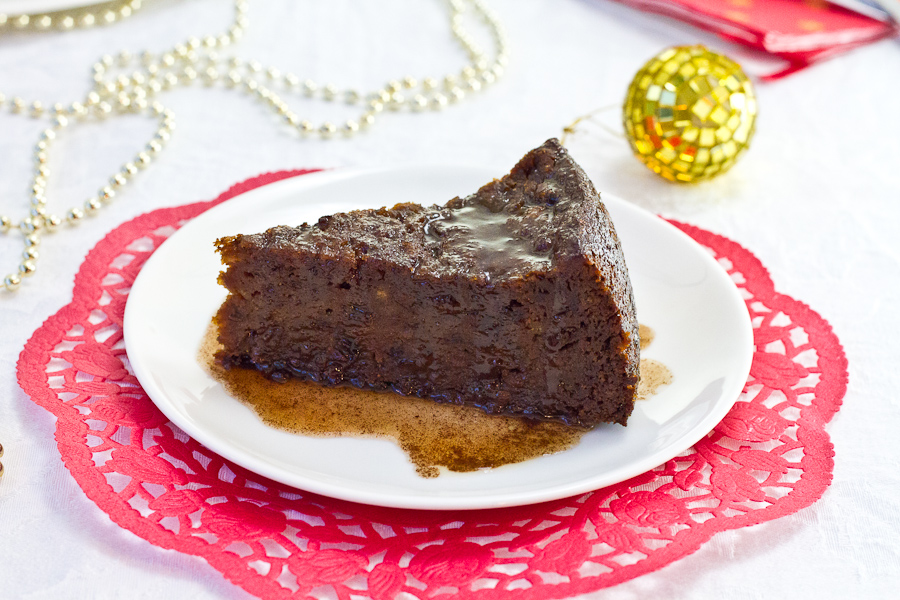
Jamaican Christmas Pudding

Jamaican Christmas Pudding with Hot Wine Sauce

Jamaican Christmas Pudding with Hot Wine Sauce


I want to say a very special thanks to the #SundaySupper family. It feels good to be a part of such an incredible group of people who share a common cause – to get families together to enjoy a home cooked meal on a Sunday. It could be on any day of the week, as long as it is possible. Sharing ideas for meals for your family is what I enjoy doing, and I spend a lot of time sharing on Twitter and Pinterest. Congratulations Isabel, for your amazing success! I can’t wait to see what 2013 has in store for #SundaySupper!

 I really love my little blog. I’m quite fond of the wonderful people and communities I’ve joined along this journey.

I want to thank each and every one of you who read/comment on my posts.It means so much to me.

To the friends that have made recipe suggestions and offered advice with regards to technique/instructions, I thank you!

For those that have suggested The Lovely Pantry to friends/family who are looking for meal ideas, have an interest in Jamaican cuisine, or who are just wanting to know how to use a certain ingredient… I appreciate you!

Consider joining me on Facebook and Twitter to keep up whats new on TLP, or just stop by to say hello.

 Have a blessed and wonderful New Year!

Happy 2013

~Lyn


Related Posts Plugin for WordPress, Blogger... read more

Post Popularity Graphing by Knowledge Ring