Lyn’s Banana Bread

Jan 6, 2012 by

I’ve been making this banana bread for a few years now. It somehow never fails. Everybody loves it and I’m so happy to be sharing it with you. It’s definitely “lighter” than most recipes which is great because I really don’t care for the guilt that comes along with loaded baked goods. So this recipe satisfies me. I found this recipe on Food Network Canada and I’ve made my changes to get it to where I like it.

Bananas should never EVER go to waste. I learned a few years back that over-ripe bananas can be stored in the freezer for baking. That advice was like gold to me. I now use frozen bananas for porridge, smoothies and banana bread.

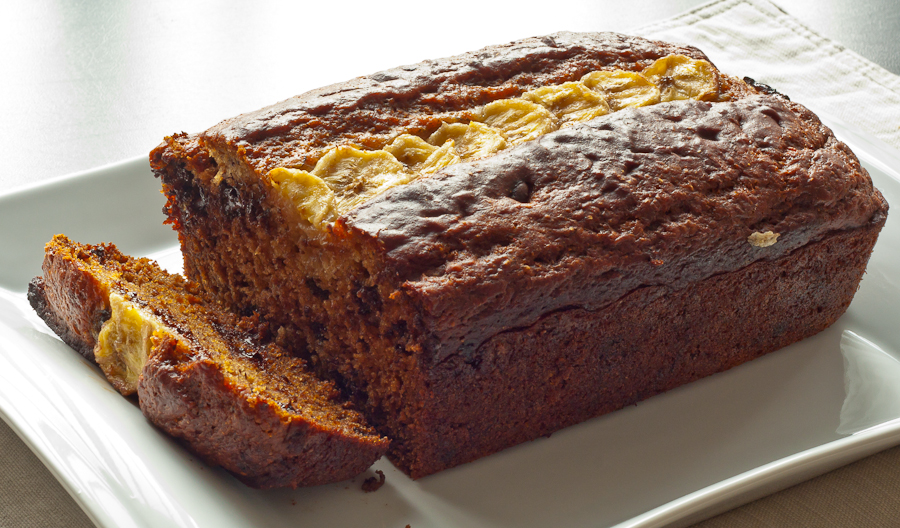
I love Banana Bread. Even more so with dark chocolate chips.

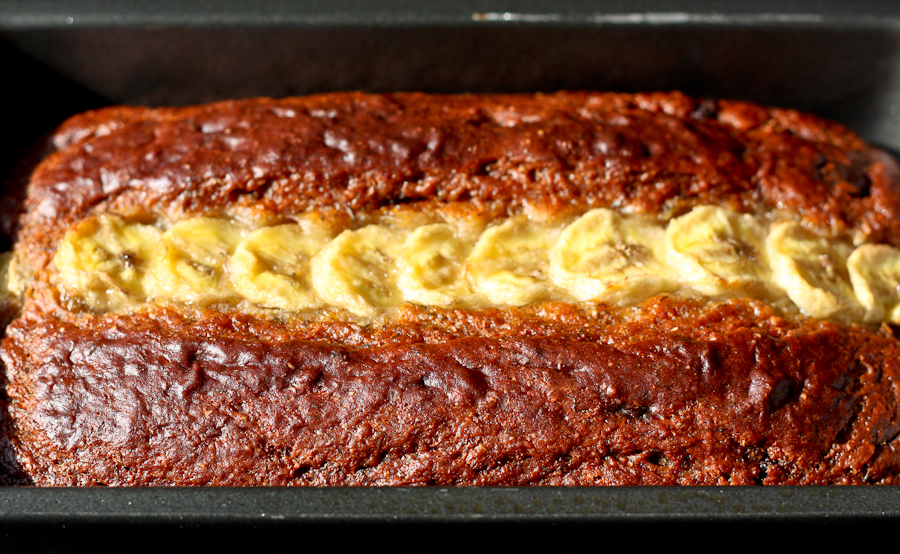
I use 2 bananas because I found using 3 made the bread overly moist, which wasn’t so nice for me. I love that yogurt is used as the binding agent instead of eggs. Notice too, that butter is absent. The garnish on top is optional too, it’s really there to make the cake look even prettier. The cake on its own is delicious. Yes, even without the chocolate chips.


Chocolate Chip Banana Bread – Ready for the oven


Banana Bread


Lyn's Banana Bread
 
Prep time
Cook time
Total time
 
A lighter version of a wonderful family favourite - Banana Bread
Author:
Recipe type: Bread
Serves: 10
Ingredients
  • 2 very ripe bananas
  • ¼ cup honey
  • 1 tsp vanilla
  • ¼ cup granulated sugar
  • 1 cup fat free vanilla yogurt
  • 2 tbsp vegetable oil
  • 1 cup all purpose, unbleached flour
  • ½ cup whole wheat flour
  • 2 tsp baking soda
  • ½ teaspoon salt
  • ½ tsp Allspice
  • 1 ripe banana, sliced, to bake on top of bread as a garnish (optional)
  • ¼ cup dark chocolate chips (optional)
Instructions
  1. Preheat oven to 350 F.
  2. Lightly grease a 4-inch X 8-inch loaf pan.
  3. In a large bowl, mash bananas. Add the honey, vanilla, sugar, yogurt and oil. Mix to combine.
  4. In a medium bowl, sift flour, baking soda, salt and allspice.
  5. Gently fold the dry ingredients into the banana mixture until just combined.
  6. Pour batter into prepared loaf pan.
  7. Arrange banana slices decoratively on top of the batter, if desired.
  8. Bake 40 to 50 minutes, until golden and a knife inserted comes out clean. Let cool in the pan for 30 minutes before cutting into slices.
Notes
Adapted from http://www.foodnetwork.ca/recipes/Fruit/recipe.html?dishid=5918


Chocolate Chip Banana Bread


Chocolate Chip Banana Bread


If you ever get around to making this bread, please do think of me. Imagine me with a big smile on my face, whispering sweetly…”I told you so”

Have an amazing weekend!


~Lyn   XoXo


read more

Ginger Molasses Cookies

Jan 5, 2012 by

Holiday baking was fun for me. I generally look for recipes that are quick and have fairly simple ingredients. I had been searching  for cookie recipes for a few days during the holiday season (lots to go through) and I was really happy to try this. I did not adapt the ingredients for this recipe in any way. It was perfect just the way it was. Find the original recipe here.

My kids loved it, and honestly, I had a hard time restraining myself while they were cooling. I messed up my first batch because I tried to bake 8 cookies on a tray. And when I say messed up, I just mean they baked stuck together and I had to cut them so they looked like weird squares. Tasted great all the same :-). These cookies start out small but they do spread quite a bit. 6 Cookies go on a 15.5inch X 10.5inch rimmed baking tray.

I made this recipe 3 times over the holidays! Yep, they were that good! I was able to give them as gifts and as a treat at a New Year gathering. I did my cookie baking at night so I did not get to take too many photographs but here are some that I shared on Facebook while I was making them.

Here they are, “chilling out” in the fridge before baking.

Ginger Molasses Cookies – Prep


And here is the first batch cooling. Thank goodness for stackable cooling racks! I only have 3 racks but once the cookies cooled, I transferred them to a cookie pan to make way for the set coming out of the oven. I definitely need more baking trays. This will reduce the overall cooking time drastically.

Ginger Molasses Cookies Cooling


Ginger Molasses Cookies
 
Prep time
Cook time
Total time
 
Cookies for the holidays but are good enough for any time of the year.
Author:
Recipe type: Cookies
Ingredients
  • ½ cup butter at room temperature
  • 1 cup sugar
  • 1 cup brown sugar
  • 2 large eggs
  • ¼ cup molasses
  • 2 cups all-purpose, unbleached flour
  • 2 tsp baking soda
  • ½ tsp sea salt
  • 1 tsp ground ginger
  • 1 tsp ground cinnamon
  • ¼ cup sugar for rolling
Instructions
  1. In a medium bowl, mix butter and sugars until combined
  2. Add molasses and mix until incorporated
  3. In a small bowl, whisk eggs gently to break up the yolks
  4. Add eggs to the molasses mixture and mix until combined
  5. In a medium bowl, add dry ingredients - flour, baking soda, salt, ginger and cinnamon. Whisk to combine.
  6. Gradually add dry ingredients into molasses mixture and mix together with a spoon (or a mixer, if you like)
  7. Cover bowl with plastic wrap and chill in the refrigerator for about an hour
  8. When chilled, use a mini-scoop to grab small portions and then roll into smooth balls.
  9. Roll each ball in the granulated sugar and assemble onto a baking tray. Allow to chill for at least 20 minutes in the refrigerator
  10. Once chilled, place 6 balls onto a parchment lined cookie sheet (I used a 15.5inch X 10.5inch rimmed sheet) leaving about 2-3 inches between each ball
  11. The balls waiting to be baked should remain in the refrigerator until ready to go in the oven
  12. Bake for 12 minutes in a 350 degree oven
  13. Bake in batches until the balls are finished. This recipe yields 54-56 cookies
Notes
Recipe from www.addapinch.com


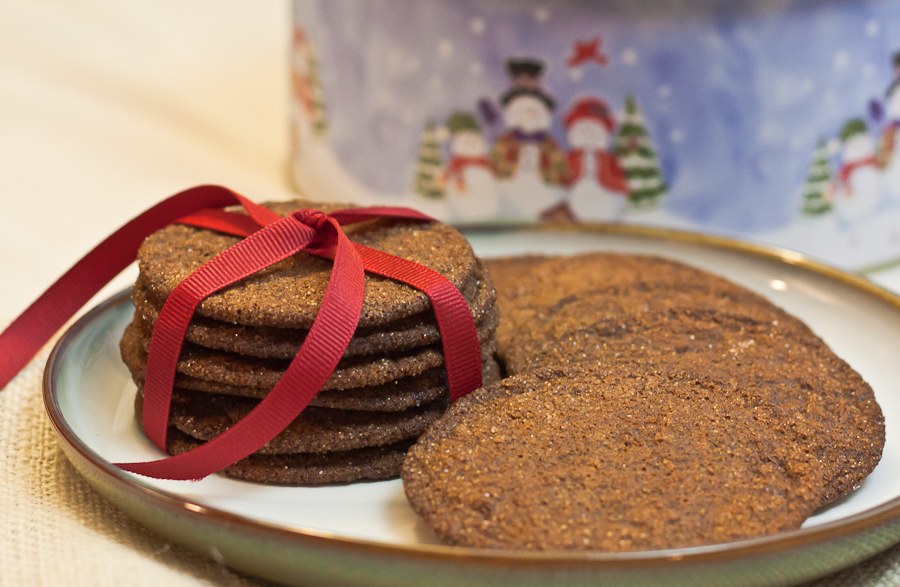
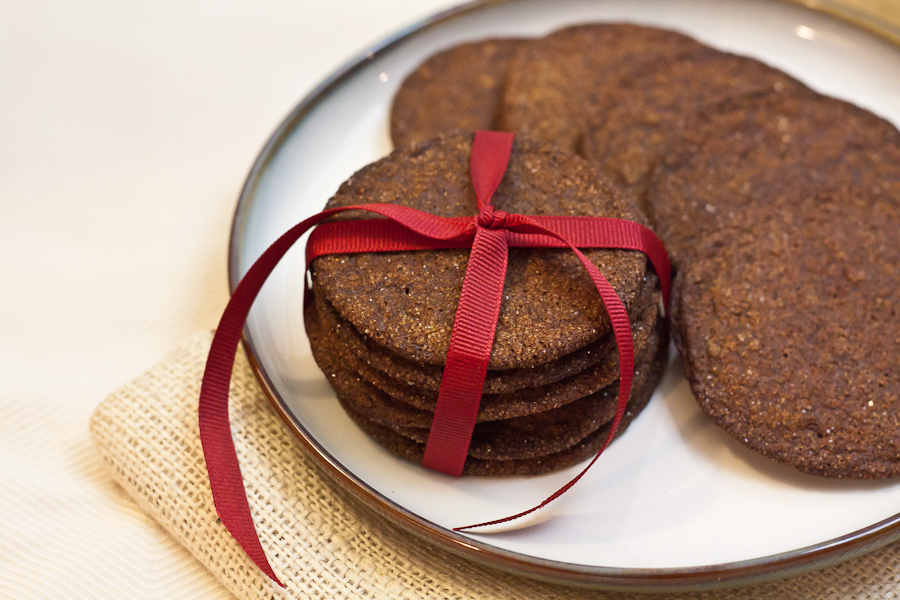
Ginger Molasses Cookies for the Christmas Holidays


Ginger Molasses Cookies – Gift


I really enjoyed these cookies. They were delightfully crispy and had a satisfying crunch. I might make some more this week – just because! 🙂


read more

Happy New Year 2012!

Jan 3, 2012 by

I just wanted to start the year off by thanking everyone for all their support and encouragement since I created The Lovely Pantry. I have so many ideas for recipes and concepts for photographs. I’ve grown so much and met so many wonderful people along my journey so far. I’m excited and grateful to be able to continue my passion through this medium. The holiday season has been quite busy for me, to say the least. But it was wonderful to be around friends and relatives and to share meals and watch the children play together. I miss my own family immensely (parents, brother, cousins etc) but hopefully I will get to see them later this year. There’s nothing like having your own family with you during the holidays! I’m still very thankful and blessed for those that I have around me that make me feel “at home”.

Now that things are slowing down a little bit, I have a lot of posts to catch up on! I have a few goals for myself which includes posting more often, improving my photography, meeting more foodies and making bread! Those are just a few things I have on my list. Below are some photographs of a meal I prepared for an informal gathering at my home during the holidays. No recipes today. 🙂 I still have to show you what I cooked for my own family after Christmas. I found a new love for cookies! My husband says he thinks he’s found his new favourite cookie – this may mean trouble for me! 🙂

The menu is as follows, served with Jamaican style Rice and Peas:

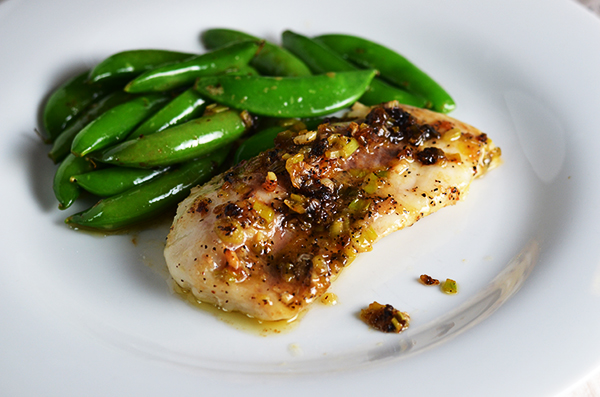
Lemon Herbed Salmon. I’ve made this before – here’s the recipe. Underneath that herbed crispy topping, is moist salmon. It was lovely.


Lemon Herbed Salmon with steamed veggies


Veal Pastitsio – a definite crowd pleaser. I really love it, especially because my children enjoy it.


Veal Pastitsio


My guests specifically requested Oxtail! I aim to please! I don’t have oxtail very often but I definitely indulge the few times for the year that I actually make it. It brings back memories of Jamaica.


Oxtails & White Kidney Beans


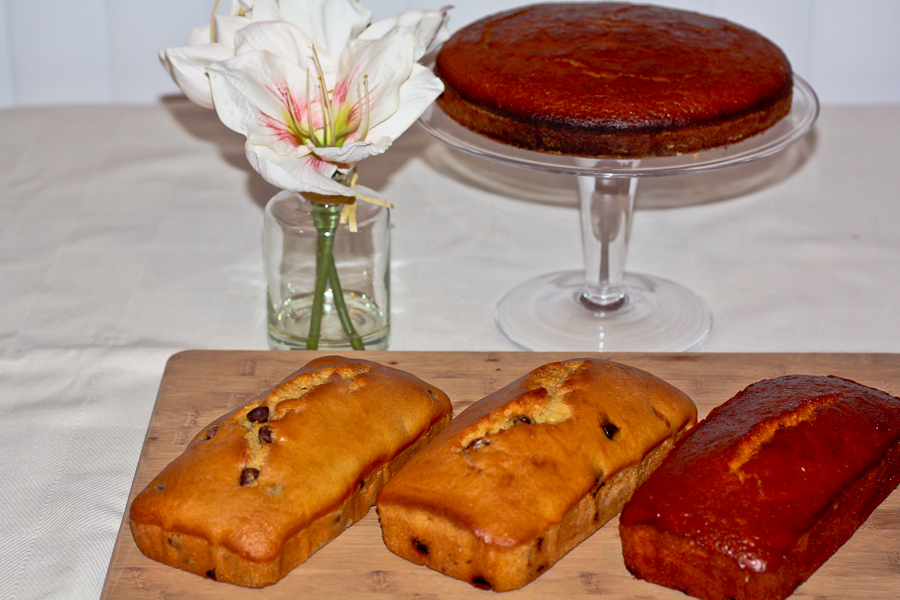
Perhaps I went a little overboard, but you have to know that I enjoy feeding people. I also love getting feedback from my experiments! So basically I used the Ginger Carrot Bread recipe and modified it. I split the batter in 2 and used smaller loaf pans to bake them in. I made a plain Ginger Carrot Bread, and another with raisins. I modified the same recipe and used Vanilla Chai Soy beverage instead of carrot juice. I made it before so I knew what it would taste like however, this time (again, I split the batter) I made one with dark chocolate chips and the other with dried cherries. Then of course I made a cake that I had not tried before – Orange cake made with orange rind and freshly squeezed orange juice. Heavenly! I will be posting that recipe very soon!


Orange Cake, Vanilla Chai Bread x2, Ginger Carrot Bread x2


After a night of entertaining, I decided to make cookies. I don’t usually make cookies but I realized if I’m going to be a kitchen Goddess, I need to be able to make everything! 🙂 They turned out to be a success and I was even able to give them as gifts during the holiday season. Well, not the one’s my hubby loved the most.


Ginger Molasses Cookies


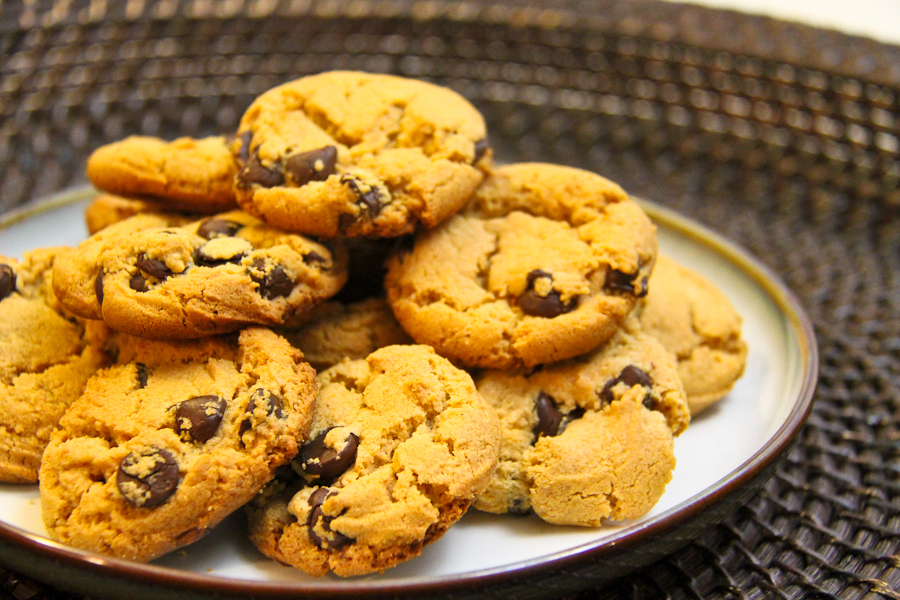
And finally, this is the reason my husband adores me. Peanut Butter Chocolate Chip Cookies. No flour required. I was even able to use low-fat peanut butter, clearly for my own satisfaction. I plan to use organic peanut butter next time to see if there’s any major difference in the taste. That’s our secret though. He doesn’t have to know.


Peanut Butter Chocolate Chip Cookies


I hope everyone had a wonderful Christmas and enjoyed ringing in the New Year. I wish everyone the utmost success in everything they hope to achieve and accomplish this year and beyond. 2012 is going to be an awesome year filled with personal growth and wonderful friendships! I believe this, so I know it will become reality!

Join me on Facebook as I will be sharing some more photographs there too. I share my own recipes and photographs, as well as beautiful recipes by culinary artists all over the world on Twitter. Follow me!

Say hello to me anytime.

Take care.


Lyn

read more

Brownies with Cream Cheese Swirl and Chia Seeds

Nov 21, 2011 by

Brownies with Cream Cheese and Chia Seeds

It’s been a while since I’ve baked something new and different. For the past little while, I’ve been baking things I know my friends and family love  like Ginger Carrot Bread or Apple Raisin Mini Muffins. After watching an episode of my favourite cooking show Everyday Food, I knew I had to try this recipe – especially since I don’t remember ever making Brownies before. (Seriously. No joke.) I wanted to put a slight twist on it by throwing in some Chia Seeds to see how it would come out. I wondered how different it would have come out if I had soaked the seeds first, but I guess I’ll find out the next time I make it. That way I’ll see which way worked out better. All in all, it was tasty. And the kids ate it. Yes! I got some fiber into them! 😀


For those who haven’t heard about Chia Seeds – you’ll be happy to know that it’s in the Superfood category! They are an amazing source of: Protein, Calcium, Potassium, Iron, Omega 3 and Omega 6 Essential Fatty Acids. These are just a few of the wonderful benefits that Chia Seeds offer. Don’t you think you should try it, if you haven’t already?


Ingredients:


8 Ounces Semi-Sweet Chocolate
1 Stick Butter
Cream Cheese Mixture:
4 Ounces Cream Cheese at room temperature (I used reduced fat)
2 Tbsp Unsalted Butter
1 Egg at room temperature
1/4 Cup Sugar
2 Tbsp Unbleached All Purpose Flour
Dry Mixture:
1 Cup Unbleached All Purpose Flour
1/4 Cup Unsweetened Cocoa Powder
1/2 Tsp Salt
1/2 Tsp Baking Powder
1 Cup Sugar
3 Large Eggs at room temperature
1/8 Cup Chia Seeds


Preparation:


Pre-heat oven to 35o degrees.


Using a double broiler (heat-resistant glass bowl over simmering water) add stick of butter and semi-sweet chocolate. Allow to melt gently.


In a medium bowl, add cream cheese, butter, egg, sugar and flour. Mix until smooth and combined.
In a medium bowl, combine dry ingredients – flour, cocoa powder, salt and baking powder. Whisk to combine.
Remove melted chocolate from heat. Stir gently to ensure butter and chocolate are combined. Add sugar and 3 eggs. Add the dry ingredients.  Mix gently until flour is incorporated.


You’ll  need a 9-inch baking pan. Grease the pan using cooking spray. Using 2 pieces of wax paper, layer in the pan in the form of a cross (one vertical, the other horizontal), spraying between layers, and finally spraying the top.


Pour most of the batter into the baking pan. Place small portions of the cream cheese mixture randomly on top. In the spaces, put the rest of the chocolate mixture.  Using a sharp knife, make a pattern using a continuous line from one end of the pan to the other (lets say, from left to right), about 2 inches apart until you get to the bottom. Bake for 50-60 minutes. Use the wax paper to help lift the brownie out of the pan. The extra greasing should help it slide out nicely. When cooled, cut into squares. Serve and enjoy!


And there you have it! Easy does it. Although I liked how this turned out, I think I will try it again with soaked Chia Seeds as the raw ones gave a bit of a crunch. Perhaps I am the first to come up with a “crunchy brownie.” 😀
Until next time~ take care of you!


Lyn
read more
Ginger Carrot Bread

Sep 20, 2011 by

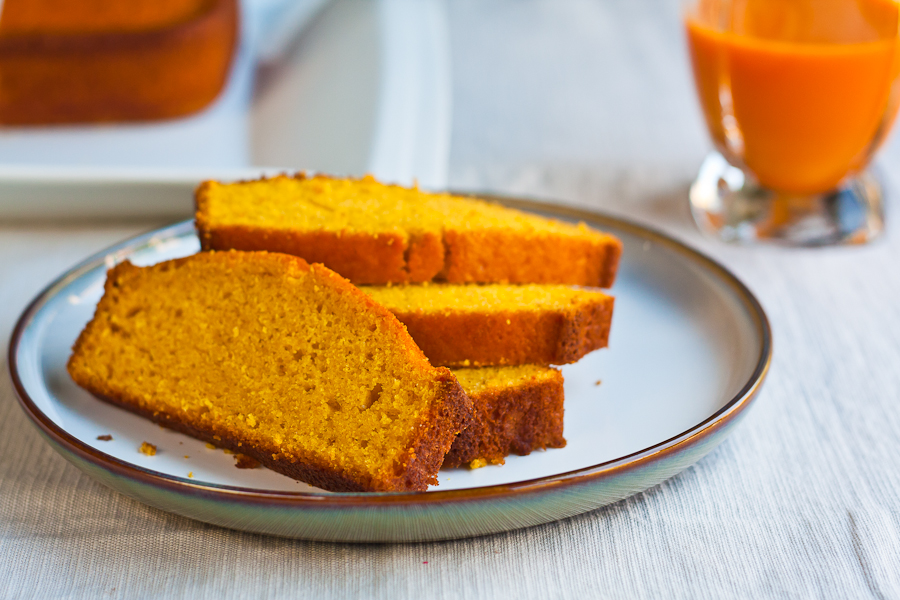
When I saw this recipe I just had to try it. An easy way to utilize carrot juice without having to juice dozens of carrots! Its already a winner in my book. I was very impressed with the bright colour as well as the texture of the bread. I found it quite tasty and of course, my mini food tasters gave it their seal of approval.

I found some natural (no preservatives added) carrot juice in the supermarket so I decided to try it not only with the recipe, but also to incorporate it into our diet. Eventually I’ll get into juicing, but for now, this is a great healthy addition to my baking.


Ginger Carrot Bread

Ingredients

  • Dry Ingredients:
  • 1 Cup Unbleached Flour
  • 1/2 Cup Wholewheat Flour
  • 3/4 Tsp Ground Ginger
  • 1/2 Tsp Salt
  • 2 Tsp Baking Powder
  • Wet Ingredients:
  • 2 Eggs
  • 1/3 Cup Vegetable Oil
  • 2 Tsp Vanilla
  • 1 Cup Carrot Juice
  • 3/4 Cup Sugar

Instructions

  1. Preheat your oven to 350F
  2. Whisk dry ingredients into a medium sized bowl. In a large bowl, combine the wet ingredients until combined. Add the dry ingredients into the wet and whisk until combined and smooth. Do not over mix as this will cause the bread to be tough.
  3. Grease an 8.5inch X 4.5inch loaf pan. Pour batter into the pan. There should be about 3/4 of batter in the pan. If there is more than that, it might spill over. Bake for 40-50 minutes.
https://lovelypantry.com/2011/09/ginger-carrot-bread/

This Ginger Carrot Bread recipe has been a certified hit and its always a pleasure to make it and share with family and friends. The gorgeous, striking colour is always a topic for discussion!


 Enjoy!

read more

Chocolate Oatmeal Banana Bites

Jul 28, 2011 by


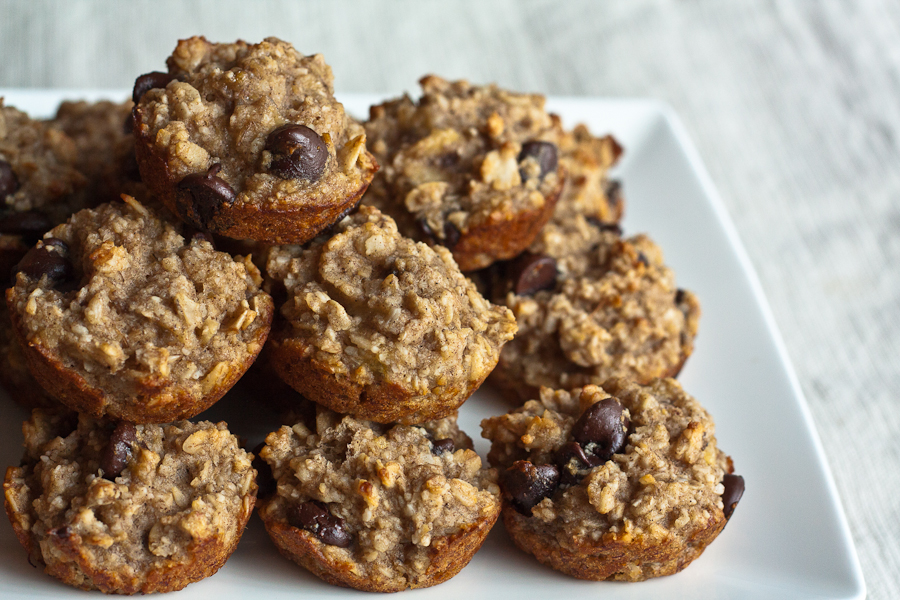
You’ll hear me say quite often, that I love different. When I came across this recipe on Marmande In The Kitchen‘s blog, I knew I had to try it. I’m always looking for neat little treats for my family that tastes great and won’t harm them in the long run. Believe it or not, these little bites have no Eggs, Butter, Flour or sugar – which are basics in making baked items. Now, I did make some changes but it tasted awesome just the same. The original recipe called for Coconut Oil so I will try to use it when I make it the next time. Oh and guess what? I made my own Almond Meal! You should try it! Really!

As always, I used what I had available. I had some Sliced Almonds, so I put it in my Magic Bullet for a few pulses until I achieved the desired result and quantity. I had dark chocolate chips in the pantry. I did try the frosting, and it was great but I felt that the bites were good enough on their own. So here’s my amended recipe:


Ingredients:

3 Large, very ripe bananas, mashed

1 Tsp vanilla extract

¼ Cup Olive Oil

2 Cup Rolled Oats

2/3 Cup Almond Meal

½ Tsp Cinnamon

½ Tsp Allspice

½ Tsp Salt

1 Tsp Baking Powder

2/3 Cup Dark Chocolate Chips


Directions:

Preheat oven to 350F. Grease a 24 hole mini muffin pan.

Mix to combine, the bananas, vanilla, and olive oil in a large bowl.  In a medium bowl, whisk together the oats, almond meal, coconut, cinnamon, nutmeg, salt, and baking powder.

Add the dry ingredients to the wet ingredients along with the chocolate chips and stir until just combined.  The dough will be fairly loose and wet.

Spoon the mixture evenly into the muffin tray and bake for about 15 minutes.  Let cool in pan for 10 minutes, then cool completely on a cookie rack. If you can wait that long.


Enjoy!

Related Posts Plugin for WordPress, Blogger... read more
Post Popularity Graphing by Knowledge Ring