Red Velvet Cupcakes with Cream Cheese Frosting

Feb 14, 2012 by

Today is Valentine’s Day and although I don’t celebrate it, I thought it would be awesome if I made something I’ve been wanting to make for a while now. A friend of mine made it and it was really nice and ever since, I keep seeing the recipe everywhere. It was a sign! So I did it. And it was FABULOUS. I swear, I ate my cupcakes in moderation.  I will not swear the same for the frosting! My daughter ate the frosting and half a cupcake. She then refused to eat any other cupcake without frosting. Major meltdown if her frosting had no sprinkles.  MAJOR.


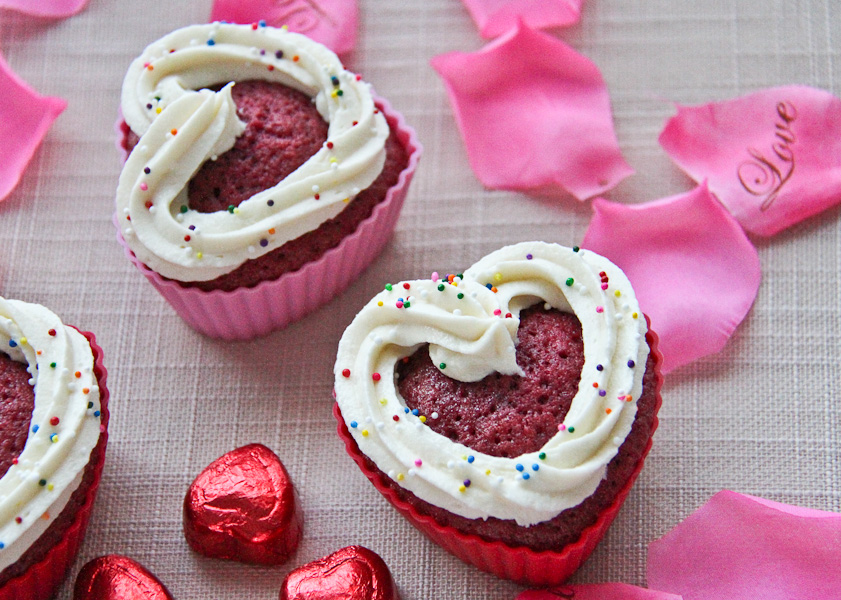
Red Velvet Cupcake with Cream Cheese Frosting


Red Velvet Cupcake with Cream Cheese Frosting


I’ll say this now – I will likely make these Red Velvet darlings once per year. Or maybe on a REALLY special occasion. No more than that. Perhaps this will be my Valentine’s Day treat for the family. I guess it’s better than nothing 🙂 It tastes great but oh my, could we use a bit more oil? Sugar? Please? I’m sure there’s a “light” version out there somewhere in cyberland. I’ll come across it eventually.

A general warning…don’t wear white or a light coloured shirt while making this recipe. Don’t say I didn’t tell you. I really ought to invest in an apron 🙂


Here’s the recipe and a few photographs. Cupcakes are awesome models.


5.0 from 2 reviews
Red Velvet Cupcakes with Cream Cheese Frosting
 
Prep time
Cook time
Total time
 
Red Velvet Cupcakes with Cream Cheese Frosting - a treat for any special occasion
Author:
Recipe type: Dessert
Ingredients
  • 2½ Cups Cake Flour
  • 1½ Cups Sugar
  • 1 Tsp Baking Soda
  • 1 Tbsp Cocoa Powder
  • 1 Tsp Salt
  • 2 Large Eggs
  • 1½ Cups Vegetable Oil
  • 1 Cup Buttermilk (I used 1%)
  • 2 Tbsp Liquid Red Food Coloring
  • 1 Tsp Vanilla Extract
  • 1 Tsp White Vinegar
  • Cream Cheese Frosting:
  • 8 oz Cream Cheese (low-fat)
  • 5 Tbsp Unsalted Butter, at room temperature
  • 2 Tsp Vanilla Extract
  • 2 Cups Confectioners Sugar
  • 2 Tsp Lemon Juice, freshly squeezed
Instructions
  1. Preheat oven to 350F
  2. Prepare cupcake liners (Paper or Silicone)
  3. In a medium bowl, add flour, sugar, baking soda, cocoa powder and salt. Combine with a whisk.
  4. In a large bowl, add eggs, vegetable oil, buttermilk, red food coloring, sugar and vanilla. Combine with a hand-held mixer (or standing mixer if you have one)
  5. Gradually add dry ingredients into the wet, mix until smooth consistency is achieved
  6. Add batter into prepared cupcake liners
  7. Bake for 18 minutes, rotating half way through
  8. If a toothpick or sharp knife comes out clean after insertion, allow cupcakes to cool
  9. For the frosting, combine cream cheese and butter with a mixer until smooth
  10. Add Vanilla Extract, mix to combine
  11. Gradually add the confectioners' sugar and mix until combined and smooth.
  12. Lastly, add the lemon juice and give it one last mix to combine
  13. Put frosting in the refrigerator for about 10 minutes
  14. When cupcakes are completely cooled, add frosting
Notes
This recipe yields 24 cupcakes

This recipe was adapted from Annie’s Eats.


Silicone Hearts


Filling the Silicone Hearts


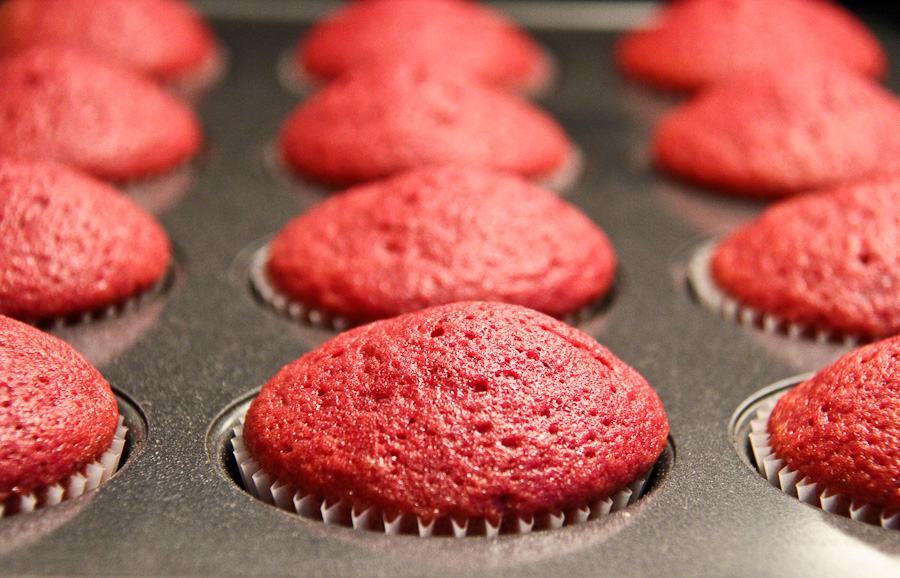
Cupcakes are ready!


These are ready too...


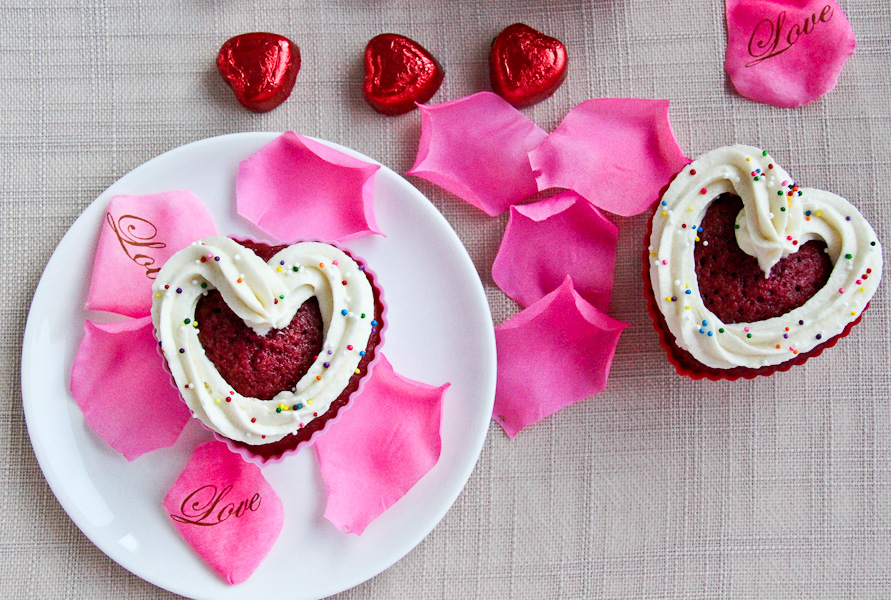
Red Velvet Heart Shaped Cupcakes with Cream Cheese Frosting


Red Velvet Cupcakes with Cream Cheese Frosting


Naked Red Velvet Cupcake


Uber moist Red Velvet Cupcake


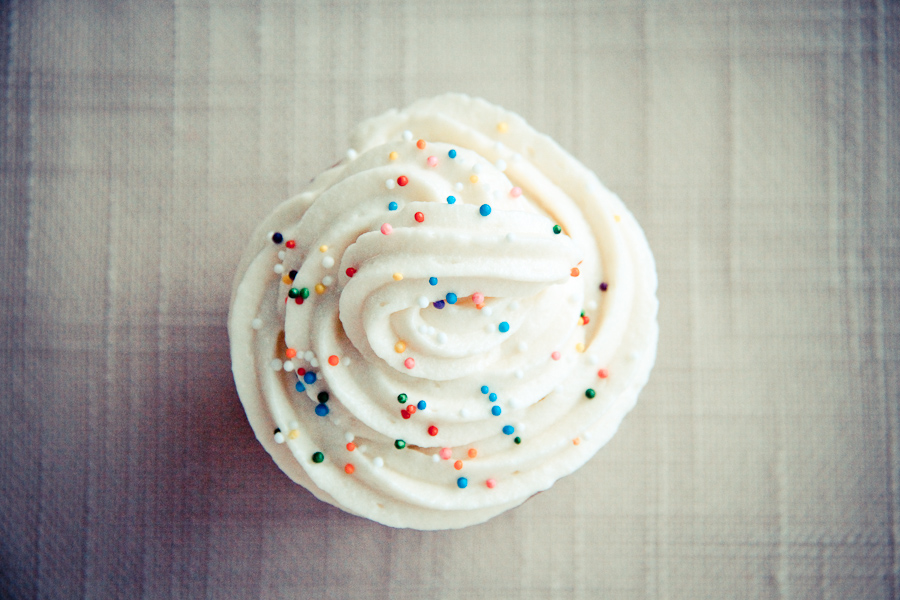
So anyway, I had a great time photographing my cupcakes. Like my silicone hearts? Beats the reusable cupcake liners! There were only 12 in a pack so I used 12 paper liners also. Fact: The cream cheese frosting was the star of the show. It’s just so GOOD!


The GOODNESS of Cream Cheese Frosting


I won’t be doing much romancing today – no more than the usual (wink). But I’m sure I’ll be watching some romantic comedy or the other on television tonight with the husband. If you celebrate Valentine’s Day, have a good one. If you don’t celebrate, have a good one!


~Lyn

read more

Brownies with Cream Cheese Swirl and Chia Seeds

Nov 21, 2011 by

Brownies with Cream Cheese and Chia Seeds

It’s been a while since I’ve baked something new and different. For the past little while, I’ve been baking things I know my friends and family love  like Ginger Carrot Bread or Apple Raisin Mini Muffins. After watching an episode of my favourite cooking show Everyday Food, I knew I had to try this recipe – especially since I don’t remember ever making Brownies before. (Seriously. No joke.) I wanted to put a slight twist on it by throwing in some Chia Seeds to see how it would come out. I wondered how different it would have come out if I had soaked the seeds first, but I guess I’ll find out the next time I make it. That way I’ll see which way worked out better. All in all, it was tasty. And the kids ate it. Yes! I got some fiber into them! 😀


For those who haven’t heard about Chia Seeds – you’ll be happy to know that it’s in the Superfood category! They are an amazing source of: Protein, Calcium, Potassium, Iron, Omega 3 and Omega 6 Essential Fatty Acids. These are just a few of the wonderful benefits that Chia Seeds offer. Don’t you think you should try it, if you haven’t already?


Ingredients:


8 Ounces Semi-Sweet Chocolate
1 Stick Butter
Cream Cheese Mixture:
4 Ounces Cream Cheese at room temperature (I used reduced fat)
2 Tbsp Unsalted Butter
1 Egg at room temperature
1/4 Cup Sugar
2 Tbsp Unbleached All Purpose Flour
Dry Mixture:
1 Cup Unbleached All Purpose Flour
1/4 Cup Unsweetened Cocoa Powder
1/2 Tsp Salt
1/2 Tsp Baking Powder
1 Cup Sugar
3 Large Eggs at room temperature
1/8 Cup Chia Seeds


Preparation:


Pre-heat oven to 35o degrees.


Using a double broiler (heat-resistant glass bowl over simmering water) add stick of butter and semi-sweet chocolate. Allow to melt gently.


In a medium bowl, add cream cheese, butter, egg, sugar and flour. Mix until smooth and combined.
In a medium bowl, combine dry ingredients – flour, cocoa powder, salt and baking powder. Whisk to combine.
Remove melted chocolate from heat. Stir gently to ensure butter and chocolate are combined. Add sugar and 3 eggs. Add the dry ingredients.  Mix gently until flour is incorporated.


You’ll  need a 9-inch baking pan. Grease the pan using cooking spray. Using 2 pieces of wax paper, layer in the pan in the form of a cross (one vertical, the other horizontal), spraying between layers, and finally spraying the top.


Pour most of the batter into the baking pan. Place small portions of the cream cheese mixture randomly on top. In the spaces, put the rest of the chocolate mixture.  Using a sharp knife, make a pattern using a continuous line from one end of the pan to the other (lets say, from left to right), about 2 inches apart until you get to the bottom. Bake for 50-60 minutes. Use the wax paper to help lift the brownie out of the pan. The extra greasing should help it slide out nicely. When cooled, cut into squares. Serve and enjoy!


And there you have it! Easy does it. Although I liked how this turned out, I think I will try it again with soaked Chia Seeds as the raw ones gave a bit of a crunch. Perhaps I am the first to come up with a “crunchy brownie.” 😀
Until next time~ take care of you!


Lyn
Related Posts Plugin for WordPress, Blogger... read more
Post Popularity Graphing by Knowledge Ring