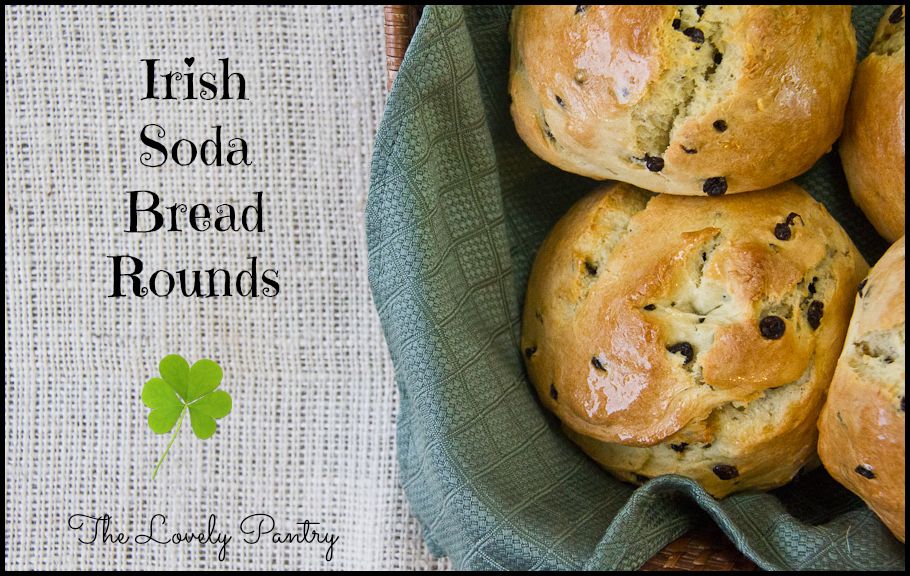
Irish Soda Bread Rounds

Mar 13, 2013 by

After a week of sniffles and being under the weather, I am so glad that it is almost over and I can finally breathe again. I think I really needed some rest and being sick helped me to achieve that a little. It was great to get back into the kitchen and catch up on my cooking and baking. I’m looking forward to a relaxing March break with my family and an awesome Spring! This recipe is a great way to start the season and is perfect for St. Patrick’s Day.

The recipe I’m sharing with you today has got to be one of the best breads I’ve had in a long time. I have baked Irish Soda Bread before, but these little darlings are way better. I couldn’t believe how good they were! I almost kicked myself that I reduced the recipe by half. But then again, I would have had more than I should have. So I suppose it was a good thing. We all enjoyed it very much and both my children raved about how good they were.


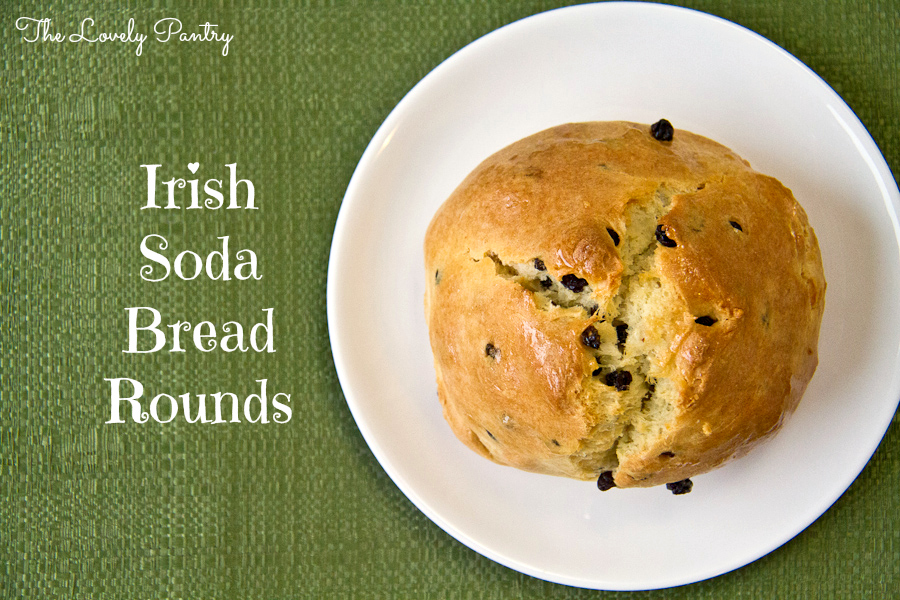
Irish Soda Bread Rounds


Irish Soda Bread Rounds

Prep Time: 20 minutes

Cook Time: 30 minutes

Total Time: 50 minutes

Yield: 4

Ingredients

  • 2 Cups All Purpose Flour, Unbleached
  • 2 Tbsp Granulated Sugar
  • 1 1/2 Tsp Baking Powder
  • 1/2 Tsp Baking Soda
  • 1/2 Tsp Salt
  • 6 Tbsp Unsalted Butter, cold and cubed
  • 1/2 Cup Currants
  • 3/4 Cup Plain Organic Yogurt (or buttermilk)
  • 1 Tbsp 2% Milk
  • 1 Egg
  • Optional Glaze: 1 Tsp Sugar dissolved in 1 Tsp hot water.

Instructions

  1. Preheat oven to 350F
  2. Line a baking tray with parchment paper. Grease with no-stick cooking spray. Set aside.
  3. In a large mixing bowl, sift in flour, sugar, baking powder, baking soda and salt.
  4. Using a pastry cutter, cut in butter until the mixture looks like coarse crumbs.
  5. Stir in currants
  6. In a medium bowl, whisk egg until frothy
  7. Add yogurt and milk. Whisk to combine
  8. Using a kneading attachment for your mixer, add the yogurt mixture to the flour mixture.
  9. Knead for about 5 minutes until fully combined and forms a dough that forms a ball
  10. Remove dough from bowl and add to a well floured surface
  11. Roll into a ball and cut into 4 even quarters
  12. Roll each quarter into a ball and gently press down the centre
  13. Score each ball with an X at the top
  14. Bake for 28-30 minutes or until a toothpick inserted into the centre comes out clean
  15. Remove from baking sheet and transfer to a wire rack. Cool for about 15 minutes.
  16. Brush each round with glaze for a sweet crust

Notes

Adapted from Irish Favourites

https://lovelypantry.com/2013/03/irish-soda-bread-rounds/


Irish Soda Bread Rounds-1

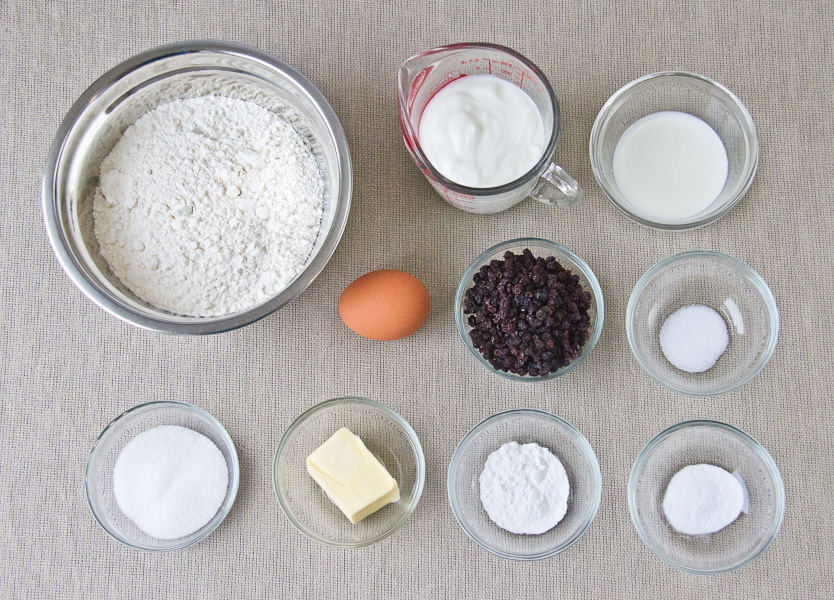
Irish Soda Bread Rounds – Ingredients


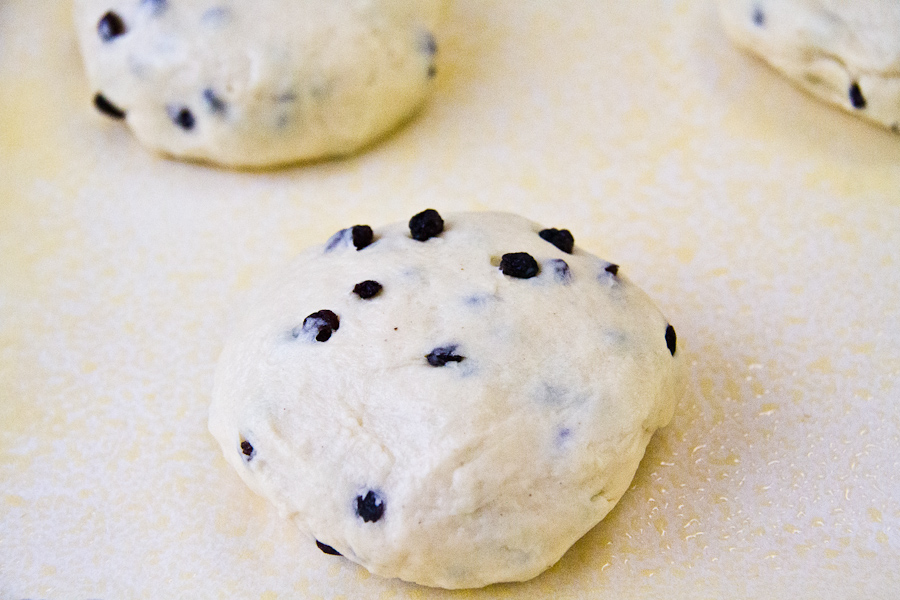
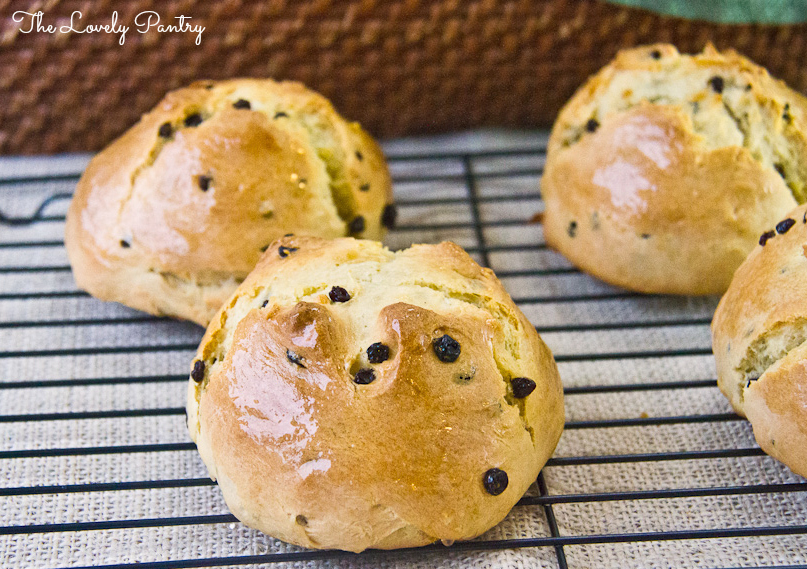
I made some changes out of necessity. The original recipe called for buttermilk which I did not have. So I substituted with some plain organic yogurt that I had and added a tablespoon of milk to thin it out just a little. Thank goodness I had it ~ I don’t care for plain yogurt very much so this recipe was right on time to use it up. I also used butter  instead of shortening. The dough came together quite well and it was easy to divide it into 4 portions using a sharp knife. I was sure to score the top of each round prior to baking.


Irish Soda Bread Rounds-2

Irish Soda Bread Rounds – Dough, ready for baking


I loved that this was a yeast-free bread. The kneading that was required was done by my mixer which truly earns its keep. This was very easy to make and was ready in under an hour.


Irish Soda Bread Rounds_2

Irish Soda Bread Rounds


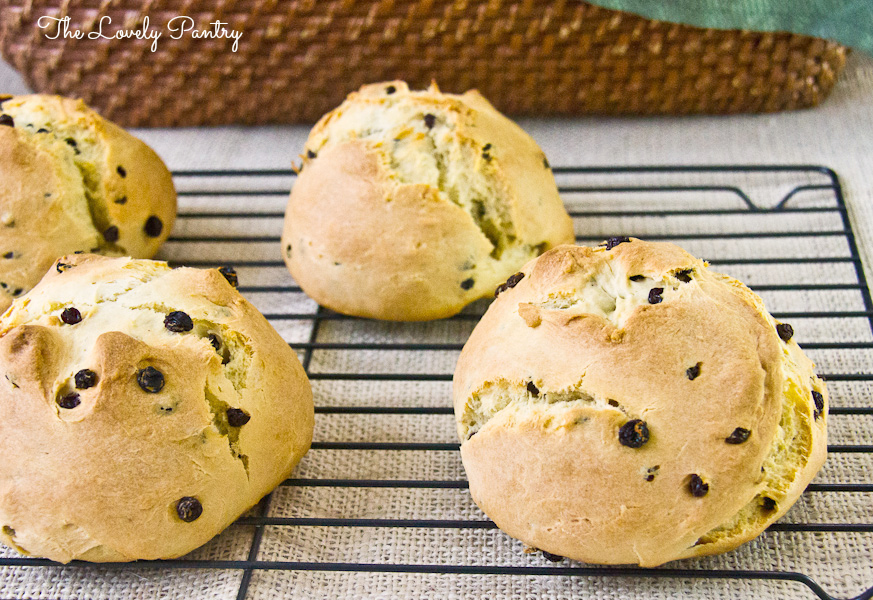
These Irish Soda Bread Rounds are a perfect accompaniment to a cup of tea or coffee. We had ours while it was still warm – it was absolutely delightful with butter. I know my parents would love this. It reminds me a lot of a raisin bread. I chose to brush it with a light sugar/water glaze for a little added sweetness.


Irish Soda Bread Rounds_3

Irish Soda Bread Rounds – with glaze


Irish Soda Bread Rounds_4

Irish Soda Bread Rounds


I hope you get to try this recipe. I was so happy with the results. My family enjoyed it and I’d bet yours would too.

~Lyn


read more

Coconut Banana Chocolate Chip Muffins #MuffinMonday

Mar 4, 2013 by

Well, its been a while since I’ve made muffins for #MuffinMonday! I was so happy that I actually had something ready to share with you all today. I have been trying to add coconut to many things that I bake, when I can. These muffins gave me the perfect opportunity to experiment a little and also  to make something that my little ones will enjoy.

I really like baking with spelt flour and decided to incorporate it in this muffin recipe. I found this recipe on Canadian Living‘s website. The key ingredient for this weeks #MuffinMonday is Coconut. I used only Coconut Sugar as the sweetener, and used Coconut Oil instead of vegetable oil. Coconut Sugar and Banana were the only ingredients needed to sweeten these little muffins.

 Coconut Banana Chocolate Chip Muffins_1


Coconut Banana Chocolate Chip Muffins #MuffinMonday

Ingredients

  • 3/4 Cups All Purpose Flour, Unbleached
  • 1/2 Cup Spelt Flour
  • 1/2 Cup Coconut Sugar
  • 3/4 Tsp Baking Powder
  • 1/2 Tsp Baking Soda
  • 1/4 Tsp Salt
  • 1 Egg
  • 1/2 Cup Buttermilk
  • 1/2 Cup Mashed Banana (1 med banana)
  • 2 Tbsp + 2 Tsp Coconut Oil
  • 1 Tsp Vanilla
  • 1/2 Cup Dark Chocolate Chips

Instructions

  1. Preheat oven to 375F
  2. In a medium bowl, add flours, coconut sugar, baking powder, baking soda and salt. Whisk to combine.
  3. In a medium bowl, beat eggs, add buttermilk, bananas, oil and vanilla.
  4. Gradually mix the dry ingredients into the wet until combined.
  5. Fold in the chocolate chips
  6. Spoon batter evenly into greased muffin liners
  7. Bake for 25 minutes and allow to cool for about 10 minutes.
https://lovelypantry.com/2013/03/coconut-banana-chocolate-chip-muffins-muffinmonday/


I opted to leave out shredded coconut because I know my kids are picky about “bits” in their muffins. But I’m sure it would have worked well with this recipe. A quarter cup of shredded coconut would have been a nice portion for this recipe.


Coconut Banana Chocolate Chip Muffins-1-2

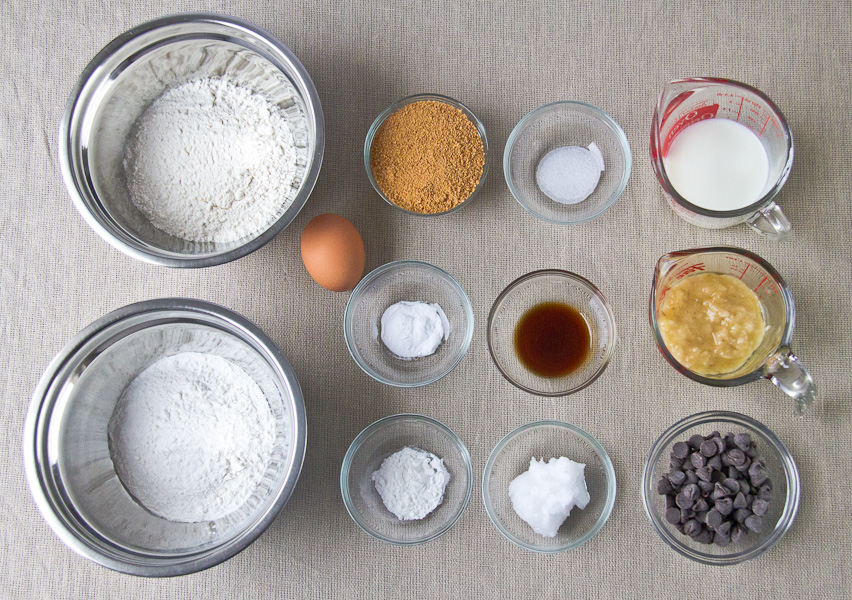
Ingredients for Coconut Banana Chocolate Chip Muffins


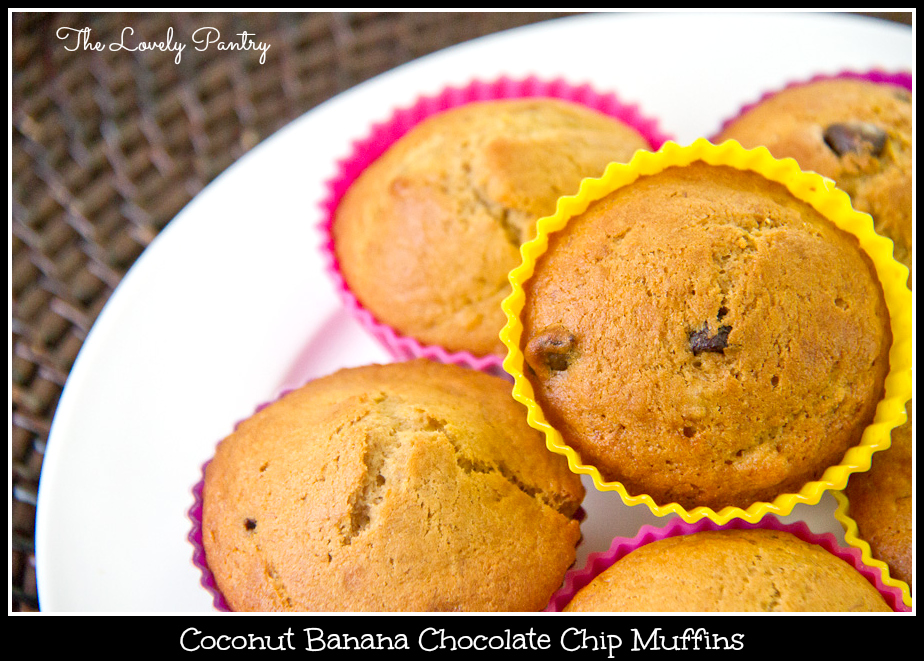
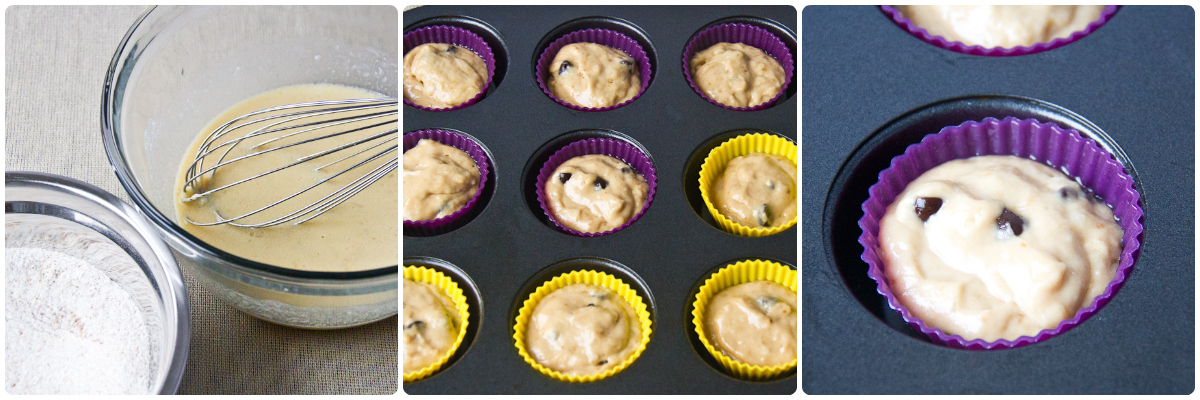
I reduced the recipe by half and used these cute colourful silicone mini-muffin cups. I find that the muffins come out so much better when I use them as opposed to paper liners. I avoid using the muffin tin directly whenever possible. I also mixed the entire recipe by hand. The batter was so light and easy to manipulate.


Coconut Banana Chocolate Chip Muffins Prep


Yet another delightful aroma coming from my kitchen! The kids really got excited and kept asking if the muffins were ready.


Coconut Banana Chocolate Chip Muffins_4

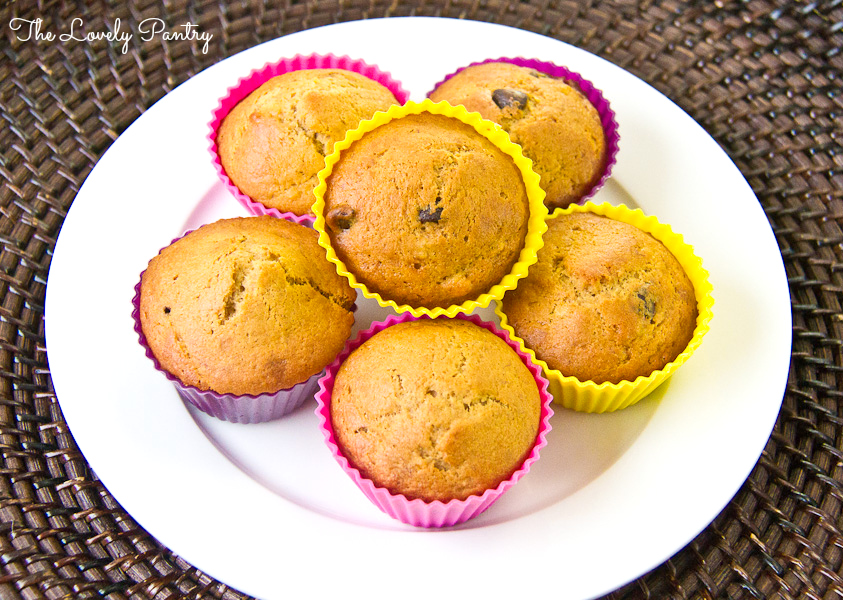
Coconut Banana Chocolate Chip Muffins


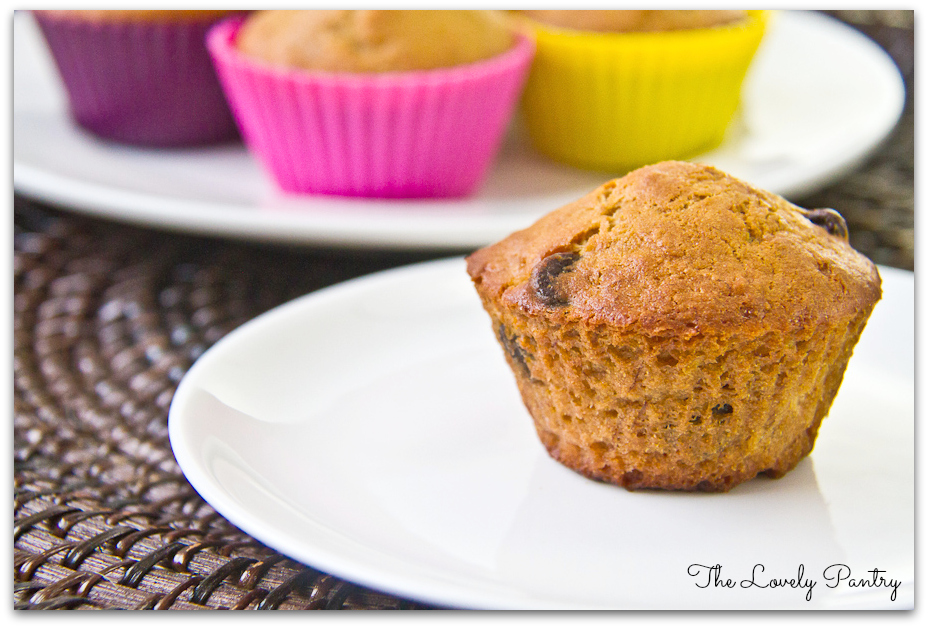
I baked these little muffins for my children and they loved it. They were just the right size and were much better for them in my opinion, since I added spelt flour and used coconut sugar.


Coconut Banana Chocolate Chip Muffins_2

Coconut Banana Chocolate Chip Muffins


Enjoy the first week in March!!!

~Lyn

***

Muffin Monday is an initiative by Baker Street ~ A culinary journey of sharing a wickedly delicious muffin recipe every week. Drop in a quick line to join her on her journey to make the world smile and beat glum Monday mornings week after week.

Muffin Monday

Muffin 101

read more
Mocha Cheesecake for #SundaySupper

Mar 3, 2013 by

I’ve been craving cheesecake for a while now. In fact, I can’t even remember the last time I had some. Cheesecake has got to be one of my favourite desserts. I am a bit picky though. I have a weird thing about texture so my cheesecake has to be smooth and without chunky ingredients. Not to say that I won’t enjoy a cheesecake with fruits etc, but it probably wouldn’t be my first choice. A topping is fine – such as a classic cherry cheesecake. There’s just something about a cheesecake that brings such pleasure to the palate. The creamy texture. The delicious delight that it is. Some days, I just really need cheesecake. Today’s #SundaySupper theme is Cheese, Cake and Cheesecake. Our lovely host is Angie from Big Bear’s Wife.

I wanted to make something that worked well with cream cheese. Perhaps another favourite ingredient. I didn’t have to look far for a recipe. I reached for a recent addition to my cookbook collection – 500 Cakes by Susannah Blake. It was an obvious choice for me to choose the Chocolate Cheesecake. There were quite a few cheesecake recipes to choose from so I imagine upon the arrival of my next cheesecake craving, I know where I should look first.


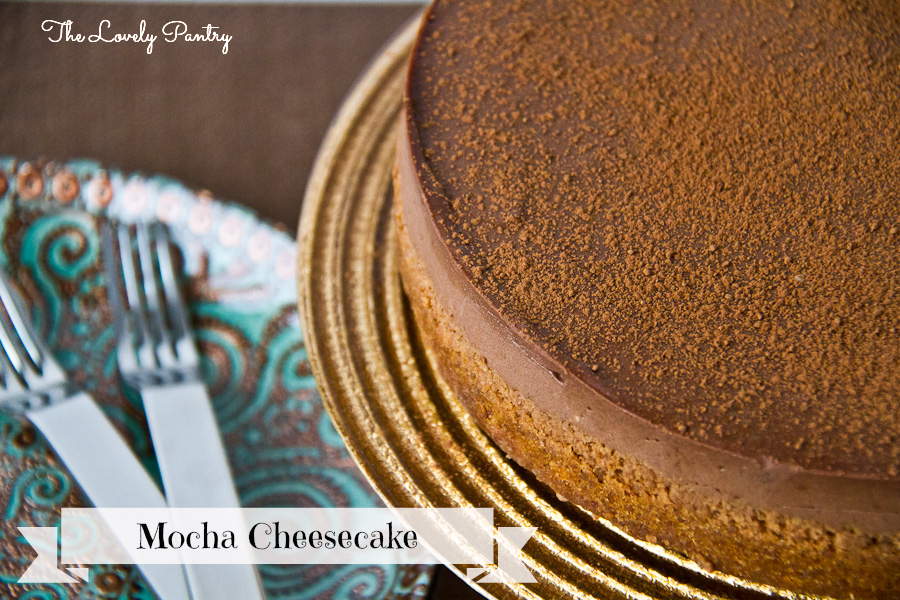
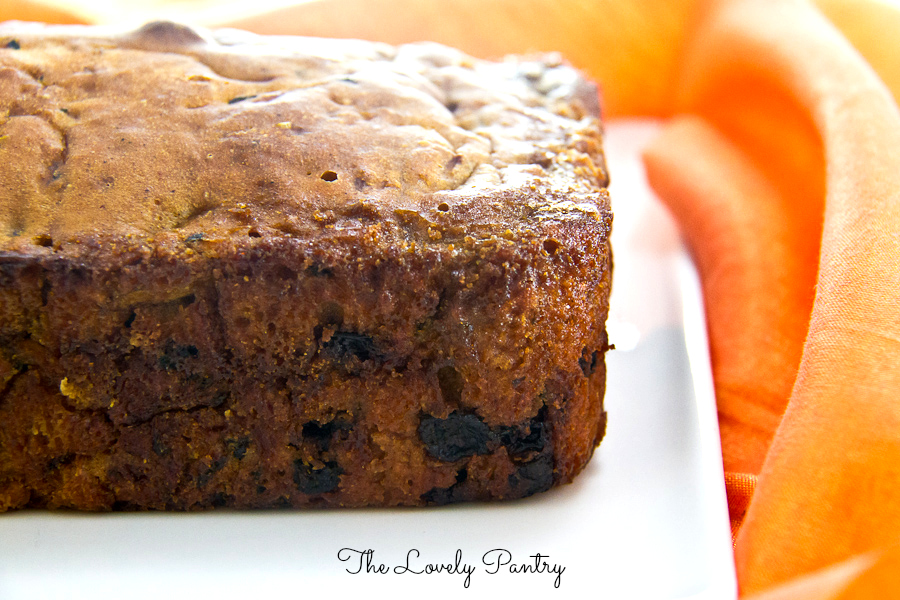
Mocha Cheesecake_1


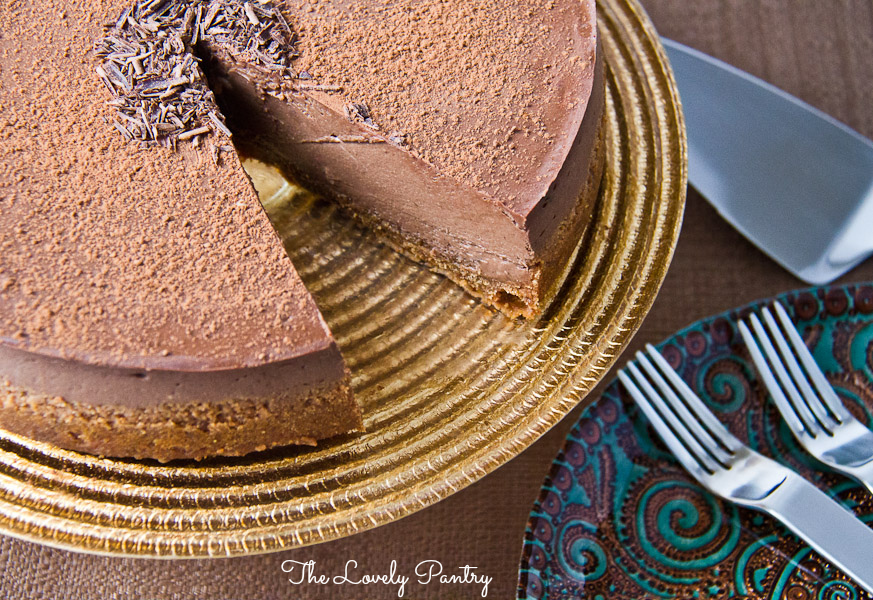
Chocolate Mocha Cheesecake for #SundaySupper

Prep Time: 50 minutes

Cook Time: 50 minutes

Ingredients

  • 2 Cups Finely ground graham cracker crumbs
  • 2 Tsp Unsweetened Cocoa Powder (and extra for dusting)
  • 3/4 Cup Unsalted Butter, melted
  • 7 Oz Semisweet Chocolate
  • 16 Oz Low Fat Cream Cheese, softened (2 X 8oz packs)
  • 3/4 Cup Low Fat Sour Cream
  • 3/4 Cup Superfine Sugar
  • 2 Tsp Cornstarch
  • 3 Large Eggs
  • 1 Tbsp Instant Coffee dissolved in 1 Tbsp Boiling Water

Instructions

  1. Grease an 8-inch springform cake pan. Line with parchment paper
  2. In a medium bowl, mix graham cracker crumbs, melted butter and cocoa powder
  3. Place crumb mixture into the pan. Using your fingers, press the crumbs down and about half way up the sides, forming a firm crust.
  4. Refrigerate for 30 minutes
  5. Melt the chocolate in a heatproof bowl, over a pot of simmering water to melt. The bowl should not be touching the simmering water. The steam is what gently melts the chocolate. Stir occasionally, about 15 minutes. Remove from heat and set aside to cool.
  6. Preheat your oven to 320F
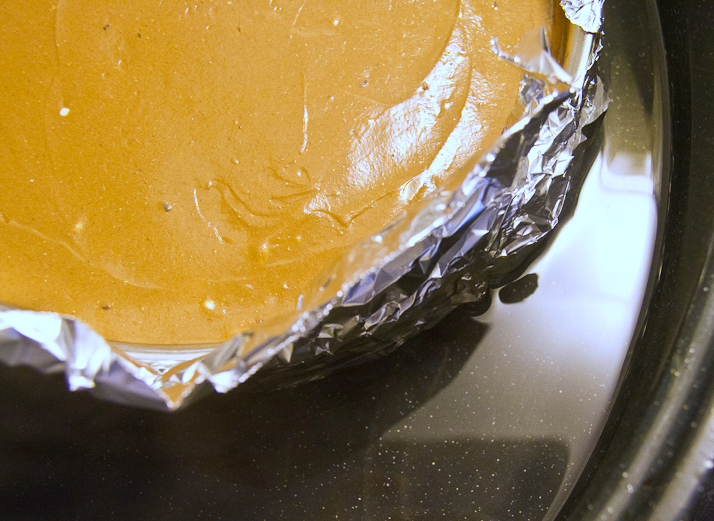
  7. Retrieve your cake pan and wrap with 2 layers of foil. Wrap the bottom of the pan with the intention of keeping water from seeping in during baking.
  8. In a large mixing bowl, beat the cream cheese until smooth
  9. Beat in the sour cream, sugar and cornstarch
  10. Beat in eggs, one at a time until fully combined
  11. Fold in the melted chocolate and the coffee liquid until fully incorporated
  12. Pour the mixture into the prepared cake pan and level off using an offset spatula
  13. Place the cake pan into an oven proof pan or dish, that has a deep rim - a little taller than your cake pan.
  14. Pour enough boiling water into the dish until it gets about half way up the side of the cake pan
  15. Bake for 50 minutes until set
  16. Allow to cool completely
  17. Refrigerate for 4 hours or overnight
  18. To serve: carefully remove the springform pan and dust the cake with cocoa powder and shredded chocolate

Notes

Adapted from 500 Cakes by Susannah Blake

https://lovelypantry.com/2013/03/mocha-cheesecake-for-sundaysupper/


It seemed a little odd at first, to make a cake with no flour. But then I remembered that I’ve made a few flourless cakes – I just don’t make them often enough.


Mocha Cheesecake-1

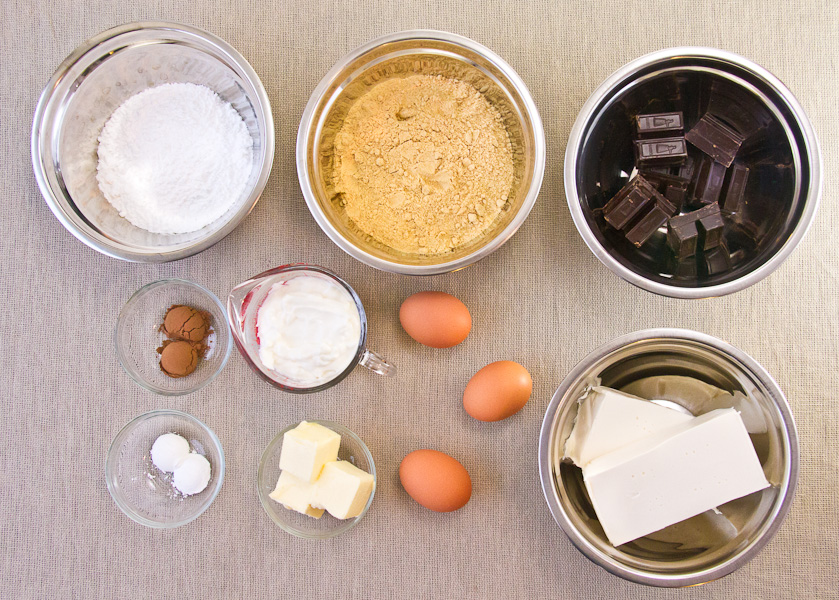
Ingredients to make Mocha Cheesecake


The crust came together very well and did exactly what I needed it to do. I actually made the graham crumbs myself using my little Magic Bullet. That little gadget has really proven its worth. It gets more use than my blender. I cannot emphasize enough – wrap the springform pan well to avoid water seeping in.

 Mocha Cheesecake Prep


Mocha - coffee

Instant Coffee

The decision to add the mocha component happened as I was folding in the melted chocolate. Although the batter smelled wonderful, I wanted to give it a gentle kick to bring it up a notch. I’ll try the plain version another time. Hence the mocha cheesecake was created!


I used the biggest pan I had that was deep enough to bake this cake. Thank goodness for my roasting pan!


Mocha Cheesecake_5


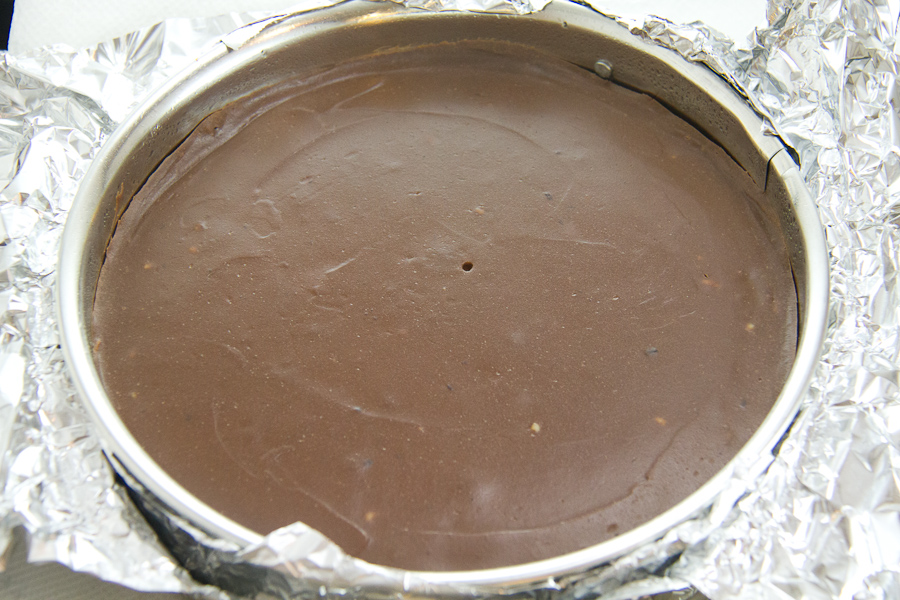
The cake came out great! Almost perfect, actually. As it cooled, the edges pulled away from the pan and this made it easier to transfer to a serving dish.


Mocha Cheesecake-8

Cheesecake, fresh out the oven.


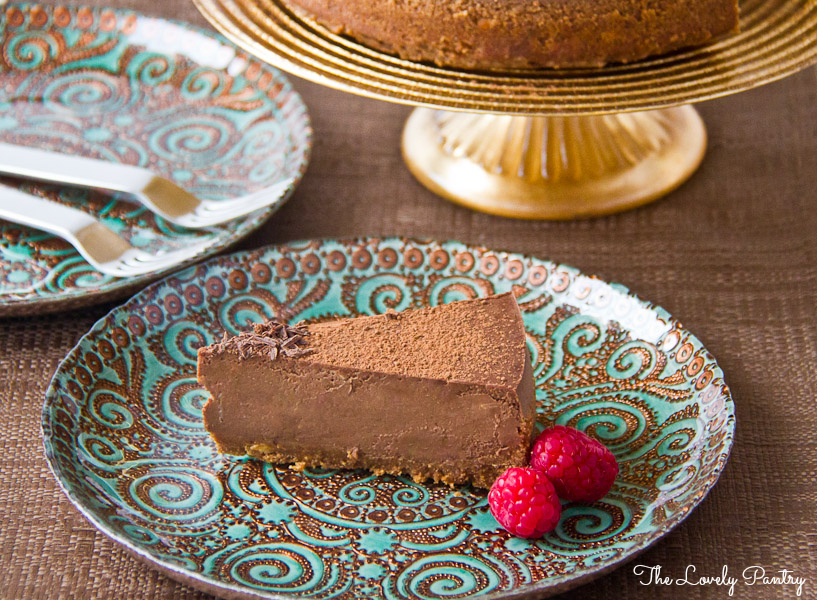
Slicing this cheesecake was a delight. The texture was so creamy and smooth. It was like we were meeting for this first time, this cheesecake and I. It took some time to prepare, and a little additional effort – but my oh my, it was worth it.


 Mocha Cheesecake_6


We enjoyed our Mocha Cheesecake. I enjoyed just looking at it even before I took the first bite! LOL!


Mocha Cheesecake_4

A slice of bliss…Mocha Cheesecake


The #SundaySupper Group has some super fantastic recipes for this week! Check out the  savory cheese dishes, wonderful cakes and amazing cheesecakes!


Cheese 


Cakes


Cheesecakes

***
Join the #SundaySupper conversation on twitter each Sunday. We tweet throughout the day and share recipes from all over the world. This week we will be sharing our love of Cheese, Cakes AND Cheesecakes!  Our weekly chat starts at 7:00 pm EST!

Follow the #SundaySupper hash tag and remember to include it in your tweets to join in the chat.Check out our #SundaySupper Pinterest board for more fabulous recipes and food photos.
Join us Around the Family Table this Sunday at 7PM Eastern Time and share your favorite Cheese, Cake and Cheesecake Recipes with us!


read more
Jamaican Zucchini Spiced Bun #Easter #TwelveLoaves

Mar 1, 2013 by

Welcome to March! So long February and hopefully spring weather will be right around the corner. With a new month comes a special season – Easter, for those who celebrate. We also have St. Patrick’s Day coming up too.  Today I’m sharing a very interesting recipe that caught my eye. I saw Zucchini as the main ingredient and wondered how on earth would that work with a bun recipe? I was pleasantly surprised with the result.

In Jamaica during the Easter season, Jamaicans enjoy a cake/bread called “bun”, usually served with a local cheese. I made my very first Jamaican Easter Bun last year using a recipe my Mom used to use while we were living in England. When you are living outside of Jamaica, it is very hard to find a real authentic bun that tastes like those from home. So I decided to try different recipes and save the really good ones. Soon I realized that there are quite a few variations being used these days. I’m not sure if these variations are being sold at the supermarkets in Jamaica – I haven’t heard of that yet. I’m happy to see the creativity by those who choose to deviate slightly from a traditional tasting bun. My first deviation from the norm, was a Sweet Potato Bun. I was delighted at how lovely it was! I’m sure I will be making it again this season.

Now, a bun made with zucchini is bound to raise some eyebrows. I’ve never heard of such a thing 🙂

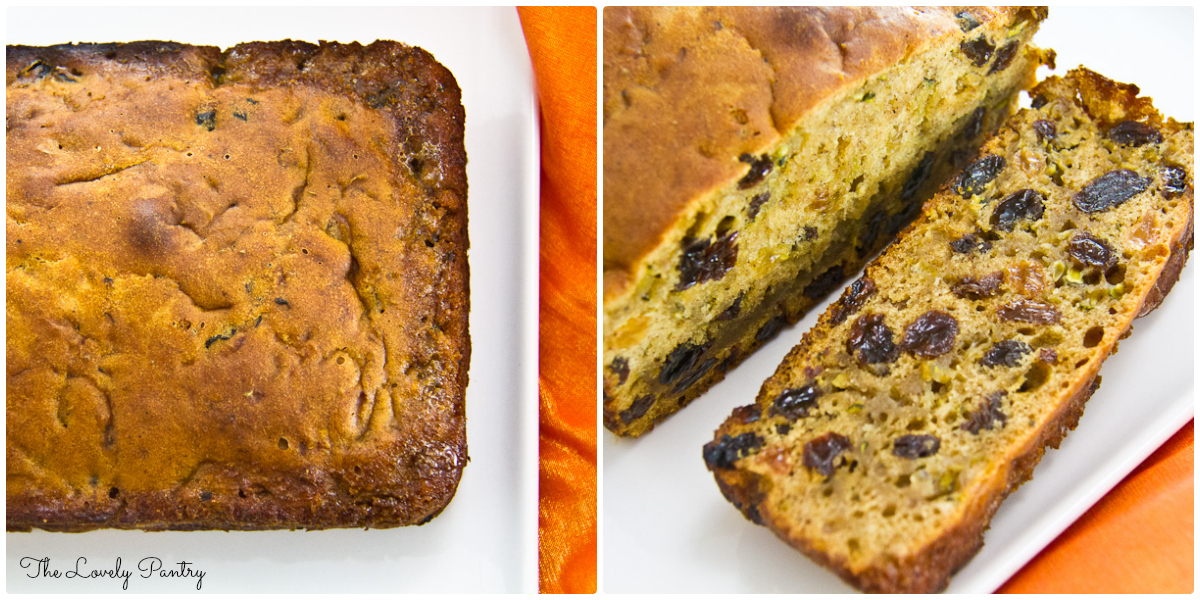
 Jamaican Zucchini Spiced Bun


Jamaican Zucchini Spiced Bun #Easter #TwelveLoaves

Ingredients

  • 2 1/4 Cups All Purpose Flour, Unbleached
  • 1 Cup Granulated Sugar
  • 2 Tsp Vanilla Extract
  • 1/8 Tsp Salt
  • 3 Tbsp Orange Juice
  • 4 Tsp Molasses
  • 1 1/2 Tsp Mixed Spice
  • 1/2 Tsp Orange Zest
  • 1/2 Tsp Cinnamon
  • 1 packet Active Dry Yeast
  • 1 1/2 Tsp Baking Powder
  • 3/4 Cups Water
  • 1/2 Tsp Almond Extract
  • 1 Cup Shredded Zucchini
  • 1 Cup Raisins
  • 1/2 Cup Golden Raisins

Instructions

  1. Proof the yeast: In a small bowl, combine yeast, 1 tsp sugar and 1/4 cup warm water. Cover and leave for a few minutes while it activates (foaming will occur)
  2. Spray and flour a loaf pan. Set aside.
  3. In a large mixing bowl, add flour, sugar, salt, mixed spice, orange zest, cinnamon, and baking powder. Whisk to combine.
  4. Using a standing mixture with a paddle attachment, add and mix in the water, vanilla, molasses, and almond extract.
  5. Mix in the yeast mixture
  6. Fold in the zucchini, followed by the raisins
  7. Pour mixture into prepared loaf pan. Cover and set aside for about an hour.
  8. Bake at 350 for 50 minutes or until toothpick inserted comes out clean
https://lovelypantry.com/2013/03/jamaican-zucchini-spiced-bun-easter-twelveloaves/


I found this recipe in the Jamaica Observer’s Easter Cookbook 2012. I probably overlooked it before because it used yeast. I adapted this recipe by using half the ingredients,  omitting rum and replacing it with orange juice. I also substituted mixed peel for golden raisins. I’m just not a mixed peel kind of lady. I think the Chefs that came up with this recipe did a great job. I’m glad that my adapted version came out well.


Jamaican Zucchini Spiced Bun-1

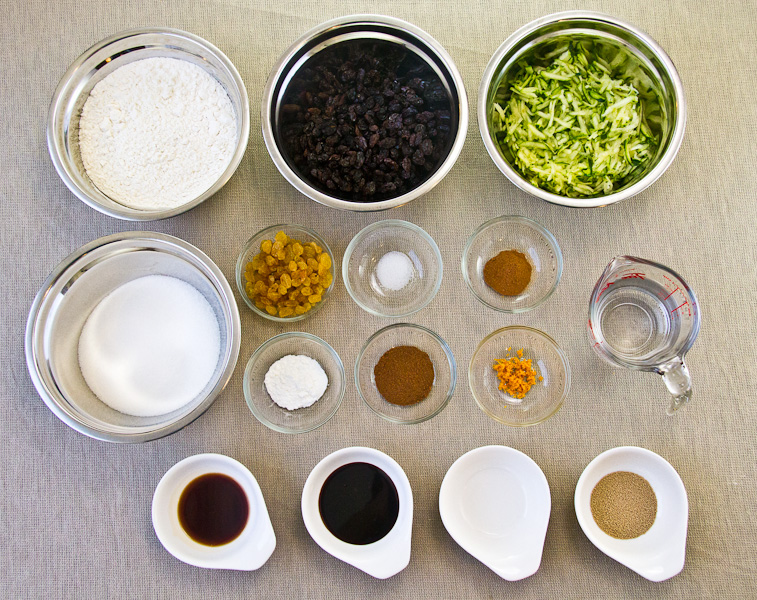
Ingredients for Jamaican Zucchini Spiced Bun


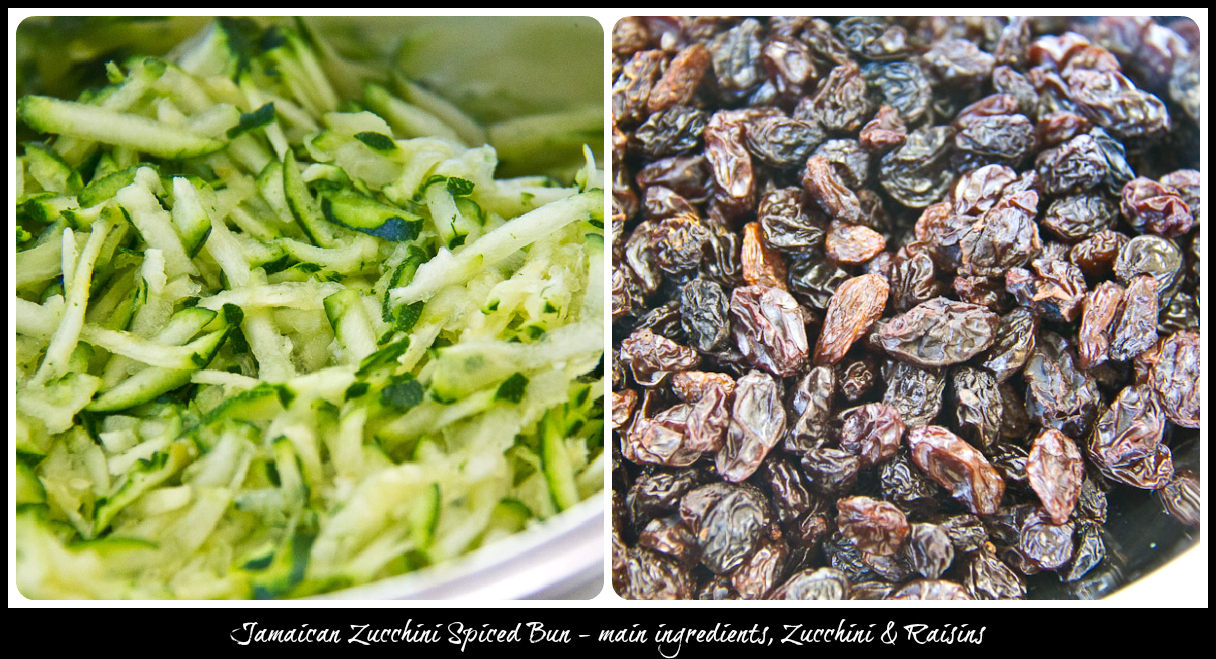
Zucchini added such wonderful moisture to this loaf. I felt good knowing that this vegetable was present. The raisins added a familiar burst of sweetness. A great combination!


Jamaican Zucchini Spiced Bun - main ingredients (a)


Look at all those raisins! No doubt, this bun smelled marvellous while it was baking.


Jamaican Zucchini Spiced Bun - Cut

Zucchini Spiced Bun for Easter


And there you have it. A twist on a traditional Easter staple, using fresh zucchini and raisins. This is my contribution to this month’s #TwelveLoaves challenge. We will be focusing on holiday themed bread for the holidays celebrated during the month of March . Bake a bread (yeast or quick bread), loaf or individual. Do you have a favorite Easter or St. Patrick’s Day Bread? We would love to see it. Let’s get baking!


Jamaican Zucchini Spiced Bun-6a

Jamaican Zucchini Spiced Bun


Look at what our very talented #TwelveLoaves bakers have created this March!

We would love to have you join our #TwelveLoaves group! It’s easy!

1. When you post your Twelve Loaves bread on your blog, make sure that you mention the Twelve Loaves challenge in your blog post; this helps us to get more members as well as share everyone’s posts. Please make sure that your Bread is inspired by the theme!
2. Please link your post to the linky tool at the bottom of my blog. It must be a bread baked to the Twelve Loaves theme.
3. Have your Twelve Loaves bread that you baked this March, 2013 posted on your blog by March 31, 2013.


read more

Roast Chicken With Orange Gremolata #WeekdaySupper

Feb 27, 2013 by

I love being in the kitchen. A while back, cooking used to be a leisurely hobby that I loved to do from the desire to nurture my family. On occasion, I will have the time to prepare wonderful meals that keep me in the kitchen and on my feet for a few hours. Being a stay at home Mother to my children allows me to support my family in a way that only I can, at the moment. As the kids get older and become more active and busy with life outside of the house, my cooking time gets cut down. Soon, I will have to start focusing on how I will prepare meals when I return to the working world. It’s okay if I cook on a Friday night now, but at some point – I’m pretty sure that will become history 🙂 I will need someone to cook for ME.

#SundaySupper is a movement that encourages families to eat together at least once a week, typically on a Sunday but this could be any day of the week based on a families scheduling. As an extension of #SundaySupper, we are pleased to share with you #WeekdaySupper! We will be sharing quick and easy meals every day of the week. How awesome is that? Today I am sharing with you a #WeekdaySupper that is super easy and flavourful with wonderful fresh ingredients ~ Roast Chicken with Orange Gremolata. I found this lovely recipe in the Weight Watchers New Complete Cookbook. I totally forgot I had it.

What I loved about this recipe the most, is that it used fresh ingredients to season and infuse flavour into the chicken. I didn’t change the ingredients, I just changed how I prepared it. The instructions required me to “grill” and turn each piece every 10 minutes until it was cooked through. Well, this is a mid-week supper. I could be doing something else while the chicken is in the oven. So, I roasted the chicken! Its my favourite way to prepare chicken these days anyhow.


Chicken with Orange Gremolata_2


WeekdaySupper

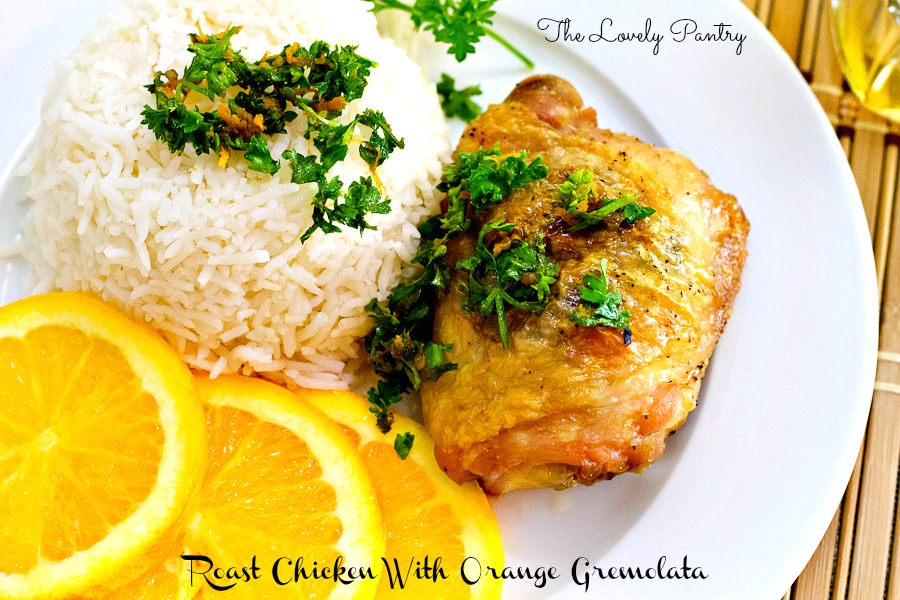
Roast Chicken With Orange Gremolata #WeekdaySupper

Prep Time: 20 minutes

Cook Time: 30 minutes

This recipe was slightly adapted from Weight Watchers, The New Complete Cookbook.

Ingredients

  • 8 Chicken Thighs, skin on
  • 1/2 Cup Chopped Fresh Parsley
  • Grated zest of an Orange
  • 3 Garlic Cloves, minced
  • 1 Tbsp Olive Oil + some to brush over chicken
  • 1 Tsp Cumin
  • 1 Tsp Salt
  • 1 Tsp Black Pepper
  • Additional Salt & Pepper

Instructions

  1. Preheat oven to 375C (Roast)
  2. Prepare Gremolata: In a small bowl, mix parsley, garlic, oil, parsley, cumin, salt and pepper. Reserve 3 tbsp for garnish
  3. Lightly brush chicken with olive oil. Season chicken thighs with salt and pepper
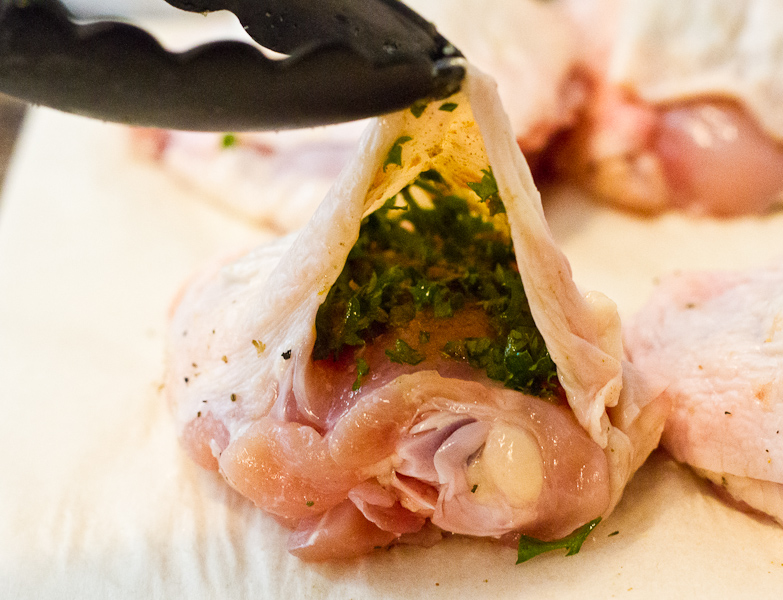
  4. Place about a teaspoon of the Gremolata under the skin of each chicken thigh.
  5. Roast chicken for about 30-40 minutes or until cooked through
  6. Serve with rice and garnish with fresh gremolata
https://lovelypantry.com/2013/02/roast-chicken-with-orange-gremolata-weekdaysupper/


The first question that came to mind when I saw this dish was “What is Gremolata?”. Gremolata is an Italian Condiment that typically consists of Parsley, Lemon Zest, Garlic and Oil. There are many variations, some substituting the parsley for herbs like rosemary, mint, sage or cilantro. Additions may include capers and chopped nuts. Gremolata can be served with pasta, most meats as well as fish. Lots of possibilities with this one. I’m sure I will be trying out some other recipes using Gremolata.


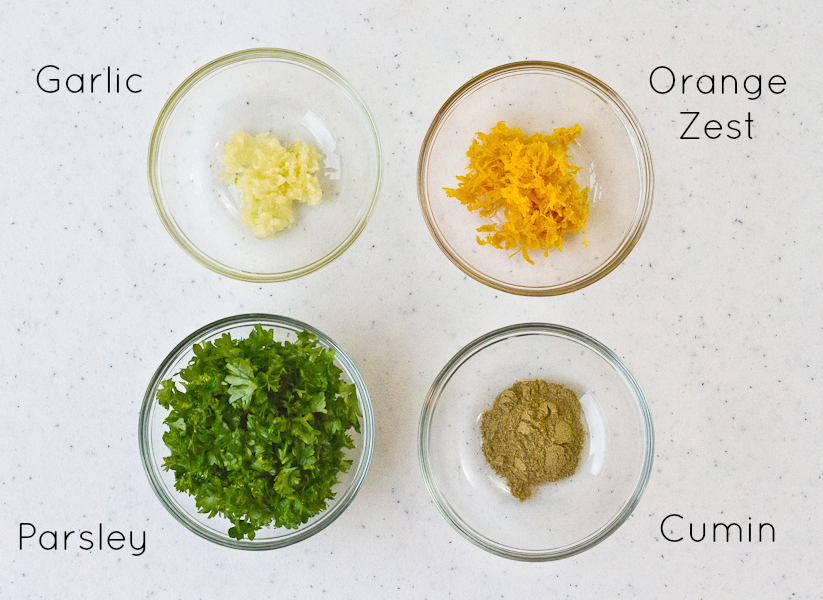
Orange Gremolata Ingredients


I was surprised how quickly this came together. So fresh and fragrant.


Orange Gremolata - ingredients

Orange Gremolata


A teaspoon of Gremolata goes a long way. I spread it evenly under the chicken skin.


Chicken with Orange Gremolata-3

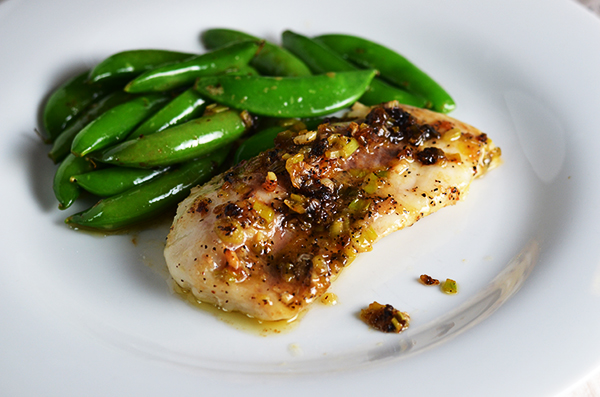
Roast Chicken with Orange Gremolata


Dinner is served in no time. My husband found this meal to be different from what we normally have so I got a nod for choosing this recipe. I hope you enjoy it as much as we did.


Chicken with Orange Gremolata-4

Roast Chicken With Orange Gremolata


Dinner during the week can be easy, flavourful and healthy too. 😉 Enjoy!


This Week’s  #WeekdaySupper Recipes:

Related Posts Plugin for WordPress, Blogger... read more
Post Popularity Graphing by Knowledge Ring