Quinoa Pasta with Roasted Zucchini and Cheese

Mar 26, 2012 by

Last nights dinner was so very interesting to me. I knew I had to roast some zucchini that was begging to be eaten. I also wanted to try the Quinoa Pasta that I bought a few days ago. I had never seen it before and I wanted give it a try so I could see how it tasted and how the texture compared to regular pasta. And there’s the cheese. I’ve always had a thing for cheese. It’s not something that I will give up easily, so bear with me as you see cheese all over this recipe. I kept it subtle. Promise 🙂 …Although I purposely avoided measuring how much cheese I used…

It was tasty, meatless and certainly something I intend to have again. My hubby thought it was quite nice. I don’t think I could convince him to have this without some meat though. He is far from a part-time vegetarian, like what I’m on the path to becoming. Baby steps. As I read more about it and find recipes that suit my palate, I’m truly considering reducing my meat consumption.

Here’s the finished result…another freestyle recipe 🙂


Quinoa Fusilli Pasta & Roasted Zucchini with Parmesan Flakes


As for the Quinoa Pasta, I realized that it takes a little longer to cook than regular pasta. The package suggested 13-15 minutes – spot on. Anything before that, it’s still rather firm. Also, you have to eat it right away. I decided to toss it in a cheese mixture in order to make it moist on the outside. I don’t do dry pasta very well. A cream sauce or olive oil is pretty much mandatory. The texture of quinoa pasta is just fine and I would not have noticed the difference at all. I will buy it again, if I come across it. Its Quinoa. I can’t go wrong. Right?


Quinoa Pasta - Gluten Free, Corn Free


5.0 from 3 reviews
Quinoa Pasta with Roasted Zucchini and Cheese
 
Prep time
Cook time
Total time
 
An easy meal perfect for any day of the week. Quinoa, Zucchini and Cheese.
Author:
Recipe type: Main
Serves: 4
Ingredients
  • 2 Medium Zucchini
  • Salt & Pepper
  • Olive Oil for bushing the Zucchini
  • Few Tbsp grated or shredded Parmesan Cheese
  • 8 oz Quinoa Pasta (or whatever pasta you prefer)
  • 1 Scallion, sliced thinly
  • 2 Tbsp Cream Cheese (I used reduced fat)
  • 2 Tbsp Chicken Broth
Instructions
  1. Preheat oven to 425F
  2. In a medium pot, bring about 4 cups of salted water to a boil
  3. Add quinoa pasta and cook according to package directions
  4. Cut ends off zucchini then slice each into 6 wedges
  5. Grease a rimmed baking tray with olive oil
  6. Place zucchini, skin side down on the greased baking tray
  7. Brush with olive oil then sprinkle with salt, pepper and parmesan
  8. Roast for 20 minutes, until the zucchini is golden brown
  9. In a medium pot, add cream cheese, chicken broth and parmesan
  10. On medium heat, still until melted and combined
  11. When pasta is ready, drain and add to cream cheese mixture
  12. Toss to lightly coat
  13. Add salt and pepper to taste
  14. Cut zucchini into chunks and stir in or serve on the side
  15. Garnish with Scallion and parmesan flakes
Notes
I used Quinoa Pasta but you can use any pasta for this recipe


I got my son to eat the zucchini. I had to basically emphasize that it had cheese on it. Not that there was too much, but he needs encouragement to eat “new” veggies. He has lettuce, green beans and broccoli under his belt. He needs to conquer zucchini so I can move on to another vegetable. Goodness rules in my house!


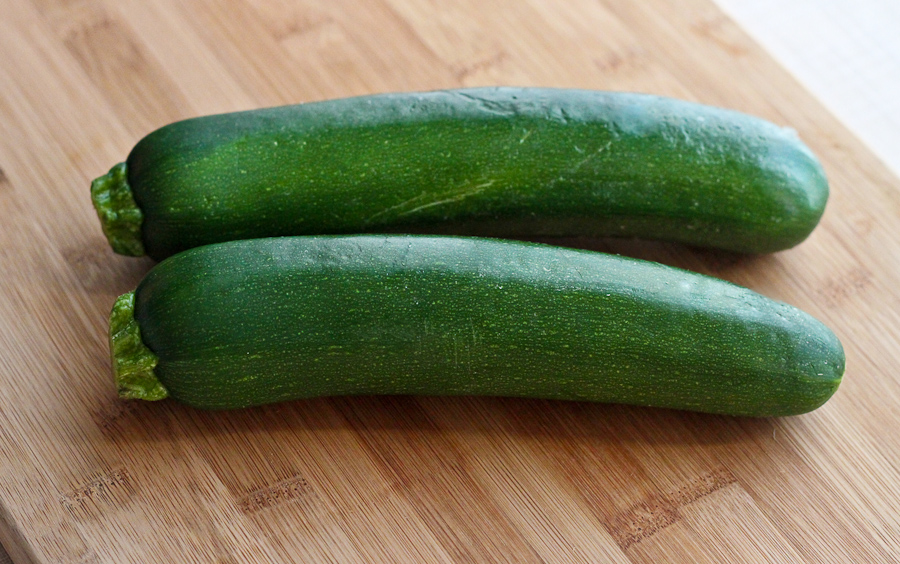
Zucchini


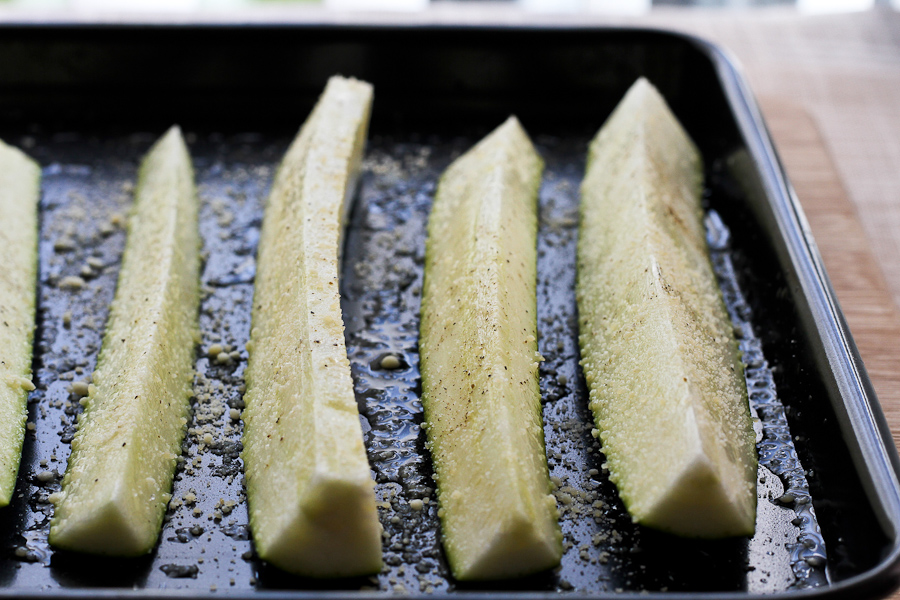
Zucchini, Sliced, oiled, sprinkled with salt, pepper and parmesan cheese


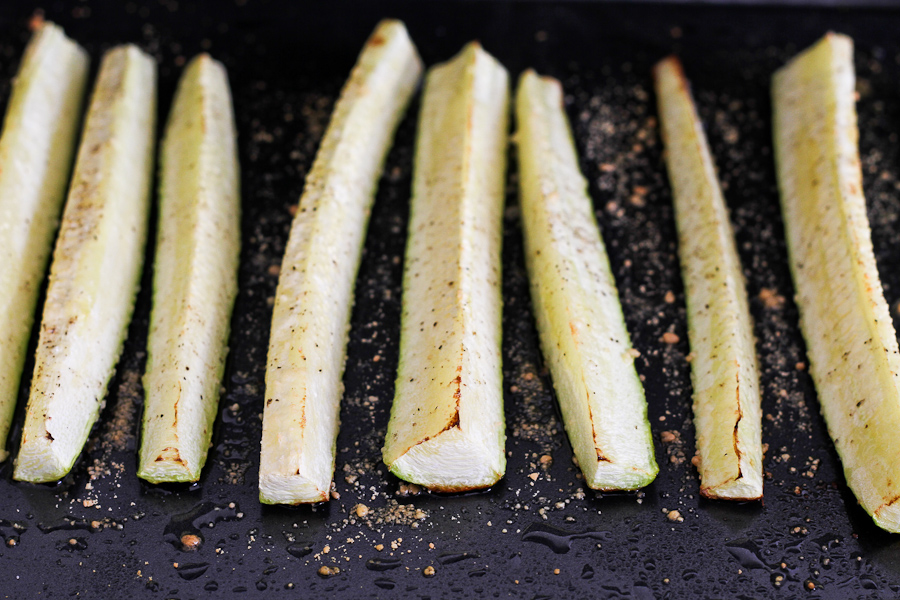
Roasted zucchini, fresh out the oven. So fragrant. Even the crispy parmesan stuck to the tray looked good to me.


Zucchini, roasted for 20 minutes


Roasted Zucchini with Parmesan Cheese


Zucchini never tasted so good.


Dinner is served - Quinoa Pasta & Parmesan Roasted Zucchini


What a way to start the week. Happy Monday friends!

~Lyn


read more

Buttermilk Quick Bread

Mar 7, 2012 by

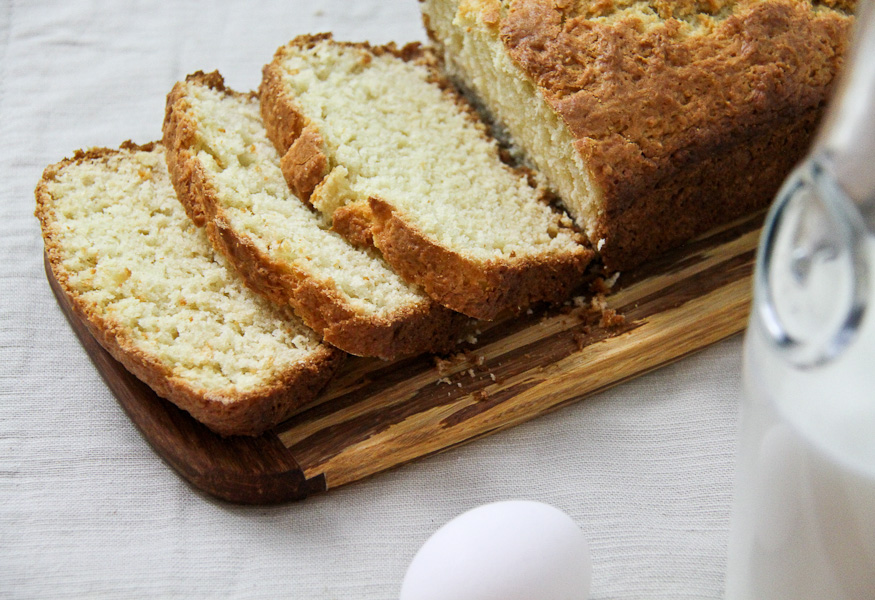
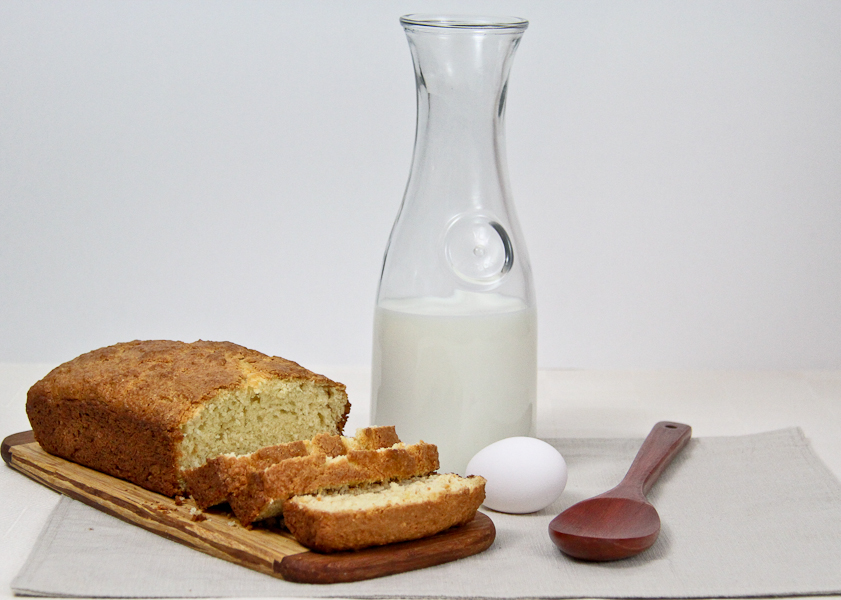
I’m quite fond of quick breads. I love how easy they are to make and the wide variety and variations of each recipe that I come across. I have yet to make a quick bread that I did not like. Granted, I scrutinize the ingredients very carefully before I decide to make it. Please allow me to formally introduce you to Buttermilk Quick Bread. A very simple bread that I have been making on the weekends if I have any buttermilk in the fridge. I found this recipe on one of my daily sources of inspiration: The Kitchn, and knew as soon as I saw it, that I was going to make it. I’ve made it 4 times already – twice plain, once with raisins and this past weekend, with blueberries. Versatile little quick bread, isn’t it? The original post, has a few other variations that look interesting to try too – like Pesto Loaf. (Are you imagining a green quick bread?)

I love that this plain bread is like a canvas. You can tweak it to your liking and chances are, it will turn out great.

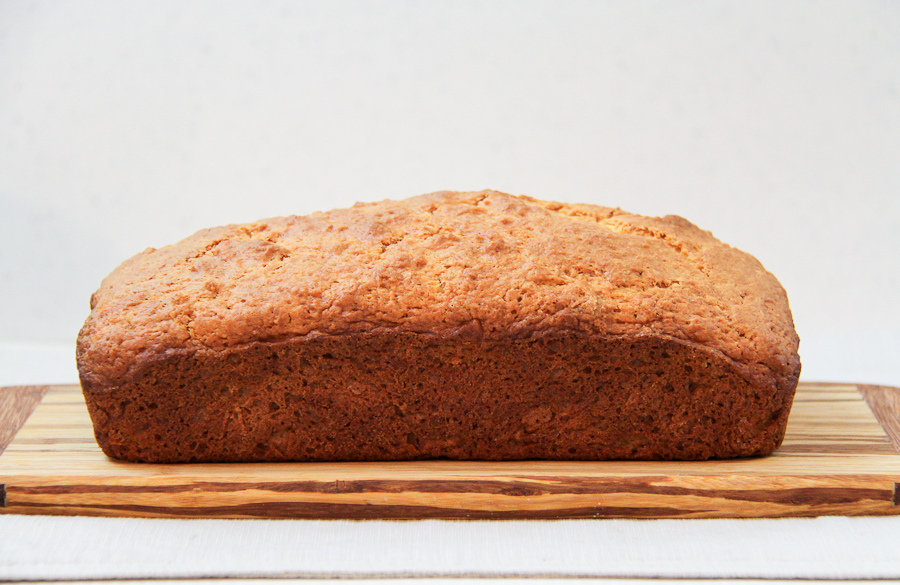
Buttermilk Quick Bread. Profile.


5.0 from 3 reviews
 

The consistency of the batter is quite thick, so you have to gently spread into the corners with a spatula.


Quick Bread Batter


Ah! Perfection!


Buttermilk Quick Bread – Out of the oven


It’s best to use a serrated knife to cut this bread since it is a bit delicate.


Buttermilk Quick Bread – sliced


Buttermilk Bread


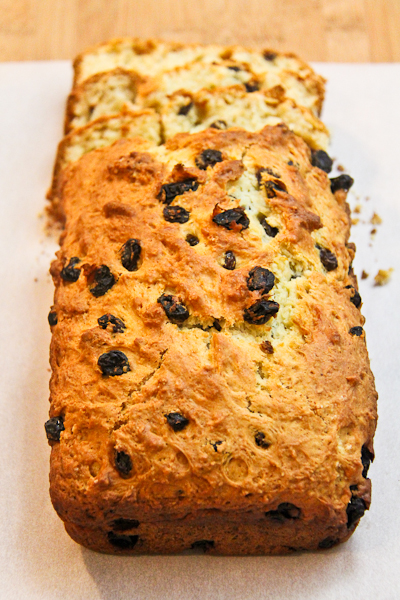
Buttermilk Quick Bread with Raisins


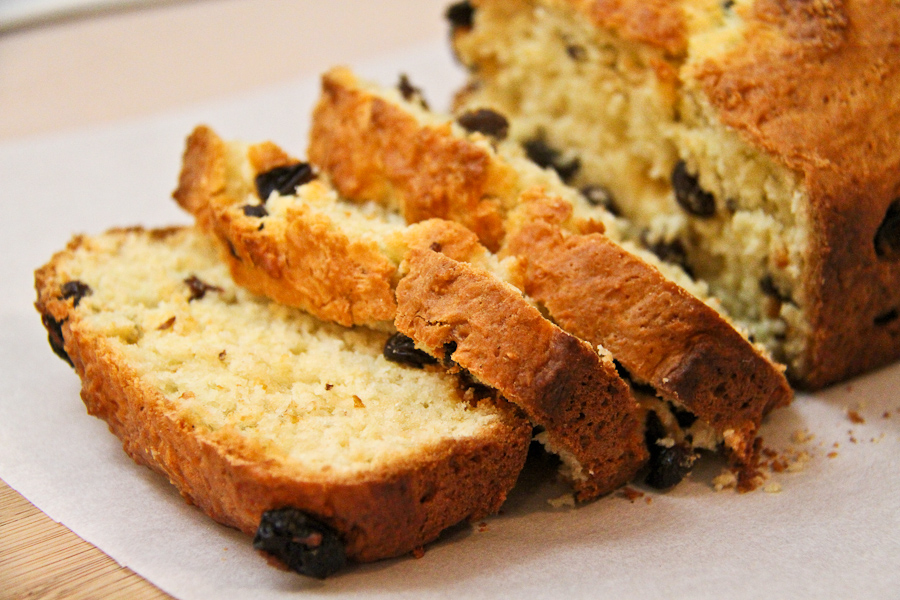
I like that because the batter was so thick, the raisins didn’t have the chance to sink to the bottom of the pan 🙂 For some recipes with a batter of thinner consistency, like the Ginger Carrot Bread, you have to toss the raisins (or small fruit like blueberries) in flour before folding them into the batter. So nice that I was able to skip that step.


Buttermilk Quick Bread With Raisins – sliced


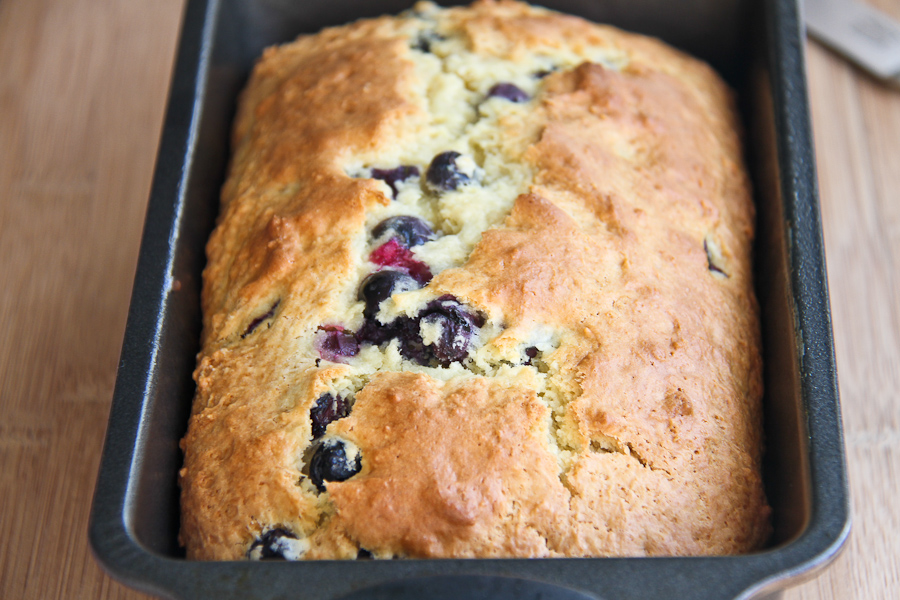
Finally, with Blueberries. I wanted to cut the loaf to take a quick photograph however, I was entertaining so I did not want to cut it before we were ready to eat it. Everyone loved it!


Buttermilk Quick Bread with Blueberries


Happy Wednesday! I hope the week has been off to an awesome start! I’ll be back soon.

Cheers for now.

Lyn


read more

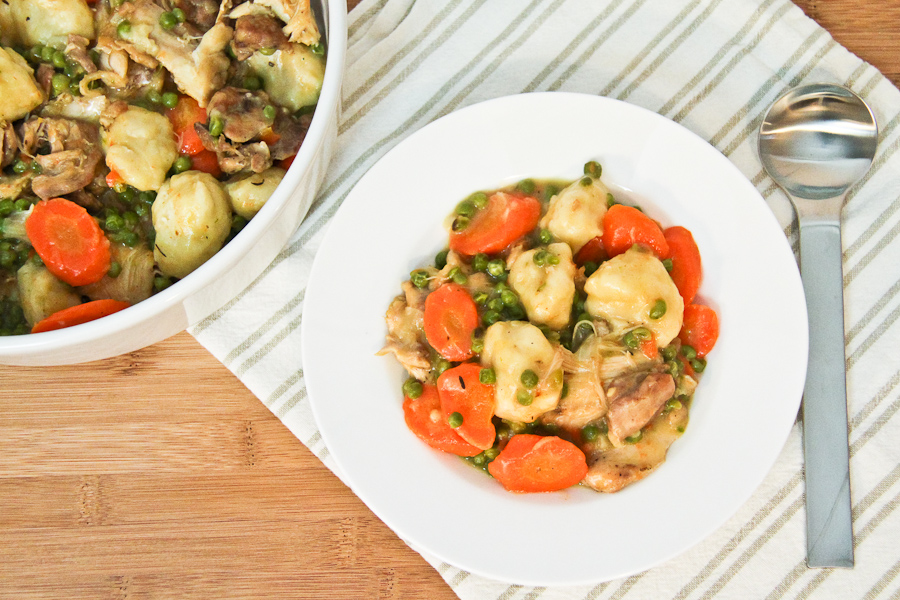
Chicken And Dumplings

Feb 27, 2012 by

I seemed to have developed a strange attraction and liking to dumplings. But not the dumplings that my mom or grandmother made. These dumplings are not the Caribbean way! But I just love them! I also love the way the chicken is cooked down into a stew. My husband loves how fluffy the dumplings are, and I totally agree.

This Chicken and Dumpling meal truly makes me happy. No leftovers whenever I make this 🙂

I know you guys loved the Chicken Soup With Dumplings. But THIS is where the party is at! LOL Yes, I love it that much.


Chicken and Dumplings


Chicken And Dumplings

Prep Time: 15 minutes

Cook Time: 45 minutes

Total Time: 1 hour

Ingredients

  • 2 Tbsp Butter
  • 1 Medium Onion, diced
  • 5 Carrots, cut into 1 1/2 inch pieces on the diagonal
  • 1 Tsp Dried thyme
  • 1/4 Cup Unbleached, All Purpose flour
  • 1 3/4 Cup Low Sodium Chicken Broth
  • 8 Chicken Thighs, Skinless, Boneless
  • Salt & Pepper
  • Grapeseed Oil (to cook chicken)
  • Dumplings:
  • 3/4 Cup Unbleached, All Purpose Flour
  • 1 3/4 Tsp Baking Powder
  • 1/2 Tsp Salt
  • 1/2 Cup Milk (I used 2%)
  • 1 Cup Peas, thawed from frozen

Instructions

  1. Season Chicken with salt and pepper
  2. In a skillet, add some Grapeseed oil and brown chicken on both sides
  3. Remove chicken from skillet and set aside
  4. In a warm dutch oven over medium heat, add butter.
  5. When butter has melted, add onion and sauté until softened
  6. Add Carrots and Thyme
  7. Stir 3-5 minutes over medium heat
  8. Add 1/4 cup flour to make a roux. Stir in gradually to combine
  9. Gently whisk in chicken broth
  10. Bring to a boil while whisking to remove any lumps of flour
  11. Add Chicken. Cover and cook for about 15 minutes
  12. In a medium bowl, add flour, baking powder, salt and milk
  13. Combine with a fork
  14. Using 2 spoons, form dumplings and place in the dutch oven (about 14-16 small dumplings)
  15. Cover and cook for 15 minutes (stir once or twice during this time to ensure chicken doesn't stick the bottom of the dutch)
  16. Add peas
  17. Cook for 5 minutes until peas warmed through and dumplings are cooked
  18. Gently stir
  19. Serve immediately
https://lovelypantry.com/2012/02/chicken-and-dumplings/

5.0 from 1 reviews
 

Adapted from Everyday Food


Dumplings in the pot!


This is a definite favourite for me. I just need to win the kids over and then this could be a weekly item. Too bad they are going through that funny texture phase.


Chicken and Dumplings – Dinner is served


Okay, I need to back away from the computer. I’m getting hungry for dumplings.

Have a great week, everyone!


read more

Red Velvet Cupcakes with Cream Cheese Frosting

Feb 14, 2012 by

Today is Valentine’s Day and although I don’t celebrate it, I thought it would be awesome if I made something I’ve been wanting to make for a while now. A friend of mine made it and it was really nice and ever since, I keep seeing the recipe everywhere. It was a sign! So I did it. And it was FABULOUS. I swear, I ate my cupcakes in moderation.  I will not swear the same for the frosting! My daughter ate the frosting and half a cupcake. She then refused to eat any other cupcake without frosting. Major meltdown if her frosting had no sprinkles.  MAJOR.


Red Velvet Cupcake with Cream Cheese Frosting


Red Velvet Cupcake with Cream Cheese Frosting


I’ll say this now – I will likely make these Red Velvet darlings once per year. Or maybe on a REALLY special occasion. No more than that. Perhaps this will be my Valentine’s Day treat for the family. I guess it’s better than nothing 🙂 It tastes great but oh my, could we use a bit more oil? Sugar? Please? I’m sure there’s a “light” version out there somewhere in cyberland. I’ll come across it eventually.

A general warning…don’t wear white or a light coloured shirt while making this recipe. Don’t say I didn’t tell you. I really ought to invest in an apron 🙂


Here’s the recipe and a few photographs. Cupcakes are awesome models.


5.0 from 2 reviews
Red Velvet Cupcakes with Cream Cheese Frosting
 
Prep time
Cook time
Total time
 
Red Velvet Cupcakes with Cream Cheese Frosting - a treat for any special occasion
Author:
Recipe type: Dessert
Ingredients
  • 2½ Cups Cake Flour
  • 1½ Cups Sugar
  • 1 Tsp Baking Soda
  • 1 Tbsp Cocoa Powder
  • 1 Tsp Salt
  • 2 Large Eggs
  • 1½ Cups Vegetable Oil
  • 1 Cup Buttermilk (I used 1%)
  • 2 Tbsp Liquid Red Food Coloring
  • 1 Tsp Vanilla Extract
  • 1 Tsp White Vinegar
  • Cream Cheese Frosting:
  • 8 oz Cream Cheese (low-fat)
  • 5 Tbsp Unsalted Butter, at room temperature
  • 2 Tsp Vanilla Extract
  • 2 Cups Confectioners Sugar
  • 2 Tsp Lemon Juice, freshly squeezed
Instructions
  1. Preheat oven to 350F
  2. Prepare cupcake liners (Paper or Silicone)
  3. In a medium bowl, add flour, sugar, baking soda, cocoa powder and salt. Combine with a whisk.
  4. In a large bowl, add eggs, vegetable oil, buttermilk, red food coloring, sugar and vanilla. Combine with a hand-held mixer (or standing mixer if you have one)
  5. Gradually add dry ingredients into the wet, mix until smooth consistency is achieved
  6. Add batter into prepared cupcake liners
  7. Bake for 18 minutes, rotating half way through
  8. If a toothpick or sharp knife comes out clean after insertion, allow cupcakes to cool
  9. For the frosting, combine cream cheese and butter with a mixer until smooth
  10. Add Vanilla Extract, mix to combine
  11. Gradually add the confectioners' sugar and mix until combined and smooth.
  12. Lastly, add the lemon juice and give it one last mix to combine
  13. Put frosting in the refrigerator for about 10 minutes
  14. When cupcakes are completely cooled, add frosting
Notes
This recipe yields 24 cupcakes

This recipe was adapted from Annie’s Eats.


Silicone Hearts


Filling the Silicone Hearts


Cupcakes are ready!


These are ready too...


Red Velvet Heart Shaped Cupcakes with Cream Cheese Frosting


Red Velvet Cupcakes with Cream Cheese Frosting


Naked Red Velvet Cupcake


Uber moist Red Velvet Cupcake


So anyway, I had a great time photographing my cupcakes. Like my silicone hearts? Beats the reusable cupcake liners! There were only 12 in a pack so I used 12 paper liners also. Fact: The cream cheese frosting was the star of the show. It’s just so GOOD!


The GOODNESS of Cream Cheese Frosting


I won’t be doing much romancing today – no more than the usual (wink). But I’m sure I’ll be watching some romantic comedy or the other on television tonight with the husband. If you celebrate Valentine’s Day, have a good one. If you don’t celebrate, have a good one!


~Lyn

read more
Lyn’s Banana Bread

Jan 6, 2012 by

I’ve been making this banana bread for a few years now. It somehow never fails. Everybody loves it and I’m so happy to be sharing it with you. It’s definitely “lighter” than most recipes which is great because I really don’t care for the guilt that comes along with loaded baked goods. So this recipe satisfies me. I found this recipe on Food Network Canada and I’ve made my changes to get it to where I like it.

Bananas should never EVER go to waste. I learned a few years back that over-ripe bananas can be stored in the freezer for baking. That advice was like gold to me. I now use frozen bananas for porridge, smoothies and banana bread.

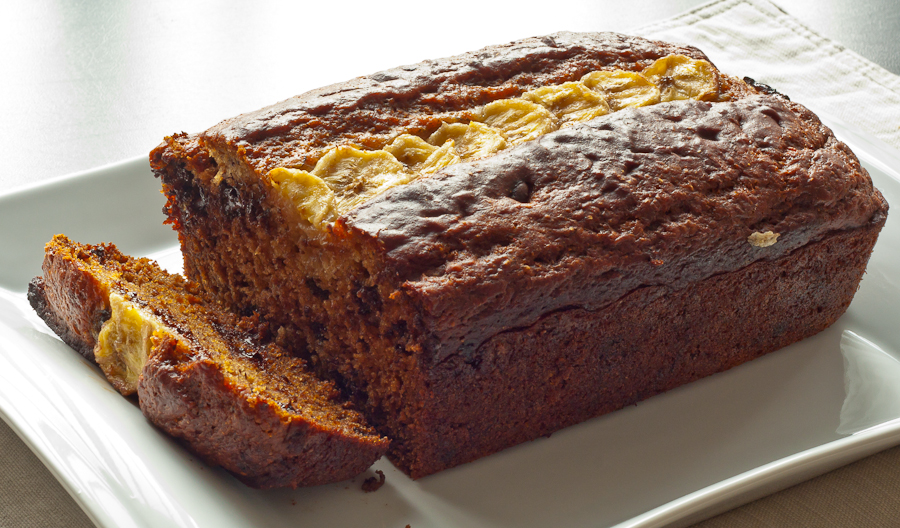
I love Banana Bread. Even more so with dark chocolate chips.

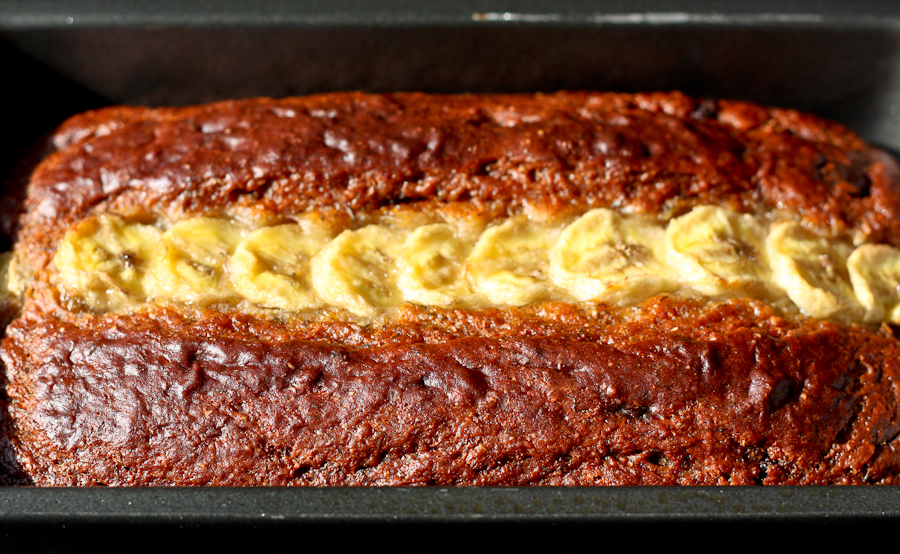
I use 2 bananas because I found using 3 made the bread overly moist, which wasn’t so nice for me. I love that yogurt is used as the binding agent instead of eggs. Notice too, that butter is absent. The garnish on top is optional too, it’s really there to make the cake look even prettier. The cake on its own is delicious. Yes, even without the chocolate chips.


Chocolate Chip Banana Bread – Ready for the oven


Banana Bread


Lyn's Banana Bread
 
Prep time
Cook time
Total time
 
A lighter version of a wonderful family favourite - Banana Bread
Author:
Recipe type: Bread
Serves: 10
Ingredients
  • 2 very ripe bananas
  • ¼ cup honey
  • 1 tsp vanilla
  • ¼ cup granulated sugar
  • 1 cup fat free vanilla yogurt
  • 2 tbsp vegetable oil
  • 1 cup all purpose, unbleached flour
  • ½ cup whole wheat flour
  • 2 tsp baking soda
  • ½ teaspoon salt
  • ½ tsp Allspice
  • 1 ripe banana, sliced, to bake on top of bread as a garnish (optional)
  • ¼ cup dark chocolate chips (optional)
Instructions
  1. Preheat oven to 350 F.
  2. Lightly grease a 4-inch X 8-inch loaf pan.
  3. In a large bowl, mash bananas. Add the honey, vanilla, sugar, yogurt and oil. Mix to combine.
  4. In a medium bowl, sift flour, baking soda, salt and allspice.
  5. Gently fold the dry ingredients into the banana mixture until just combined.
  6. Pour batter into prepared loaf pan.
  7. Arrange banana slices decoratively on top of the batter, if desired.
  8. Bake 40 to 50 minutes, until golden and a knife inserted comes out clean. Let cool in the pan for 30 minutes before cutting into slices.
Notes
Adapted from http://www.foodnetwork.ca/recipes/Fruit/recipe.html?dishid=5918


Chocolate Chip Banana Bread


Chocolate Chip Banana Bread


If you ever get around to making this bread, please do think of me. Imagine me with a big smile on my face, whispering sweetly…”I told you so”

Have an amazing weekend!


~Lyn   XoXo


Related Posts Plugin for WordPress, Blogger... read more

Post Popularity Graphing by Knowledge Ring