Blueberry Muffins with Cinnamon Streusel & Blog Appreciation

Apr 1, 2012 by

One night late last week, I stayed up late to make muffins for my husband and his co-workers. They are doing an internal course in order to advance within the organization. Let me tell you. The work load is what I consider “University INTENSIFIED”. It’s a lot of work and pressure, especially for those who have families and responsibilities. Time management and balance is key. I thought it would be a nice gesture to send something home-made and not some sugar spiked junk from the coffee shop. They need nourishment as well as encouragement over the next few months and beyond. I figured blueberry muffins were portable and universally enjoyed.

I made these muffins for the first time over a year ago and my husband really liked it – we all did. I actually misplaced the recipe that I had found online. Do you know how many Blueberry Muffin recipes are online???? Luckily I found it (phew) and got to baking around 1am.

Yes, 1 AM.

I wanted to have the muffins as fresh as possible since this Diva doesn’t do early very well. Everyone enjoyed the muffins and my husband totally appreciated me making them for the guys. I’m sure he must have been very happy to wake up to that wonderful aroma of muffins at five o’clock in the morning. Thank you dear husband, for leaving a few muffins behind for the family to enjoy 🙂


Blueberry Muffins with Cinnamon Streusel


5.0 from 3 reviews
Blueberry Muffins with Cinnamon Streusel
 
Prep time
Cook time
Total time
 
Blueberry Muffins - everyone will enjoy them!
Author:
Recipe type: Dessert
Serves: 20
Ingredients
  • 2 Cups Blueberries (thawed if frozen)
  • 2 Tsp Unbleached All Purpose Flour
  • 2 Cups Unbleached All Purpose Flour
  • 2 Tsp Baking Powder
  • ½ Tsp Salt
  • ½ Cup Sugar
  • ½ Cup Vegetable Oil
  • ½ Cup Milk
  • 3 Eggs
  • Streusel:
  • 1 Tsp Pure Vanilla Extract
  • 2 Tbsp Brown Sugar
  • 1 Tbsp Terbinado Brown Sugar (optional)
  • 2 Tbsp Coconut Oil
  • 2 Tbsp Unbleached All Purpose Flour
  • ½ Tsp Cinnamon
Instructions
  1. Preheat oven to 350F
  2. In a small bowl, add Blueberries and 2 Tsp flour. Toss well and set aside
  3. For streusel: in a small bowl, add sugars, flour and cinnamon. Add coconut oil and combine with a fork. Set aside
  4. In a medium bowl, sift together 2 Cups flour, baking powder and salt
  5. In a large bowl, add sugar, oil, eggs, milk and vanilla. Mix well to combine
  6. Add dry ingredients to the wet and mix until just combined. Gently fold in blueberries
  7. Fill muffin cups about ⅔-3/4 full
  8. Take about a teaspoon of streusel and sprinkle on top of the batter in each filled muffin cup
  9. Bake for 30-40 minutes
Notes
Be sure not to skip the first step. Tossing your blueberries in flour will prevent them from sinking to the bottom of the batter. I used Terbinado sugar to give the streusel a nice crunch. It is optional and was not in the original recipe

This recipe is slightly adapted from a recipe found at The Family Kitchen on Babble


I prefer Blueberries cooked rather than fresh. Or in a smoothie. However I end up having them, I always enjoy it!


Blueberries


Blueberry Muffin with Cinnamon Streusel


Pretty Blueberry Muffins


I know, we don’t eat muffins with a fork. Well, I kinda do…sometimes.. 🙂


Muffin, unwrapped


Take a Big Blueberry BITE!


Bursting with Blueberries


Hey, speaking of appreciation… I’ve had some really awesome food bloggers give me some wonderful awards! I’m so humbled and thankful that my online foodie friends thought of me to give me these awards. So very humbled. I love what I do here at The Lovely Pantry and as I continue to grow, it’s really encouraging to know that there are people out there who understand what it takes to do this. We blog for many reasons including the love of food, the art of cooking, the love of sharing, the love of community and my personal favourite – photography. It feels great knowing that there are people cheering you on! I’m going to share the love in my next post.


Have a wonderful Sunday!

~Lyn


read more

Chocolate Stout Cake

Mar 13, 2012 by

I tried to resist making this. I really did. But I had all the ingredients! I just had to.

I picked up a little recipe book called Irish Favourites and the recipes were interesting… as in, I’d make most of the recipes in the book! It was perfect timing seeing that St.Patrick’s day is right around the corner. The original recipe had a cream cheese frosting but I opted out. The chocolate cake is bad enough. And by bad, I mean good.


Chocolate Stout Cake


Chocolate Stout Cake
 
Prep time
Cook time
Total time
 
Chocolate Stout Cake, adapted from Irish Favourites Cookbook
Author:
Recipe type: Dessert
Serves: 12
Ingredients
  • 2 Cups All Purpose Flour, unbleached + more for dusting the pan
  • ¾ Cup unsweetened Cocoa
  • 1 Tsp Baking Soda
  • ¼ Tsp Salt
  • ¾ Cup (1½ Sticks) Unsalted Butter, softened
  • 1 Cup packed Light Brown Sugar
  • ½ Cup Granulated Sugar
  • 1 Tsp Vanilla
  • 3 Eggs
  • 1 Cup Stout, at room temperature (I used Jamaican Dragon Stout)
  • 1½ Cup Icing Sugar
  • 3-4 Tbsp Hot Water
  • 2 Tbsp Green Sprinkles
Instructions
  1. Preheat oven to 350F
  2. Spray a 10 inch Bundt Pan (a 13 X 9 inch baking pan) with cooking spray, then dust with flour
  3. Combine flour, cocoa and salt in a medium bowl. Set aside
  4. Beat butter, brown sugar and granulated sugar with a mixer at medium speed until light and fluffy
  5. Beat in vanilla
  6. Add eggs, one at a time, beating after each addition
  7. Add flour mixture alternately with stout, beating after each addition
  8. Pour batter evenly into prepared pan
  9. Bake for 35-40 minutes until a sharp knife or toothpick inserted into the centre comes out
  10. clean
  11. Allow to cool completely in the rack
  12. In a small measuring cup, sift in icing sugar. Add hot water and stir until smooth. Pour over the cake and add sprinkles for final touch


Look what I found – Jamaican Dragon Stout. The sweeter alternative to Guinness. My hubby had a stash and was nice enough to let me use one. I’m not a stout drinker myself, but I think I may like cooking with it.


Jamaican Dragon Stout


Dragon Stout - Close Up


The recipe called for a 13 X 9 inch baking pan but I thought it would be more interesting to use a Bundt pan. Okay, I just really wanted to use it. This is my first Bundt cake. Chocolate Stout Bundt Cake. Sounds good!


Chocolate Stout Cake Batter


Glazing was some messy fun! Me and my daughter had green fingers for a while…


Glaze and Sprinkles


Chocolate Stout Cake Slice


A rich but not too sweet chocolate cake, made with a Jamaican stout…just in time for St. Patrick’s Day.


Chocolate Stout Cake


About how long do I need to walk on the treadmill to fix this?

read more

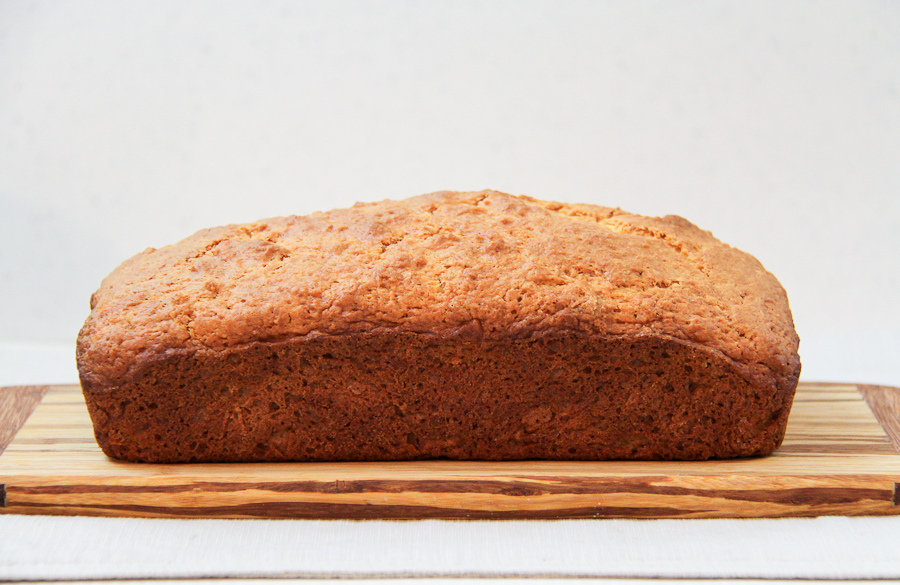
Buttermilk Quick Bread

Mar 7, 2012 by

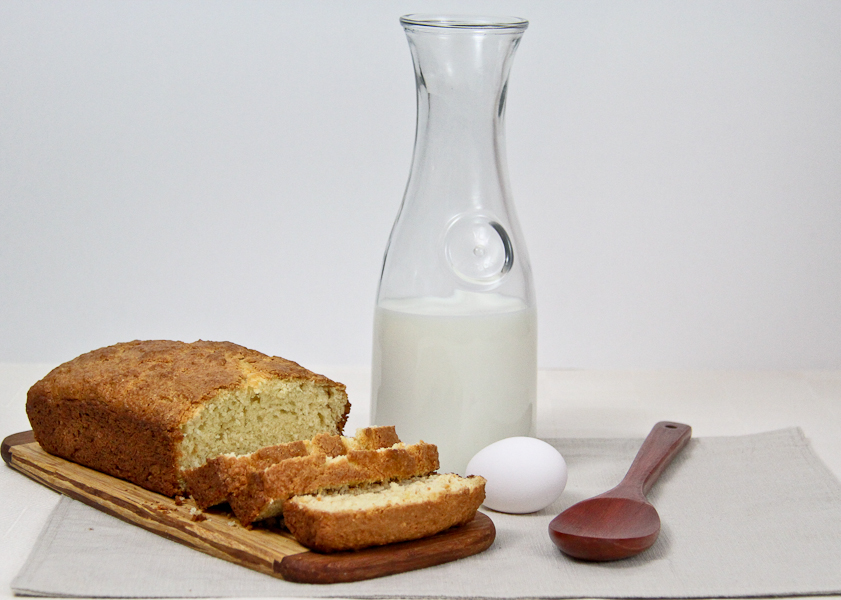
I’m quite fond of quick breads. I love how easy they are to make and the wide variety and variations of each recipe that I come across. I have yet to make a quick bread that I did not like. Granted, I scrutinize the ingredients very carefully before I decide to make it. Please allow me to formally introduce you to Buttermilk Quick Bread. A very simple bread that I have been making on the weekends if I have any buttermilk in the fridge. I found this recipe on one of my daily sources of inspiration: The Kitchn, and knew as soon as I saw it, that I was going to make it. I’ve made it 4 times already – twice plain, once with raisins and this past weekend, with blueberries. Versatile little quick bread, isn’t it? The original post, has a few other variations that look interesting to try too – like Pesto Loaf. (Are you imagining a green quick bread?)

I love that this plain bread is like a canvas. You can tweak it to your liking and chances are, it will turn out great.

Buttermilk Quick Bread. Profile.


5.0 from 3 reviews
 

The consistency of the batter is quite thick, so you have to gently spread into the corners with a spatula.


Quick Bread Batter


Ah! Perfection!


Buttermilk Quick Bread – Out of the oven


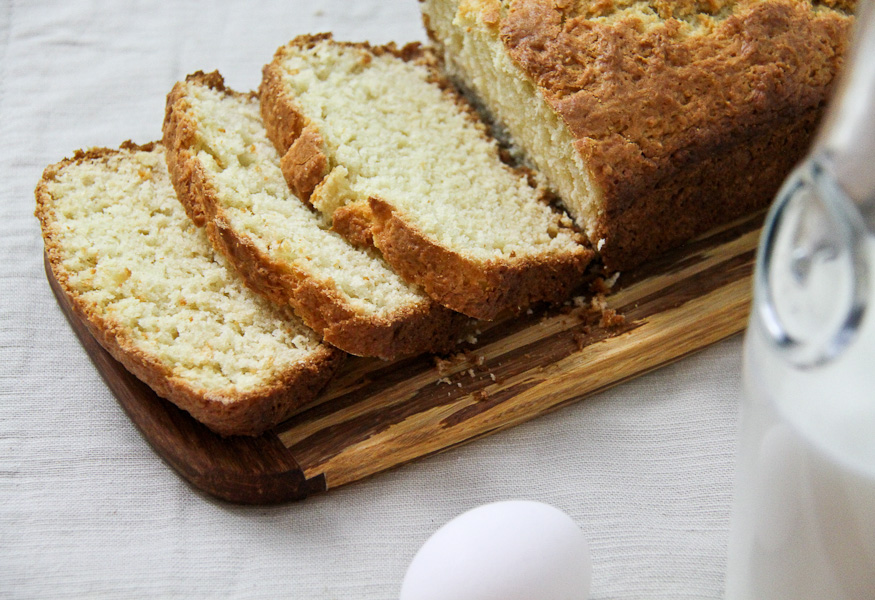
It’s best to use a serrated knife to cut this bread since it is a bit delicate.


Buttermilk Quick Bread – sliced


Buttermilk Bread


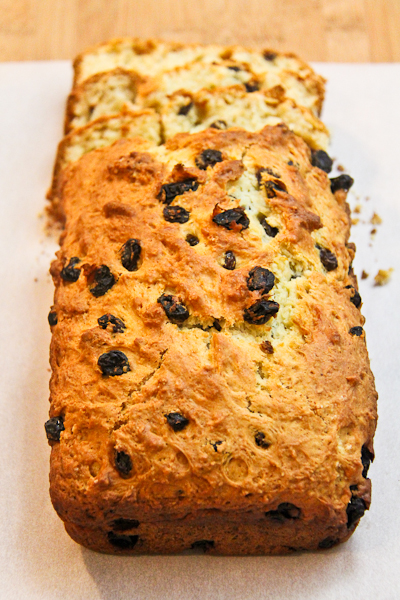
Buttermilk Quick Bread with Raisins


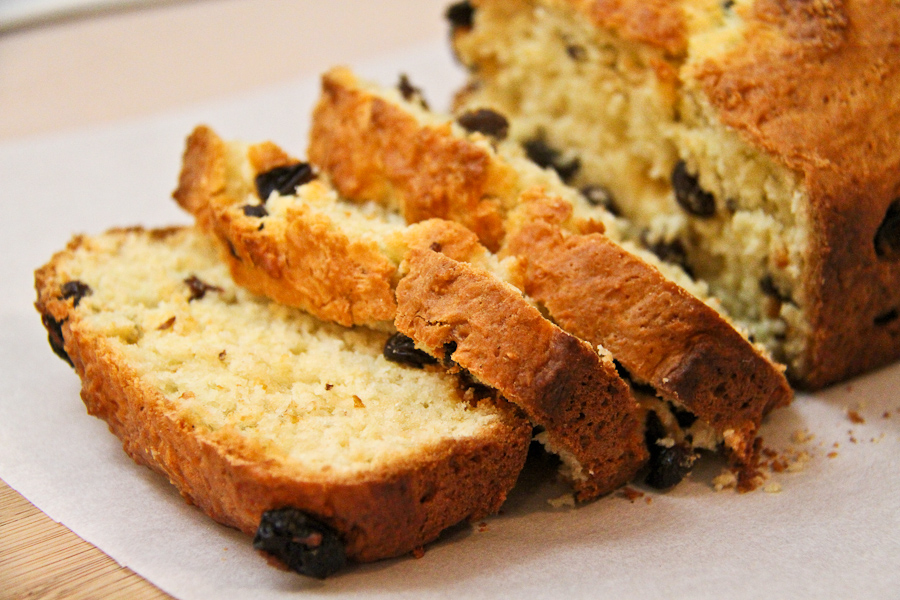
I like that because the batter was so thick, the raisins didn’t have the chance to sink to the bottom of the pan 🙂 For some recipes with a batter of thinner consistency, like the Ginger Carrot Bread, you have to toss the raisins (or small fruit like blueberries) in flour before folding them into the batter. So nice that I was able to skip that step.


Buttermilk Quick Bread With Raisins – sliced


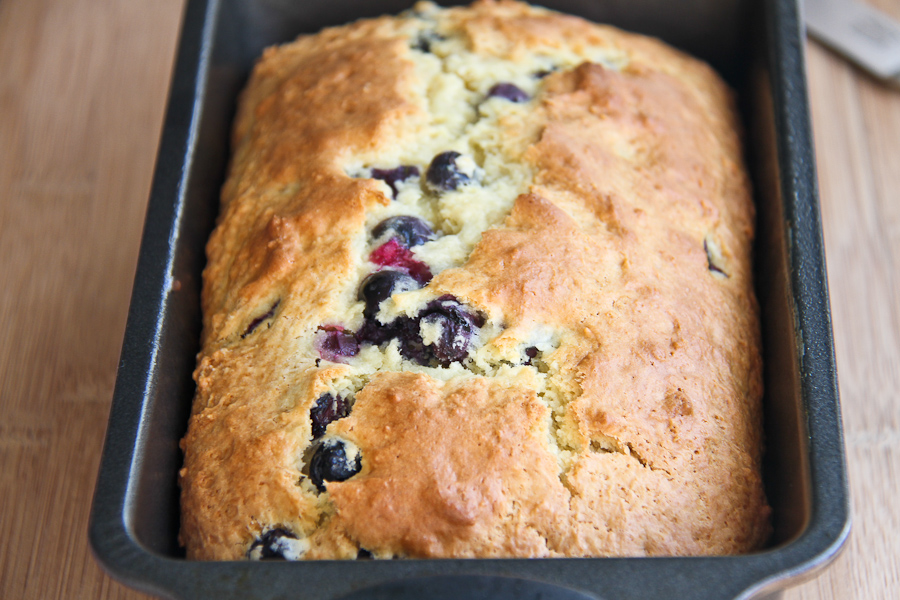
Finally, with Blueberries. I wanted to cut the loaf to take a quick photograph however, I was entertaining so I did not want to cut it before we were ready to eat it. Everyone loved it!


Buttermilk Quick Bread with Blueberries


Happy Wednesday! I hope the week has been off to an awesome start! I’ll be back soon.

Cheers for now.

Lyn


read more

Red Velvet Cupcakes with Cream Cheese Frosting

Feb 14, 2012 by

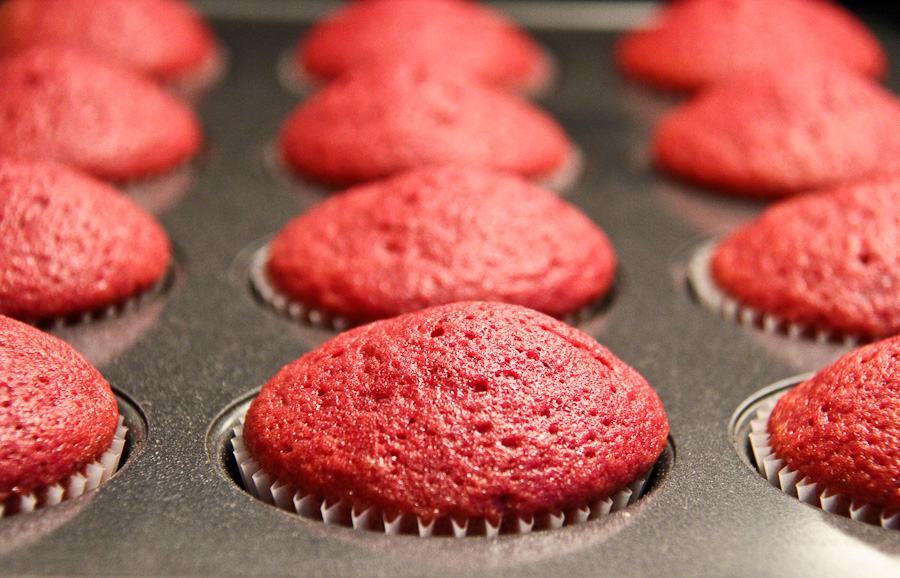
Today is Valentine’s Day and although I don’t celebrate it, I thought it would be awesome if I made something I’ve been wanting to make for a while now. A friend of mine made it and it was really nice and ever since, I keep seeing the recipe everywhere. It was a sign! So I did it. And it was FABULOUS. I swear, I ate my cupcakes in moderation.  I will not swear the same for the frosting! My daughter ate the frosting and half a cupcake. She then refused to eat any other cupcake without frosting. Major meltdown if her frosting had no sprinkles.  MAJOR.


Red Velvet Cupcake with Cream Cheese Frosting


Red Velvet Cupcake with Cream Cheese Frosting


I’ll say this now – I will likely make these Red Velvet darlings once per year. Or maybe on a REALLY special occasion. No more than that. Perhaps this will be my Valentine’s Day treat for the family. I guess it’s better than nothing 🙂 It tastes great but oh my, could we use a bit more oil? Sugar? Please? I’m sure there’s a “light” version out there somewhere in cyberland. I’ll come across it eventually.

A general warning…don’t wear white or a light coloured shirt while making this recipe. Don’t say I didn’t tell you. I really ought to invest in an apron 🙂


Here’s the recipe and a few photographs. Cupcakes are awesome models.


5.0 from 2 reviews
Red Velvet Cupcakes with Cream Cheese Frosting
 
Prep time
Cook time
Total time
 
Red Velvet Cupcakes with Cream Cheese Frosting - a treat for any special occasion
Author:
Recipe type: Dessert
Ingredients
  • 2½ Cups Cake Flour
  • 1½ Cups Sugar
  • 1 Tsp Baking Soda
  • 1 Tbsp Cocoa Powder
  • 1 Tsp Salt
  • 2 Large Eggs
  • 1½ Cups Vegetable Oil
  • 1 Cup Buttermilk (I used 1%)
  • 2 Tbsp Liquid Red Food Coloring
  • 1 Tsp Vanilla Extract
  • 1 Tsp White Vinegar
  • Cream Cheese Frosting:
  • 8 oz Cream Cheese (low-fat)
  • 5 Tbsp Unsalted Butter, at room temperature
  • 2 Tsp Vanilla Extract
  • 2 Cups Confectioners Sugar
  • 2 Tsp Lemon Juice, freshly squeezed
Instructions
  1. Preheat oven to 350F
  2. Prepare cupcake liners (Paper or Silicone)
  3. In a medium bowl, add flour, sugar, baking soda, cocoa powder and salt. Combine with a whisk.
  4. In a large bowl, add eggs, vegetable oil, buttermilk, red food coloring, sugar and vanilla. Combine with a hand-held mixer (or standing mixer if you have one)
  5. Gradually add dry ingredients into the wet, mix until smooth consistency is achieved
  6. Add batter into prepared cupcake liners
  7. Bake for 18 minutes, rotating half way through
  8. If a toothpick or sharp knife comes out clean after insertion, allow cupcakes to cool
  9. For the frosting, combine cream cheese and butter with a mixer until smooth
  10. Add Vanilla Extract, mix to combine
  11. Gradually add the confectioners' sugar and mix until combined and smooth.
  12. Lastly, add the lemon juice and give it one last mix to combine
  13. Put frosting in the refrigerator for about 10 minutes
  14. When cupcakes are completely cooled, add frosting
Notes
This recipe yields 24 cupcakes

This recipe was adapted from Annie’s Eats.


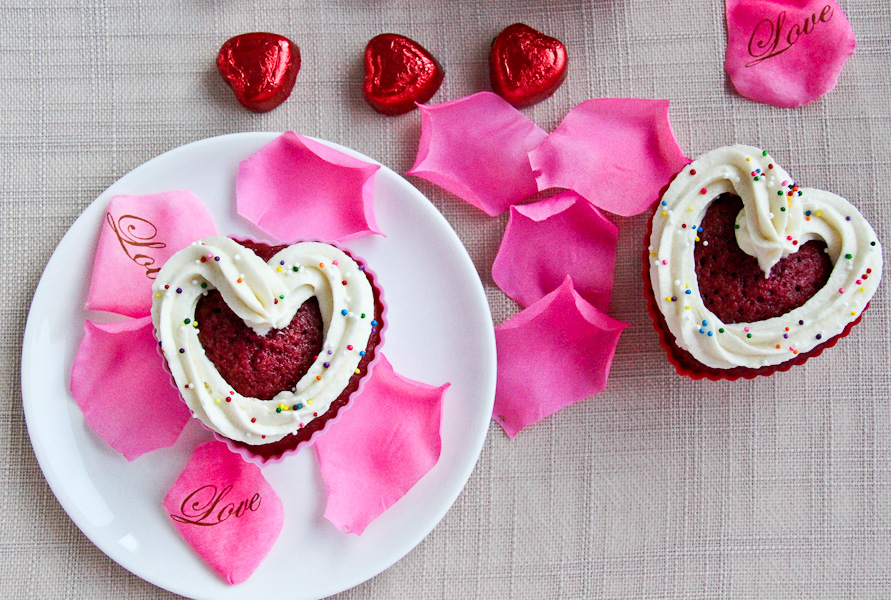
Silicone Hearts


Filling the Silicone Hearts


Cupcakes are ready!


These are ready too...


Red Velvet Heart Shaped Cupcakes with Cream Cheese Frosting


Red Velvet Cupcakes with Cream Cheese Frosting


Naked Red Velvet Cupcake


Uber moist Red Velvet Cupcake


So anyway, I had a great time photographing my cupcakes. Like my silicone hearts? Beats the reusable cupcake liners! There were only 12 in a pack so I used 12 paper liners also. Fact: The cream cheese frosting was the star of the show. It’s just so GOOD!


The GOODNESS of Cream Cheese Frosting


I won’t be doing much romancing today – no more than the usual (wink). But I’m sure I’ll be watching some romantic comedy or the other on television tonight with the husband. If you celebrate Valentine’s Day, have a good one. If you don’t celebrate, have a good one!


~Lyn

read more
Peanut Butter Chocolate Cookies

Jan 18, 2012 by

I wanted to post the recipe for these cookies for a few days now but alas, I’m slightly behind in my posting. I’m so happy to share this with you though, as these are my husband’s favourite cookies. I kinda love them too. I promised him I’d make a batch this week so me posting is great timing. I love the simplicity, and also that I’m using  low-fat peanut butter, less sugar than what the original recipe called for plus I used dark chocolate chips. Sounds like some good stuff right? You can substitute peanut butter for the organic kind. I plan to use vegan dark chocolate peanut butter to see how it comes out. I may omit the chocolate chips to avoid overkill. We’ll see!

This recipe is adapted from Everyday Food.


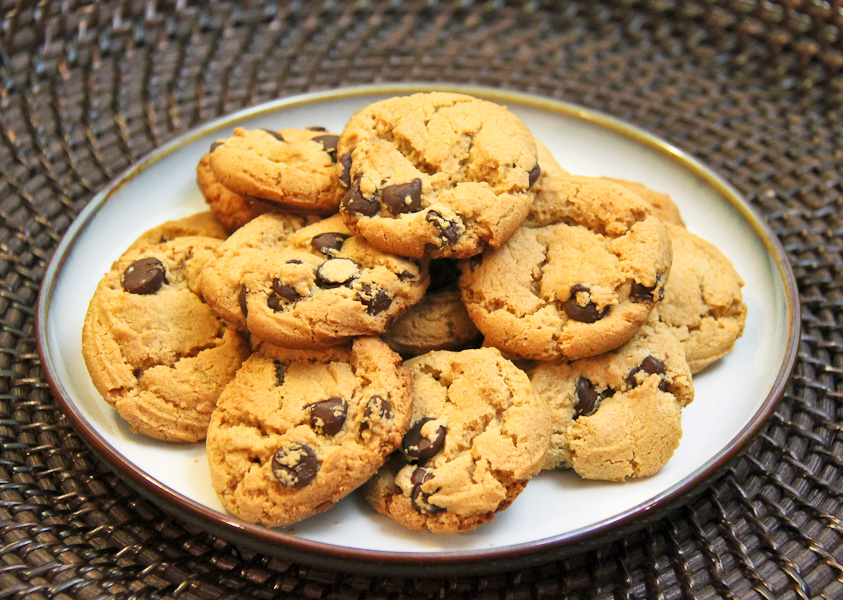
Peanut Butter Chocolate Chip Cookie


Peanut Butter Chocolate Cookies

Prep Time: 20 minutes

Cook Time: 14 minutes

Total Time: 31 minutes

Yield: 32 Cookies

Ingredients

  • 1 Cup Low-Fat Peanut Butter
  • 1/2 Cup Granulated Sugar
  • 1 Egg
  • 1/2 Tsp Baking Soda
  • 1/4 Tsp Salt
  • 3/4 Cup Dark Chocolate Chips

Instructions

  1. In a medium bowl, combine peanut butter, sugar, egg, baking soda and salt
  2. Once combined, mix in chocolate chips
  3. Using a cookie-scoop, take walnut sized portions and with moistened hands, roll into balls
  4. Place on a parchment lined cookie sheet, leaving 2 inches between each ball
  5. Bake for 12-14 minutes in a 350F oven
  6. Allow to cool on the baking tray for about 10 minutes before transferring to a cooling rack
https://lovelypantry.com/2012/01/peanut-butter-chocolate-cookies/

5.0 from 1 reviews


Peanut Butter Chocolate Chip Cookie – Ready to eat!


Don’t you just want to dive in? Seriously.


Peanut Butter Chocolate Chip Cookie


Take good care guys! ~ Lyn


read more
Apple Crisp

Jan 9, 2012 by

For those that don’t know me, I have a deep love for my family. I suppose it only gets magnified knowing that I’m so far away from them. But it warms my heart whenever we do get a chance to talk and catch up with each other. I’m always so happy to help with any recipes or techniques should they inquire. Recently, my cousin called me with a question that was so simple, but somehow I didn’t have an answer for her. She had an apple and wanted to know if I had any recipes for a single apple. I looked for recipes for a while just to satisfy that desire to have a recipe for a single apple 🙂 Although I did not find exactly what I was looking for, I played around with the basic concept of apple crisp and came up with my own version. I did it quite a few times until my husband and I agreed that we had arrived at something special. So thanks to Kim, I’m able to share this recipe today.

I wanted to keep the ingredients as simple as possible and good for you too.


Royal Gala Apple


Whole Grain Oats


Apple Crisp Ingredients


5.0 from 2 reviews
Apple Crisp
 
Prep time
Cook time
Total time
 
A simple recipe for Apple Crisp
Author:
Recipe type: Dessert
Serves: 1
Ingredients
  • Apple Filling:
  • 1 Apple - Royal Gala (or a firm apple like Granny Smith)
  • 1 Tbsp Agave Nectar
  • 1 Tsp Lemon Juice
  • 1 Tsp Flour
  • Butter for greasing oven-proof bowl
  • Oats Topping:
  • 2 Tbsp Butter, softened
  • 1 Tbsp Flour
  • 1 Tbsp Brown Sugar
  • 1 Tsp Cinnamon Powder
  • 4 Tbsp Whole Oats
Instructions
  1. Peel the apple and cut into small chunks.
  2. Use butter and grease a small oven proof bowl (I used a16oz bowl, 5inches in diameter)
  3. In a separate bowl, mix apple, agave nectar, lemon juice and flour so that apple is fully coated
  4. Empty coated apple into prepared oven proof bowl
  5. In a small bowl, add softened butter, flour, sugar, cinnamon and oats
  6. Combine using a fork and then crumble with your fingers until all the ingredients are combined
  7. Spread oats mixture on top of the apple in the prepared bowl
  8. Bake in a 375F oven until nicely browned on top, about 25 minutes
  9. Remove from oven and allow to rest for about 10 minutes
  10. Enjoy by itself or with traditional vanilla ice-cream


Apple Filling with agave nectar, lemon juice and flour


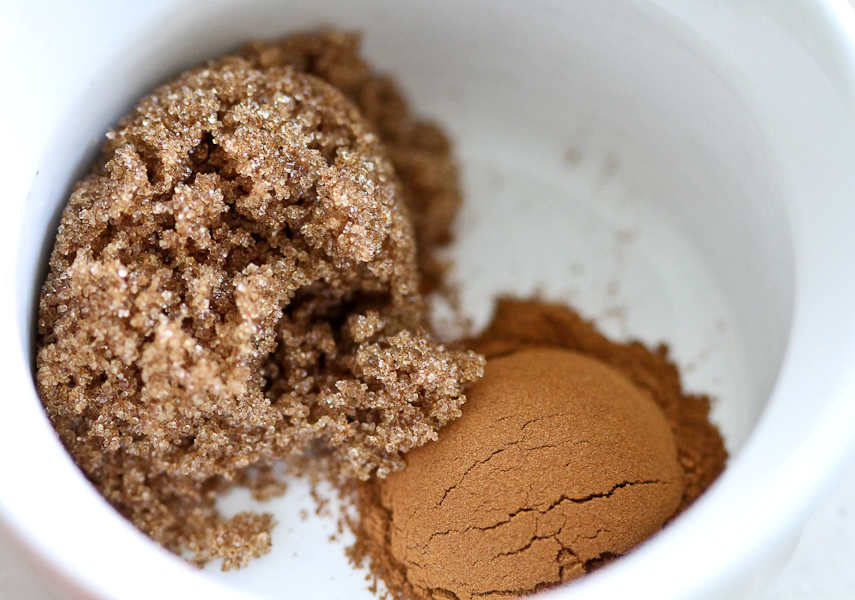
For some reason, Brown Sugar and Cinnamon look so beautiful together…


Brown Sugar and Cinnamon


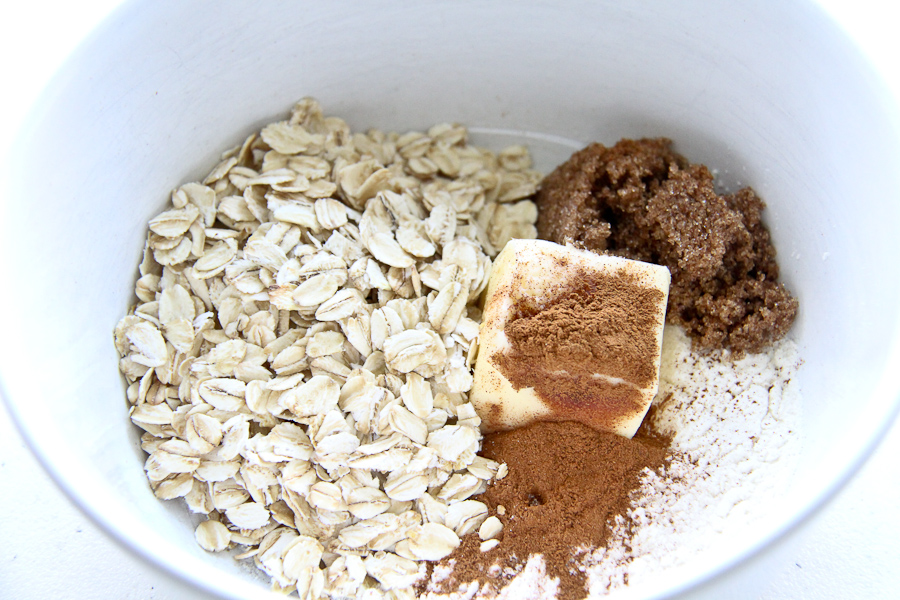
Ingredients for the Topping


Ready for the oven


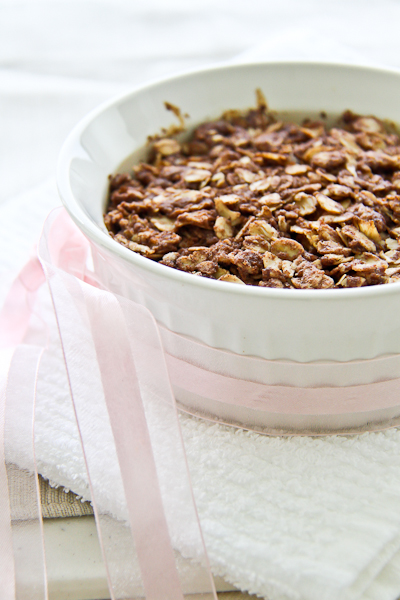
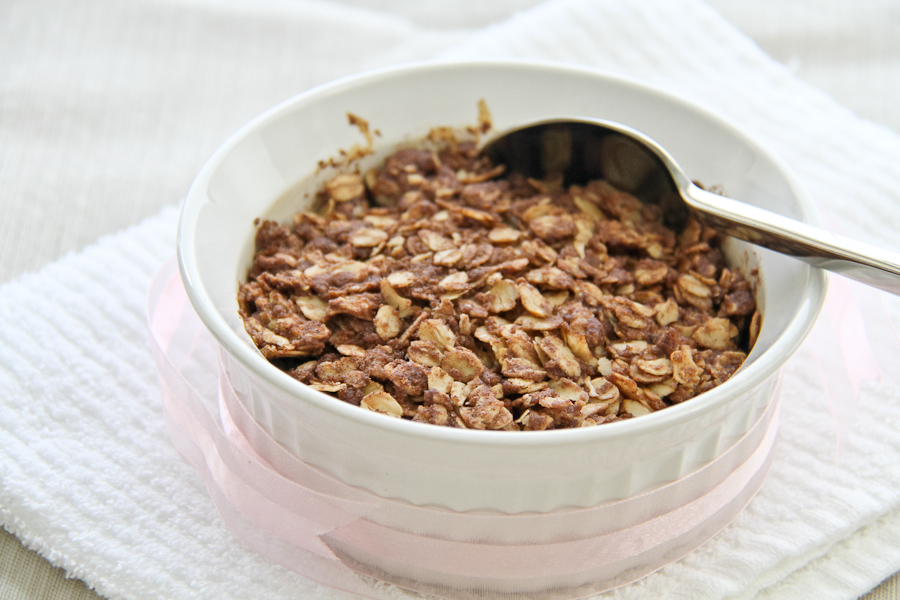
The result is a very clean and lean Apple Crisp that I’ve enjoyed many times. Thanks, Kim!


Kim's Apple Crisp


Apple Crisp


Have a great week everyone!

~Lyn


Related Posts Plugin for WordPress, Blogger... read more
Post Popularity Graphing by Knowledge Ring