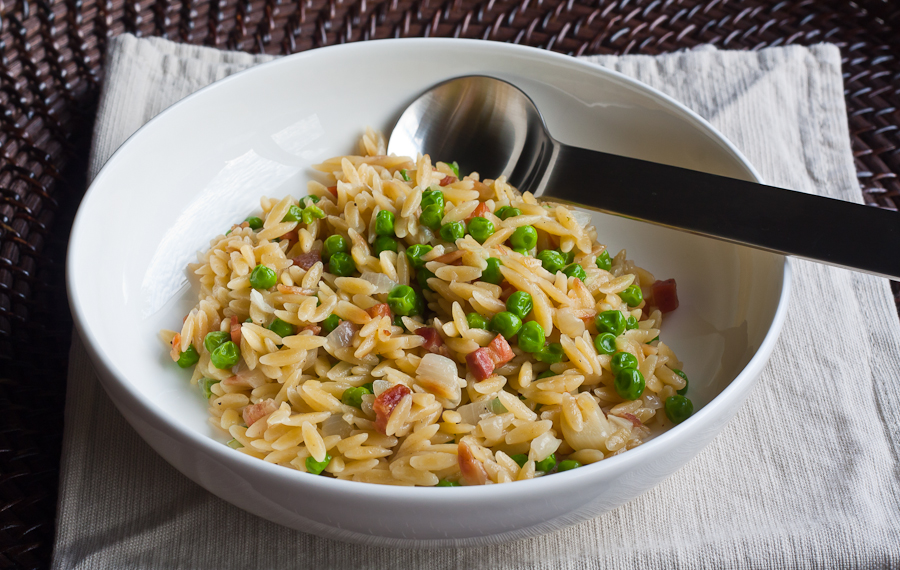
Creamy Orzo With Pancetta

Jan 30, 2012 by

I had an opportunity to try a pasta called orzo. It’s a small pasta shaped like a grain of rice quite suitable for salads, soups, risotto or creamy pasta dishes. It’s a wonderful addition to my Pantry. This is a very quick and easy week night meal that I hope you’ll enjoy as much as I did. I made quite a few changes to the original recipe but I was more than happy with the result. Sometimes, all you need is an idea to get your creative juices flowing. The texture of this recipe reminds me of a risotto since the pasta has to absorb the liquid that it is cooked in.

I enjoyed making this dish and I can actually think of a few variations that I would love to try – like meatless, or with chicken instead of the pancetta. I love that there are so many options. The first time I made this dish… I forgot the cheese. I’ll just call that the “reduced calorie” version 🙂 It looked pretty though, and tasted great too.

Orzo with Pancetta


Creamy Orzo With Pancetta

Prep Time: 10 minutes

Cook Time: 30 minutes

Total Time: 40 minutes

Ingredients

  • 1/4 Cup Diced Pancetta
  • 2 Tbsp Butter
  • 1 Small Onion, finely chopped
  • 1 Clove garlic, finely chopped
  • 1 1/2 Cups Orzo
  • 2 1/2 Cups Chicken Broth (low-fat, low-sodium)
  • 1/2 Cup Green peas (thawed from frozen)
  • 1/2 Cup Grated Parmesan Cheese
  • Salt and Pepper

Instructions

  1. In a dutch oven (or deep pot), melt butter
  2. Add garlic and stir for about a minute
  3. Add onion, then sauté until translucent
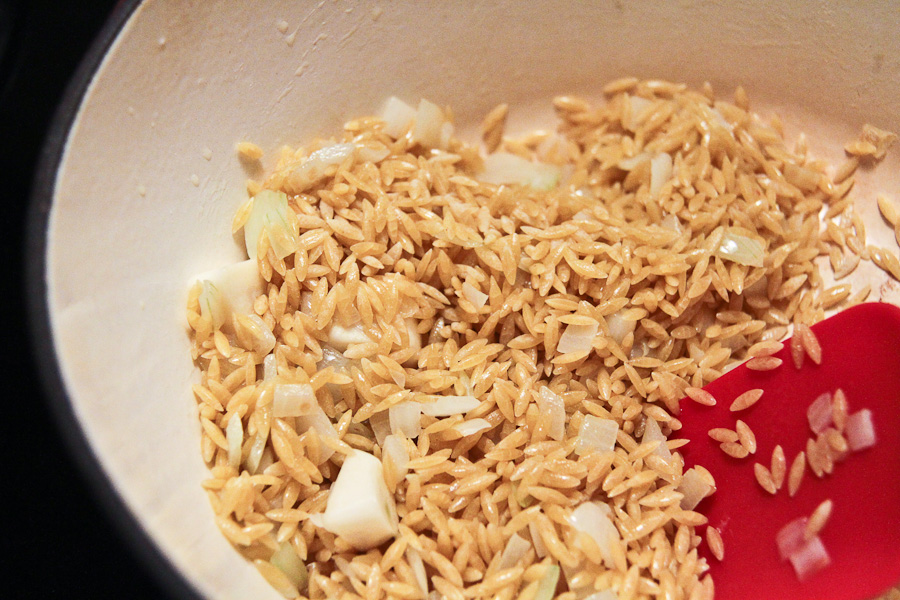
  4. Add Orzo and allow to "toast" in order to bring out the flavour
  5. Add salt and pepper
  6. Add broth and cook for about 20 minutes, stirring occasionally
  7. When orzo is fluffed up, add pancetta, stir and allow to warm through
  8. Add green peas. Stir to combine
  9. Add parmesan and stir
  10. Allow to warm through, about 3-5 minutes
  11. Serve and enjoy
https://lovelypantry.com/2012/01/creamy-orzo-with-pancetta/


Here’s how I made it. So easy. I bet you’ll be making this meal this week 🙂


Onion, Garlic, Orzo


Once broth has been absorbed, add Pancetta


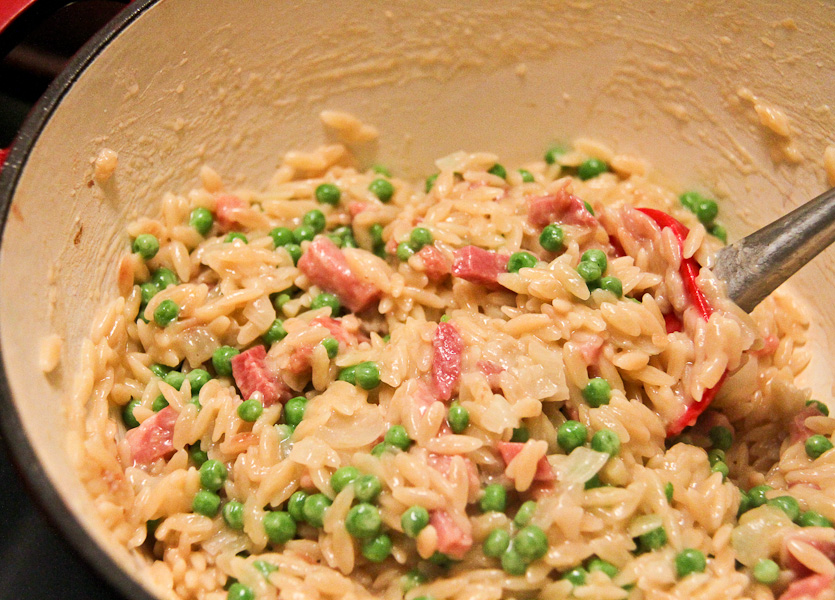
Add peas


Add parmesan cheese. Stir to combine


I remembered to add the cheese this time 🙂


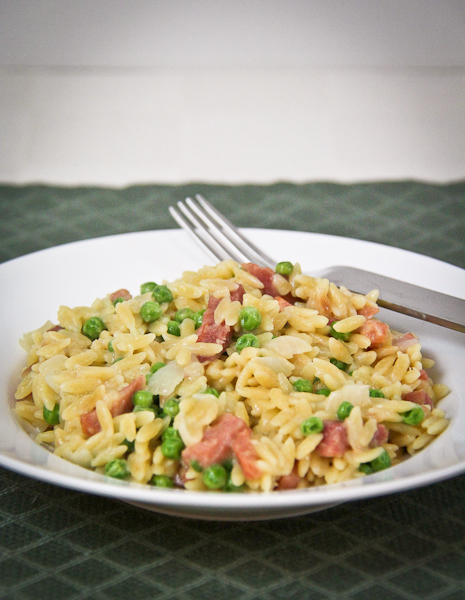
So creamy…

Yes, dinner was good. My boys loved it.


This recipe was adapted from Everyday Food


Happy Monday!!! ~Lyn

read more
Roasted Curried Chicken

Jan 23, 2012 by

I love curry. I think if I could curry everything, I probably would – just to try it. Ok well, not EVERYTHING. I’ve  curried Tofu a few times. That turned out super!

In Jamaica, it is traditional to stew curried chicken. And for the most part, that is how I’ve always prepared curried chicken. Its great. But I wanted to do it a bit differently. You know, just because. I figured it would be ok to roast chicken that has been seasoned with curry. Especially since I’ve found a new appreciation for roasting chicken. It’s so easy! And the skin is so crispy and yummy.

When stewing curried chicken, carrots and potatoes are the usual suspects in the dish, so I kept them. I couldn’t leave them out. Besides, they taste amazing when roasted!


Roasted Curried Chicken


Roasted Curried Chicken
 
Roasted Curried Chicken
Author:
Recipe type: Main
Ingredients
  • 6 Chicken Thighs, skin on
  • 3 Cloves Garlic, cut into thirds
  • 2 Tsp low sodium All Purpose Seasoning
  • 2 Tsp Dried Thyme
  • 2 Tbsp Jamaican Curry Powder
  • Coconut Oil to brush chicken + grease the baking tray
  • 1 Large Carrot
  • 3 Small White Potatoes
  • Salt & Pepper
Instructions
  1. Wash and pat dry each piece of chicken
  2. On a parchment lined surface, place each piece skin side down
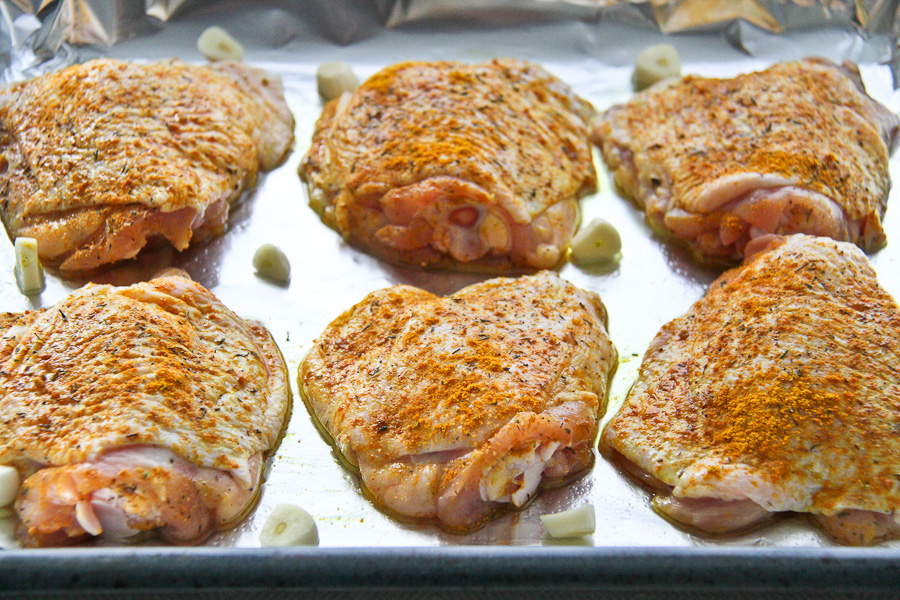
  3. Brush with oil, then season with half of the seasoning (Salt, Pepper, Thyme, All-Purpose, Curry Powder)
  4. Flip over and do the same for the side with the skin
  5. Transfer chicken to a foil rimmed baking tray, lightly greased with coconut oil
  6. Put pieces of garlic between the chicken and set aside
  7. Cut the carrot and potatoes into 1 inch pieces
  8. In a small bowl, toss in about 1 tbsp coconut oil. Season with Salt, Pepper & Thyme
  9. Spread on another foil rimmed baking tray
  10. Place both trays in the oven and roast for about 45 minutes in a 450F oven
  11. If skin starts to burn, cover with foil until cooking is complete
  12. Toss carrots and potatoes half way through
  13. Serve with fluffy basmati rice


Prep time!

Seasoned Chicken on rimmed baking tray


Carrots & Potatoes, oiled and seasoned


I just love my oven. It works wonders!


Roasted Carrots & Potatoes


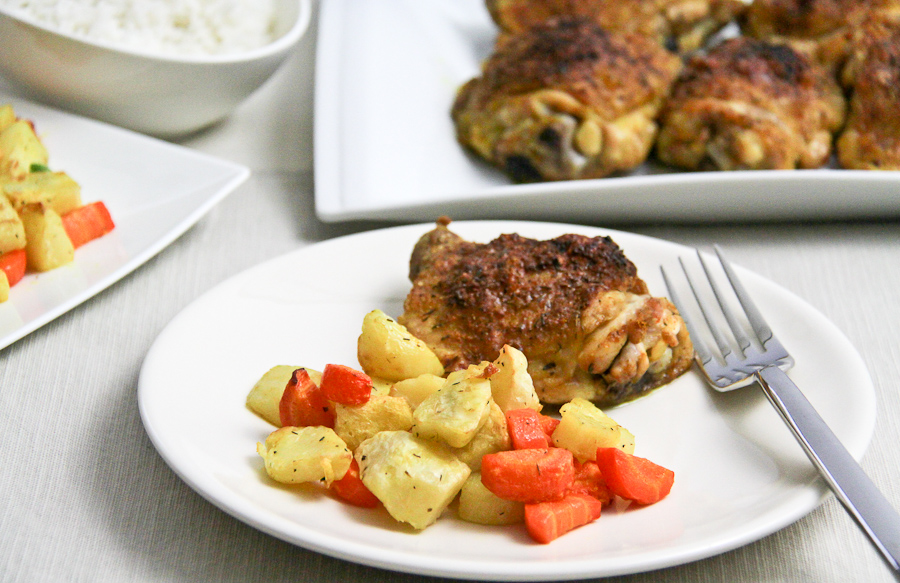
And here you have it. Serve with rice, or like me – just like this.

Roasted Curried Chicken & Roasted Carrots + Potatoes

Have a splendid week, my friends! ~Lyn

read more

Peanut Butter Chocolate Cookies

Jan 18, 2012 by

I wanted to post the recipe for these cookies for a few days now but alas, I’m slightly behind in my posting. I’m so happy to share this with you though, as these are my husband’s favourite cookies. I kinda love them too. I promised him I’d make a batch this week so me posting is great timing. I love the simplicity, and also that I’m using  low-fat peanut butter, less sugar than what the original recipe called for plus I used dark chocolate chips. Sounds like some good stuff right? You can substitute peanut butter for the organic kind. I plan to use vegan dark chocolate peanut butter to see how it comes out. I may omit the chocolate chips to avoid overkill. We’ll see!

This recipe is adapted from Everyday Food.


Peanut Butter Chocolate Chip Cookie


Peanut Butter Chocolate Cookies

Prep Time: 20 minutes

Cook Time: 14 minutes

Total Time: 31 minutes

Yield: 32 Cookies

Ingredients

  • 1 Cup Low-Fat Peanut Butter
  • 1/2 Cup Granulated Sugar
  • 1 Egg
  • 1/2 Tsp Baking Soda
  • 1/4 Tsp Salt
  • 3/4 Cup Dark Chocolate Chips

Instructions

  1. In a medium bowl, combine peanut butter, sugar, egg, baking soda and salt
  2. Once combined, mix in chocolate chips
  3. Using a cookie-scoop, take walnut sized portions and with moistened hands, roll into balls
  4. Place on a parchment lined cookie sheet, leaving 2 inches between each ball
  5. Bake for 12-14 minutes in a 350F oven
  6. Allow to cool on the baking tray for about 10 minutes before transferring to a cooling rack
https://lovelypantry.com/2012/01/peanut-butter-chocolate-cookies/

5.0 from 1 reviews


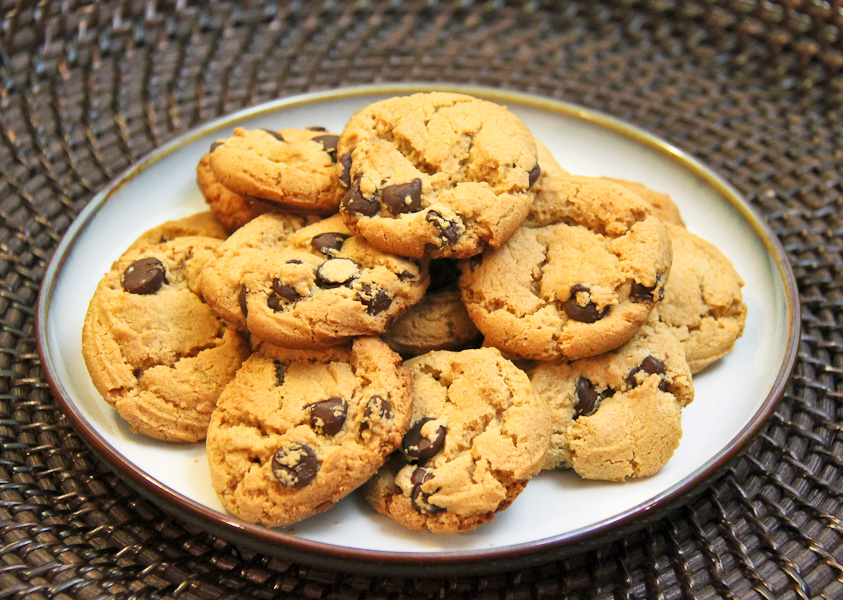
Peanut Butter Chocolate Chip Cookie – Ready to eat!


Don’t you just want to dive in? Seriously.


Peanut Butter Chocolate Chip Cookie


Take good care guys! ~ Lyn


read more

Apple Crisp

Jan 9, 2012 by

For those that don’t know me, I have a deep love for my family. I suppose it only gets magnified knowing that I’m so far away from them. But it warms my heart whenever we do get a chance to talk and catch up with each other. I’m always so happy to help with any recipes or techniques should they inquire. Recently, my cousin called me with a question that was so simple, but somehow I didn’t have an answer for her. She had an apple and wanted to know if I had any recipes for a single apple. I looked for recipes for a while just to satisfy that desire to have a recipe for a single apple 🙂 Although I did not find exactly what I was looking for, I played around with the basic concept of apple crisp and came up with my own version. I did it quite a few times until my husband and I agreed that we had arrived at something special. So thanks to Kim, I’m able to share this recipe today.

I wanted to keep the ingredients as simple as possible and good for you too.


Royal Gala Apple


Whole Grain Oats


Apple Crisp Ingredients


5.0 from 2 reviews
Apple Crisp
 
Prep time
Cook time
Total time
 
A simple recipe for Apple Crisp
Author:
Recipe type: Dessert
Serves: 1
Ingredients
  • Apple Filling:
  • 1 Apple - Royal Gala (or a firm apple like Granny Smith)
  • 1 Tbsp Agave Nectar
  • 1 Tsp Lemon Juice
  • 1 Tsp Flour
  • Butter for greasing oven-proof bowl
  • Oats Topping:
  • 2 Tbsp Butter, softened
  • 1 Tbsp Flour
  • 1 Tbsp Brown Sugar
  • 1 Tsp Cinnamon Powder
  • 4 Tbsp Whole Oats
Instructions
  1. Peel the apple and cut into small chunks.
  2. Use butter and grease a small oven proof bowl (I used a16oz bowl, 5inches in diameter)
  3. In a separate bowl, mix apple, agave nectar, lemon juice and flour so that apple is fully coated
  4. Empty coated apple into prepared oven proof bowl
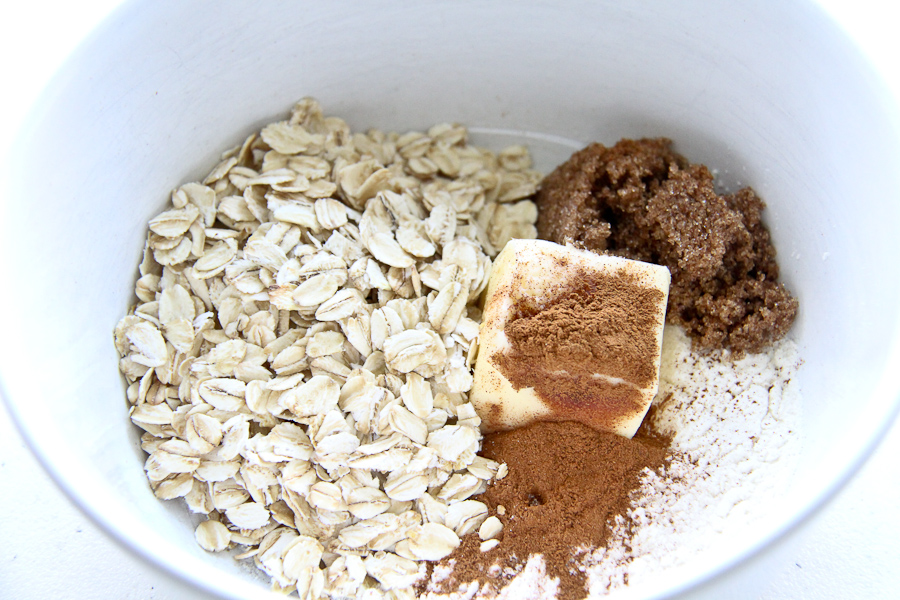
  5. In a small bowl, add softened butter, flour, sugar, cinnamon and oats
  6. Combine using a fork and then crumble with your fingers until all the ingredients are combined
  7. Spread oats mixture on top of the apple in the prepared bowl
  8. Bake in a 375F oven until nicely browned on top, about 25 minutes
  9. Remove from oven and allow to rest for about 10 minutes
  10. Enjoy by itself or with traditional vanilla ice-cream


Apple Filling with agave nectar, lemon juice and flour


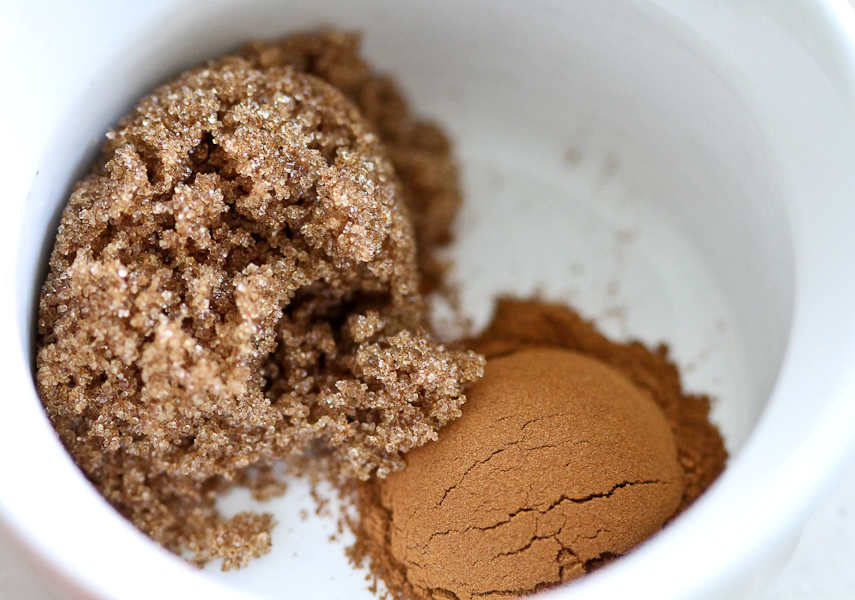
For some reason, Brown Sugar and Cinnamon look so beautiful together…


Brown Sugar and Cinnamon


Ingredients for the Topping


Ready for the oven


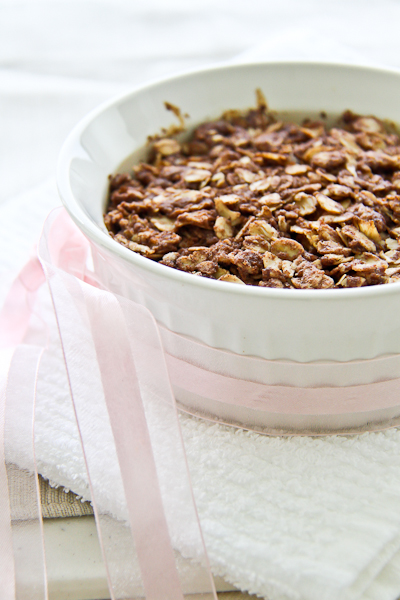
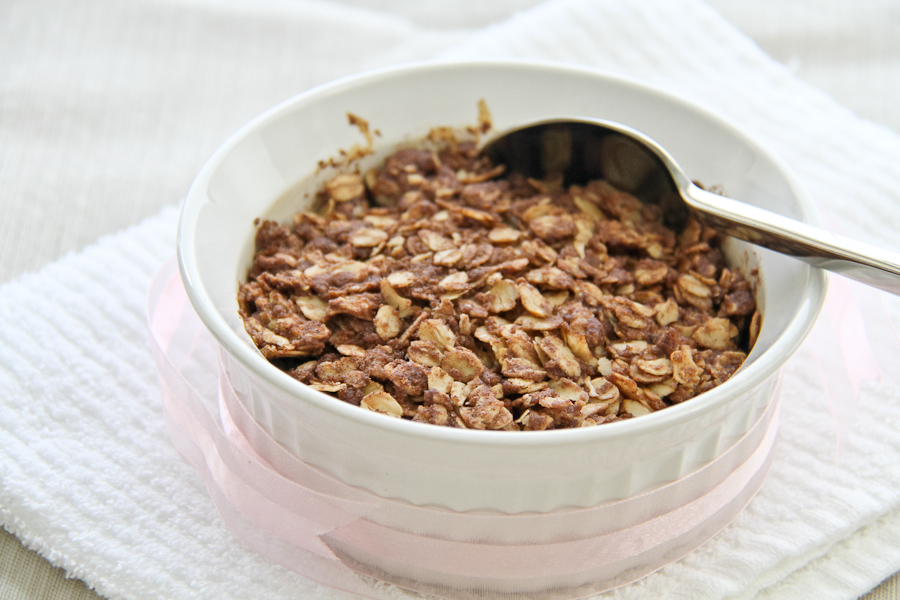
The result is a very clean and lean Apple Crisp that I’ve enjoyed many times. Thanks, Kim!


Kim's Apple Crisp


Apple Crisp


Have a great week everyone!

~Lyn


read more
Ginger Molasses Cookies

Jan 5, 2012 by

Holiday baking was fun for me. I generally look for recipes that are quick and have fairly simple ingredients. I had been searching  for cookie recipes for a few days during the holiday season (lots to go through) and I was really happy to try this. I did not adapt the ingredients for this recipe in any way. It was perfect just the way it was. Find the original recipe here.

My kids loved it, and honestly, I had a hard time restraining myself while they were cooling. I messed up my first batch because I tried to bake 8 cookies on a tray. And when I say messed up, I just mean they baked stuck together and I had to cut them so they looked like weird squares. Tasted great all the same :-). These cookies start out small but they do spread quite a bit. 6 Cookies go on a 15.5inch X 10.5inch rimmed baking tray.

I made this recipe 3 times over the holidays! Yep, they were that good! I was able to give them as gifts and as a treat at a New Year gathering. I did my cookie baking at night so I did not get to take too many photographs but here are some that I shared on Facebook while I was making them.

Here they are, “chilling out” in the fridge before baking.

Ginger Molasses Cookies – Prep


And here is the first batch cooling. Thank goodness for stackable cooling racks! I only have 3 racks but once the cookies cooled, I transferred them to a cookie pan to make way for the set coming out of the oven. I definitely need more baking trays. This will reduce the overall cooking time drastically.

Ginger Molasses Cookies Cooling


Ginger Molasses Cookies
 
Prep time
Cook time
Total time
 
Cookies for the holidays but are good enough for any time of the year.
Author:
Recipe type: Cookies
Ingredients
  • ½ cup butter at room temperature
  • 1 cup sugar
  • 1 cup brown sugar
  • 2 large eggs
  • ¼ cup molasses
  • 2 cups all-purpose, unbleached flour
  • 2 tsp baking soda
  • ½ tsp sea salt
  • 1 tsp ground ginger
  • 1 tsp ground cinnamon
  • ¼ cup sugar for rolling
Instructions
  1. In a medium bowl, mix butter and sugars until combined
  2. Add molasses and mix until incorporated
  3. In a small bowl, whisk eggs gently to break up the yolks
  4. Add eggs to the molasses mixture and mix until combined
  5. In a medium bowl, add dry ingredients - flour, baking soda, salt, ginger and cinnamon. Whisk to combine.
  6. Gradually add dry ingredients into molasses mixture and mix together with a spoon (or a mixer, if you like)
  7. Cover bowl with plastic wrap and chill in the refrigerator for about an hour
  8. When chilled, use a mini-scoop to grab small portions and then roll into smooth balls.
  9. Roll each ball in the granulated sugar and assemble onto a baking tray. Allow to chill for at least 20 minutes in the refrigerator
  10. Once chilled, place 6 balls onto a parchment lined cookie sheet (I used a 15.5inch X 10.5inch rimmed sheet) leaving about 2-3 inches between each ball
  11. The balls waiting to be baked should remain in the refrigerator until ready to go in the oven
  12. Bake for 12 minutes in a 350 degree oven
  13. Bake in batches until the balls are finished. This recipe yields 54-56 cookies
Notes
Recipe from www.addapinch.com


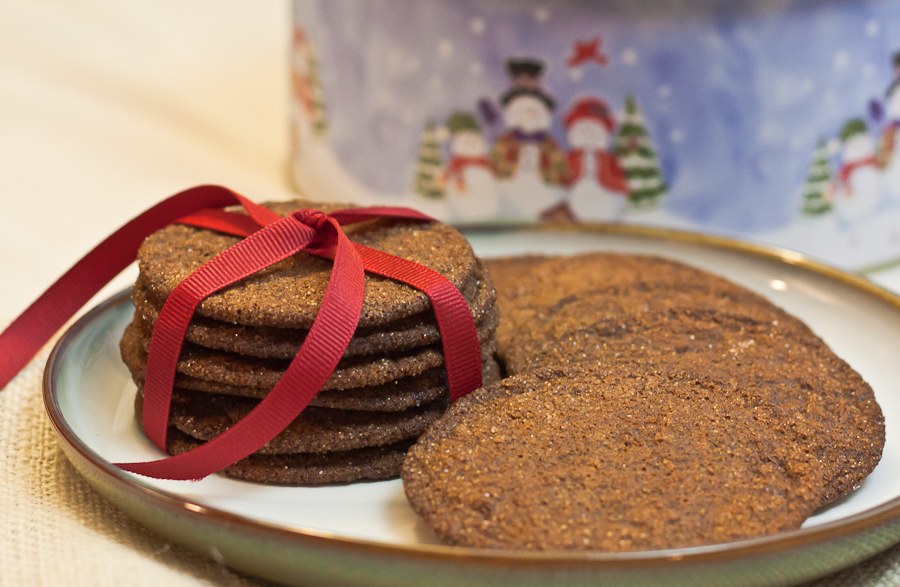
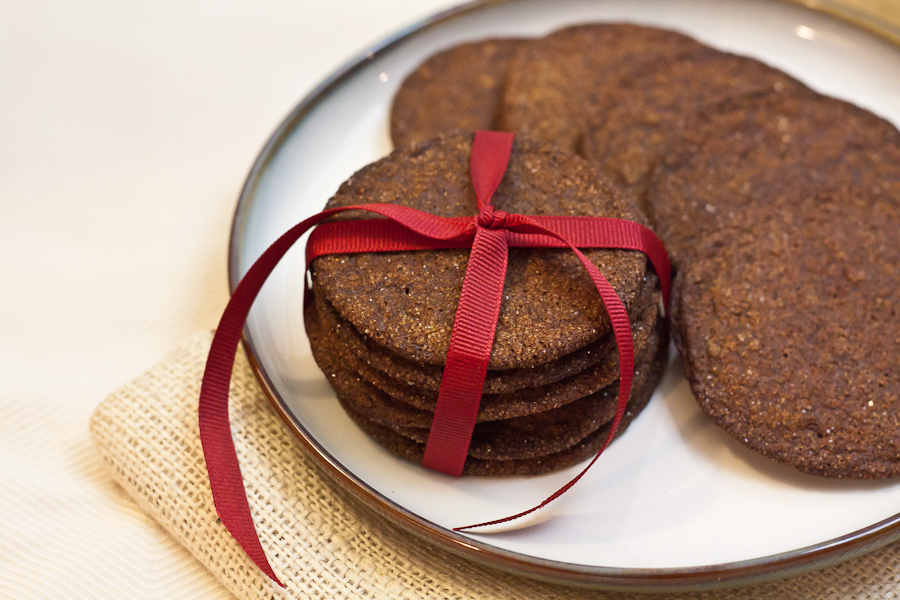
Ginger Molasses Cookies for the Christmas Holidays


Ginger Molasses Cookies – Gift


I really enjoyed these cookies. They were delightfully crispy and had a satisfying crunch. I might make some more this week – just because! 🙂


Related Posts Plugin for WordPress, Blogger... read more
Post Popularity Graphing by Knowledge Ring