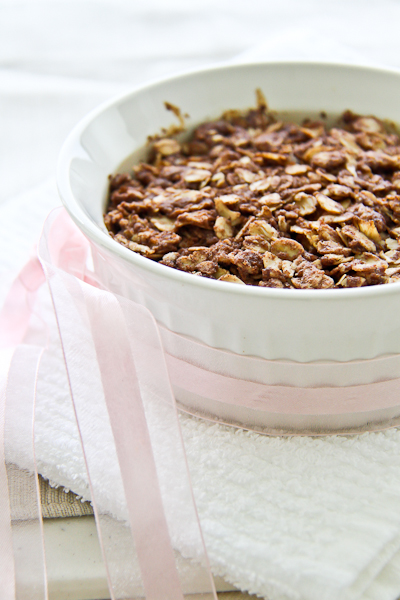
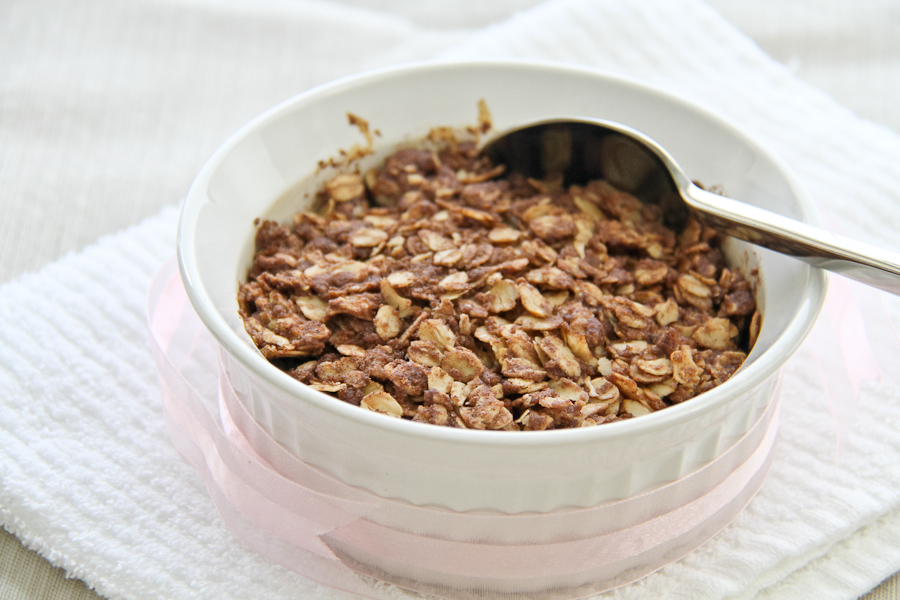
Dark Chocolate Chip Granola Bars

May 4, 2012 by

I’ve been wanting to make granola bars in what seems like forever! But I finally found a recipe that I liked and wanted to try. I really have to look at the ingredients in order for me to decide if I’m going to make it. I’m not crazy about nuts (I prefer them on their own) and it’s not uncommon to see many granola recipes with a variety of nuts included. I wanted something that the kids would enjoy and not find things to pick out or require too much effort on their part. When I came across this awesome recipe from a lovely little blog called Lauren’s Latest, I knew I had found “it”. Lauren’s recipe was adapted from Rachel Ray, and I adapted her version with what I had available.

I decided to make these after I lost my natural light, but I knew there would be nothing left after they were ready, so I went ahead and took photographs anyway. I’ve made these granola bars twice and only a few make it to daylight.

Chocolate Chip Granola Bar - No bake


5.0 from 2 reviews
Dark Chocolate Chip Granola Bars, No-Bake
 
Prep time
Total time
 
An easy granola bar recipe that can be made within minutes!
Author:
Recipe type: Treat, Snack
Serves: 8
Ingredients
  • 3 Tbsp Butter
  • 3 Tbsp Cinnamon Creamed Honey (Or plain honey)
  • 1 Tbsp Agave Nectar
  • ⅓ Cup Brown Sugar
  • 2 Cups Quick Oats
  • 1 Cup Puffed Rice Cereal (like Rice Krispies)
  • 1 Tsp Vanilla
  • ½ Cup Dark Chocolate Chips (or milk chocolate)
Instructions
  1. In a medium bowl, add cereal and oats. Stir to combine and set aside.
  2. In a small saucepan, melt butter, honey, agave, and sugar over medium heat just to a boil. Stir to combine. Reduce heat and remove after about 2-3 minutes.
  3. Add vanilla and stir
  4. Pour into cereal and oats, mix well to incorporate
  5. Transfer into a rimmed tray (12X8 inch and about an inch deep)
  6. Press firmly in order for the oats to cover the entire surface evenly
  7. Sprinkle with chocolate chips and gently, press down
  8. Allow to cool for a few minutes in the fridge (or an hour at room temperature)
  9. When firm, cut into bars.
Notes
Press firmly into the tray to prevent the bars from falling apart. Try to achieve about ¾ inch thickness. I put mine in the fridge for about 20 minutes before serving.


Rice Krispies and Quick Oats. These two ingredients were united for the first time in my house. I never had to buy Rice Krispies prior to this recipe. I even allowed my son to listen to them “snap, crackle and pop” like the commercials I used to see as a child. Embrace the Rice Krispie experience!


Rice Krispies and Quick Oats


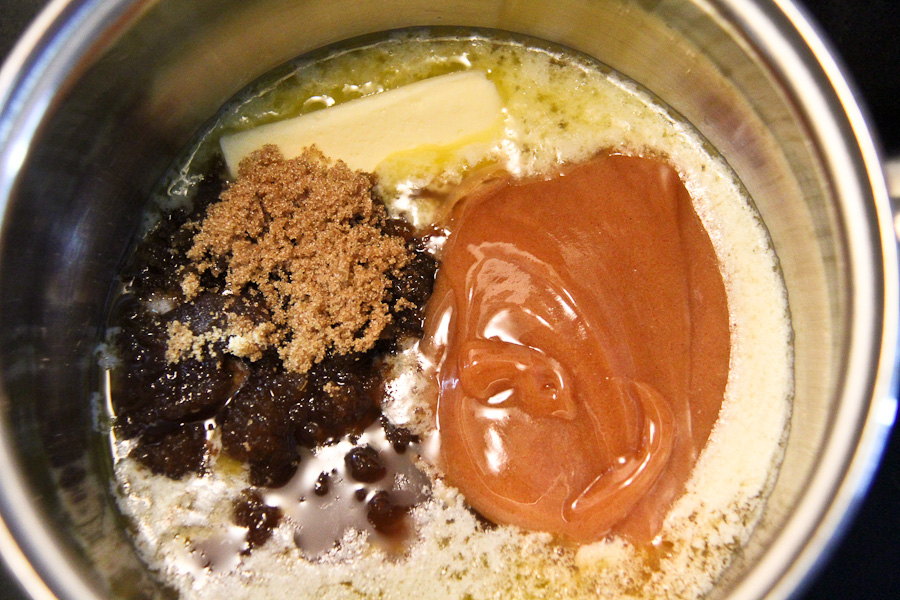
I chose to use the Cinnamon Creamed Honey that I bought from the Farmer’s Market over the plain honey. The jar was unopened. How could  that be!!!??? When I tasted it at the market, it was splendid! I envisioned myself having it on toast with a cup of tea! I suppose I also wanted to add a very special flavour to the granola bars too. It worked out very well!


Cinnamon Creamed Honey, Butter, Agave Nectar, Brown Sugar


I didn’t allow it to remain at a boil, I just wanted to make sure everything was combined well before I removed it from the heat.


Mixture just to a boil, and combined


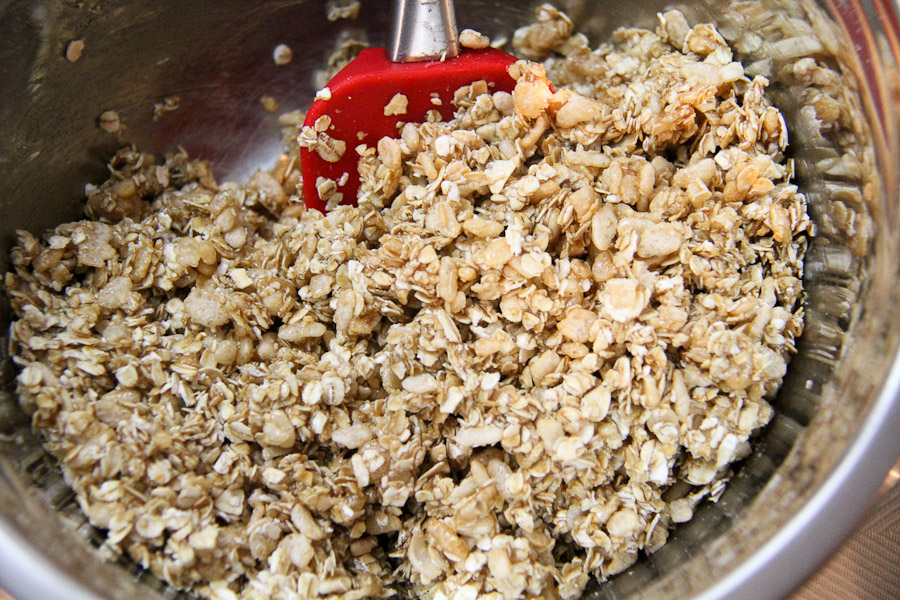
Muscle up for this part. The liquid firms up rather quickly and you have to make sure that everything is thoroughly combined.


Combining the honey mixture with the oats and cereal


Press firmly to ensure the mixture is packed tightly.  This helps to keep the bars from crumbling. I waited for it to cool for about 10 minutes (you should probably wait a little bit longer – an hour or so)


Press down *firmly* to flatten


I flipped everything onto a parchment lined cutting board. I sprinkled the chocolate chips then pressed them down. Whats funny is – they started to melt 🙂 I then used a pizza wheel (genius) and a knife to separate into bars. The kids were by my feet almost the entire time just waiting to get their hands on a piece. They had some crumbled bits, but got the real deal after it came out of the fridge for about 20 minutes or so. You know, to a child that’s like “forever”.


Granola Bars in the making!


My kids loved these little bars! Okay, so did I. We all had them with a glass of milk. A sweet treat to bring the family together.


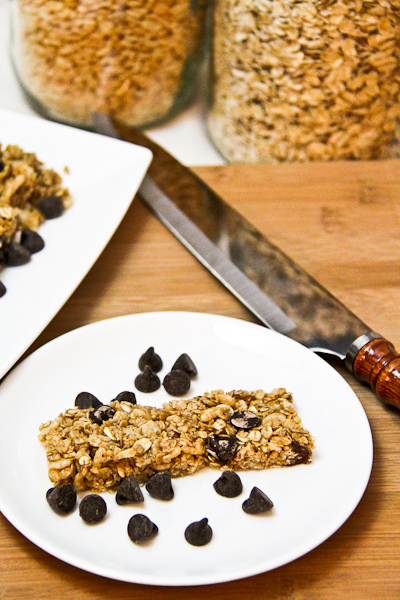
My first granola bar!


Picky eater APPROVED!


Dark Chocolate Chip Granola Bar


Happy Friday!!!

read more

Spicy Thai Tuna & Fennel Salad

Apr 16, 2012 by

I’ve been doing a lot of eating over the past week. I think its time to slow it down and get back into my usual eating habits. I was looking through my recipes and realized that I really don’t post enough salads. That is not to say that I don’t eat salads ~I just haven’t posted. I made a dressing that I adapted from Everyday Food over a year ago. I don’t fancy store bought dressings that much. Generally I have my salad naked – sans dressing. I adore crunchy romaine with garden vegetables. But I also like warm salads that include Quinoa, Zucchini and other root vegetables.

Today’s recipe is a quick and easy, nutritious salad. I usually serve the dressing on the side so that I pour what I desire. For the Tuna, I added only to the plate because it was too spicy for my son so I could not mix it into the main bowl. I find regular tuna to be one of my least favourite things when its plain, so the Spicy Thai version is the one I prefer. It is quite spicy for me, so I don’t eat more than half a can at a time. A little goes a very long way for me. Regular tuna can certainly be substituted and you can use as much as you would like from the can. You can also choose to omit the tuna and serve the salad along with dinner. I am also using Fennel for the first time in a very long time. I forgot how much I liked it. I’m happy I was able to incorporate it in this freestyle salad. I believe the Fennel and Tuna are the unusual suspects and so, I named the salad for them 🙂


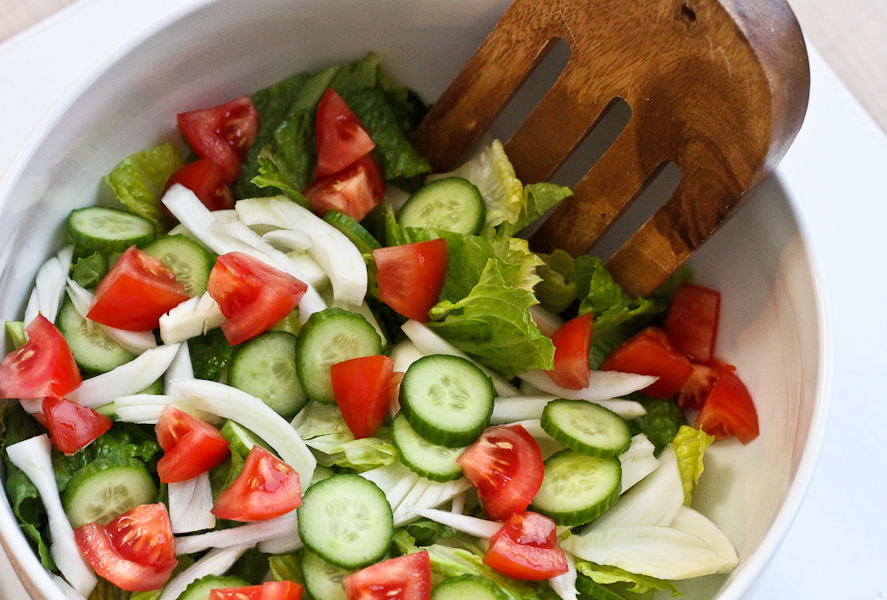
Spicy Thai Tuna and Fennel Salad


Spicy Thai Tuna & Fennel Salad
 
Prep time
Total time
 
A quick salad with Spicy Thai Tuna and Fennel
Author:
Recipe type: Salad
Serves: 2
Ingredients
  • Vinaigrette:
  • 2 Tbsp White Wine Vinegar
  • 3 Tsp Honey Mustard Dijon
  • ⅓ Cup Olive Oil
  • Salt & Pepper
  • Salad:
  • 1 Head Romaine Lettuce, chopped and washed
  • 2 Baby Cucumbers, thinly sliced
  • 2 Tomatoes, diced
  • 1 Fennel, thinly sliced
  • 1 85g Can Spicy Thai Tuna (or any tuna you like)
Instructions
  1. Add all the ingredients for the vinaigrette into a jar. Shake and set aside
  2. In a large bowl, add romaine, tomatoes, fennel and cucumbers
  3. Toss to combine
  4. Add tuna and dressing, toss to coat or serve dressing on the side, serve Tuna in individual plates


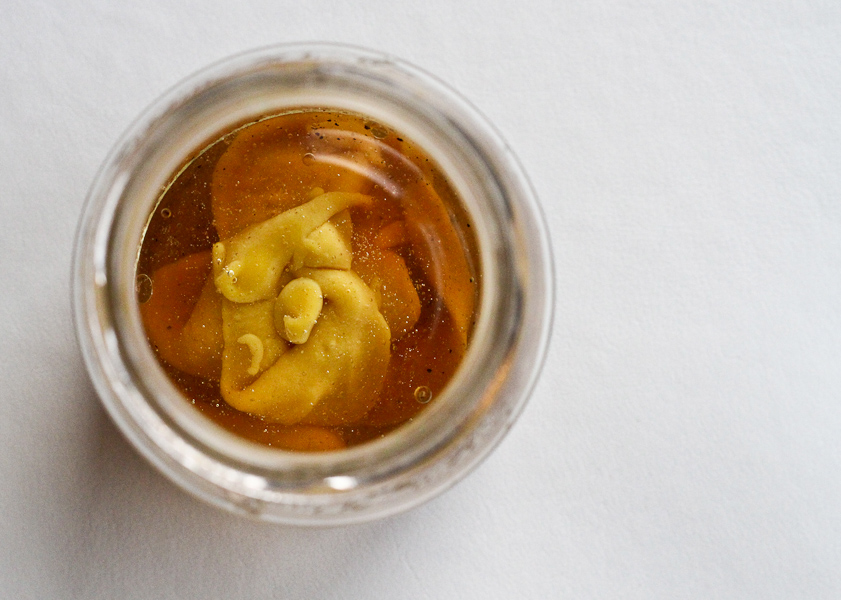
The dressing before I shook it. Not sure why, but it looked like a flower to me. I see beauty in weird places, I guess. OK, don’t stare at it! lol


Salad Dressing


I almost omitted the tuna when I saw how attractive the salad looked. Way to go tomatoes!


Tossed salad!


So here was my turning point. Do I add the Tuna? Or have it on its own, this gorgeous salad.


Fennel, Romaine, Cucumbers & Tomatoes


I added the dressing to the salad, followed by the tuna.


Spicy Thai Tuna and Fennel Salad


I feel much better about all that eating during Easter. Much better.


~Lyn

read more

Related Posts

Share This

Quinoa Pasta with Roasted Zucchini and Cheese

Mar 26, 2012 by

Last nights dinner was so very interesting to me. I knew I had to roast some zucchini that was begging to be eaten. I also wanted to try the Quinoa Pasta that I bought a few days ago. I had never seen it before and I wanted give it a try so I could see how it tasted and how the texture compared to regular pasta. And there’s the cheese. I’ve always had a thing for cheese. It’s not something that I will give up easily, so bear with me as you see cheese all over this recipe. I kept it subtle. Promise 🙂 …Although I purposely avoided measuring how much cheese I used…

It was tasty, meatless and certainly something I intend to have again. My hubby thought it was quite nice. I don’t think I could convince him to have this without some meat though. He is far from a part-time vegetarian, like what I’m on the path to becoming. Baby steps. As I read more about it and find recipes that suit my palate, I’m truly considering reducing my meat consumption.

Here’s the finished result…another freestyle recipe 🙂


Quinoa Fusilli Pasta & Roasted Zucchini with Parmesan Flakes


As for the Quinoa Pasta, I realized that it takes a little longer to cook than regular pasta. The package suggested 13-15 minutes – spot on. Anything before that, it’s still rather firm. Also, you have to eat it right away. I decided to toss it in a cheese mixture in order to make it moist on the outside. I don’t do dry pasta very well. A cream sauce or olive oil is pretty much mandatory. The texture of quinoa pasta is just fine and I would not have noticed the difference at all. I will buy it again, if I come across it. Its Quinoa. I can’t go wrong. Right?


Quinoa Pasta - Gluten Free, Corn Free


5.0 from 3 reviews
Quinoa Pasta with Roasted Zucchini and Cheese
 
Prep time
Cook time
Total time
 
An easy meal perfect for any day of the week. Quinoa, Zucchini and Cheese.
Author:
Recipe type: Main
Serves: 4
Ingredients
  • 2 Medium Zucchini
  • Salt & Pepper
  • Olive Oil for bushing the Zucchini
  • Few Tbsp grated or shredded Parmesan Cheese
  • 8 oz Quinoa Pasta (or whatever pasta you prefer)
  • 1 Scallion, sliced thinly
  • 2 Tbsp Cream Cheese (I used reduced fat)
  • 2 Tbsp Chicken Broth
Instructions
  1. Preheat oven to 425F
  2. In a medium pot, bring about 4 cups of salted water to a boil
  3. Add quinoa pasta and cook according to package directions
  4. Cut ends off zucchini then slice each into 6 wedges
  5. Grease a rimmed baking tray with olive oil
  6. Place zucchini, skin side down on the greased baking tray
  7. Brush with olive oil then sprinkle with salt, pepper and parmesan
  8. Roast for 20 minutes, until the zucchini is golden brown
  9. In a medium pot, add cream cheese, chicken broth and parmesan
  10. On medium heat, still until melted and combined
  11. When pasta is ready, drain and add to cream cheese mixture
  12. Toss to lightly coat
  13. Add salt and pepper to taste
  14. Cut zucchini into chunks and stir in or serve on the side
  15. Garnish with Scallion and parmesan flakes
Notes
I used Quinoa Pasta but you can use any pasta for this recipe


I got my son to eat the zucchini. I had to basically emphasize that it had cheese on it. Not that there was too much, but he needs encouragement to eat “new” veggies. He has lettuce, green beans and broccoli under his belt. He needs to conquer zucchini so I can move on to another vegetable. Goodness rules in my house!


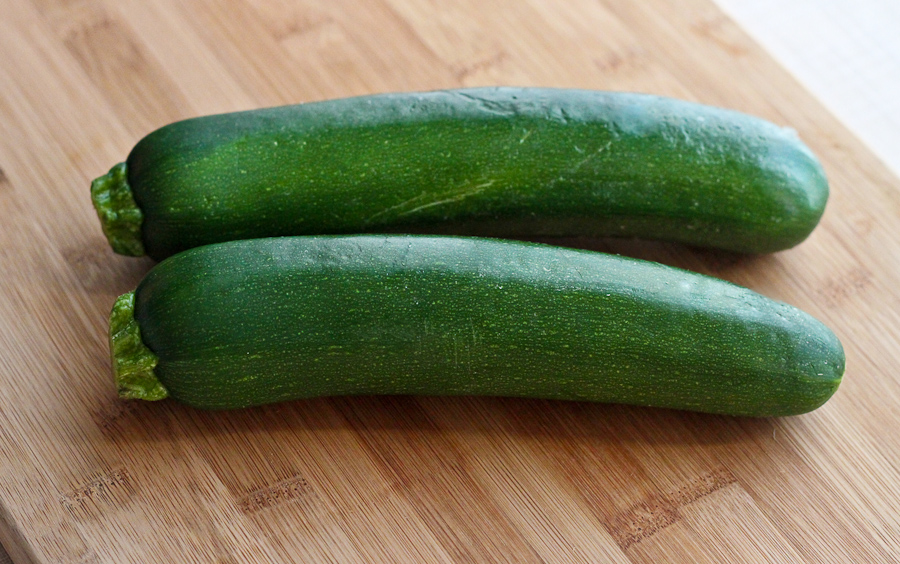
Zucchini


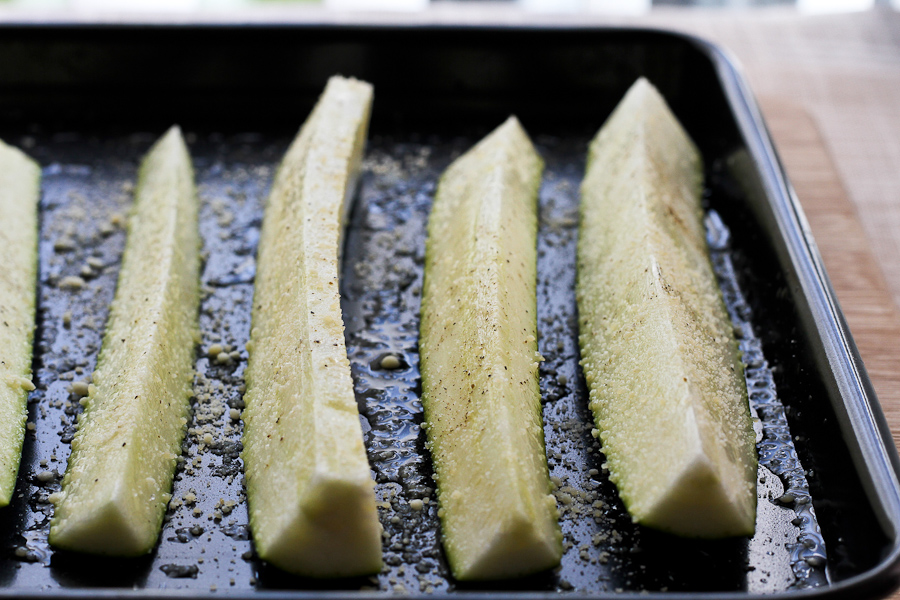
Zucchini, Sliced, oiled, sprinkled with salt, pepper and parmesan cheese


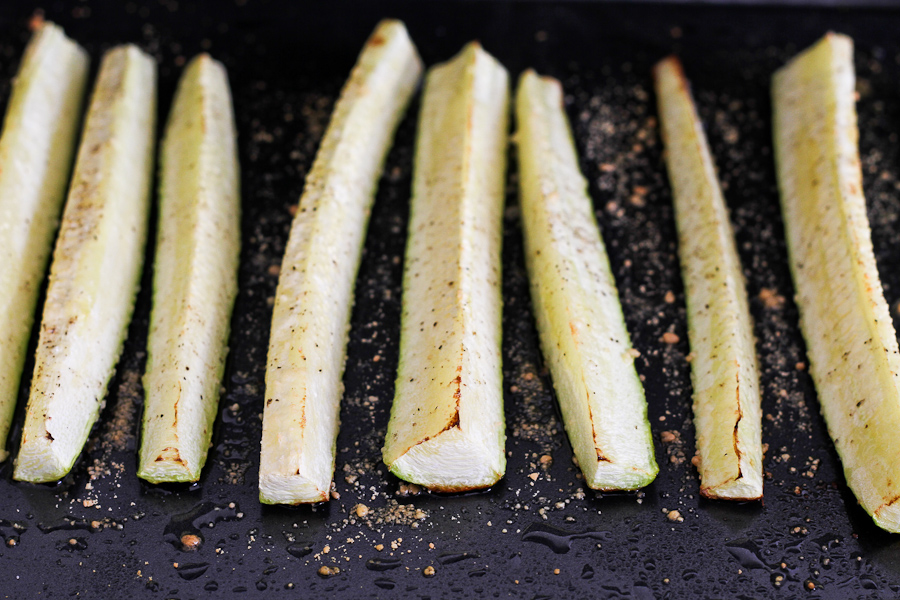
Roasted zucchini, fresh out the oven. So fragrant. Even the crispy parmesan stuck to the tray looked good to me.


Zucchini, roasted for 20 minutes


Roasted Zucchini with Parmesan Cheese


Zucchini never tasted so good.


Dinner is served - Quinoa Pasta & Parmesan Roasted Zucchini


What a way to start the week. Happy Monday friends!

~Lyn


read more
Hoisin Salmon with Quinoa & Zucchini

Jan 25, 2012 by

Salmon and Quinoa were first paired together by me about 4 years ago when I started to make serious changes to my diet. My chiropractor at the time, taught me about the benefits of whole grains and consuming less sugar. I was determined to learn more about how food can help heal the body. It took me a while to get used to eating certain vegetables that were fairly new to me. Zucchini was one of them. With benefits like – being a great source of vitamins A & C, folate, fibre and potassium, I had to find a way to LOVE this green goodness. Combining it with Quinoa, a grain I fell in love with immediately, seemed pretty practical 🙂

Simple. Healthy. Delicious.


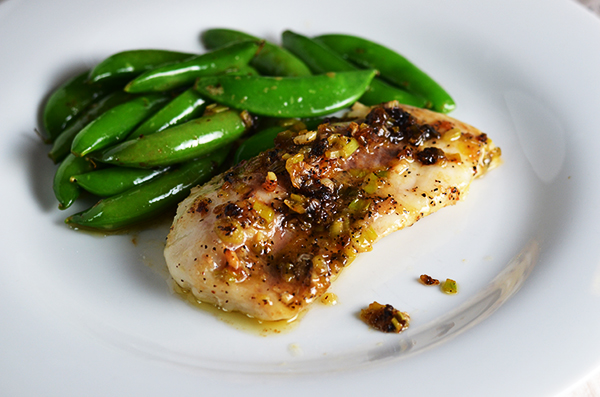
Hoisin Salmon with Quinoa & Zucchini


5.0 from 2 reviews
Hoisin Salmon with Quinoa & Zucchini
 
Prep time
Cook time
Total time
 
Salmon seasoned with hoisin sauce and served with Quinoa and zucchini
Author:
Recipe type: Main
Serves: 2
Ingredients
  • 2 pieces skinless, boneless, salmon steaks
  • salt & pepper
  • 4 Tbsp Hoisin Sauce
  • 1 Cup Quinoa, rinsed and drained
  • 2 Cups fat-free, reduced sodium Chicken Broth
  • 1 Medium zucchini cut up into ¼ inch pieces
  • 2 Tbsp Olive Oil
Instructions
  1. In a medium sauce pan, add chicken broth and quinoa. Bring to a boil, reduce heat and cover for about 10 minutes
  2. Add chopped zucchini, stir and cover for another 5 minutes or so until all the broth has been absorbed
  3. Season salmon steaks with salt and pepper
  4. using a brush or the back of a spoon, spread hoisin sauce on both sides of the salmon
  5. Add olive oil to a skillet and set heat to high
  6. Add salmon to the hot skillet, presentation side down first
  7. cook for about 6 minutes per side, or until cooked through. Remove from heat
  8. Remove quinoa from heat and fluff with a fork
  9. Serve and enjoy
Notes
Optional: Add sweet corn or diced sweet peppers to the quinoa in addition to or instead of using zucchini


I always say that eating healthy doesn’t have to be hard. Perhaps I say it often to remind myself. At the same time, I hope I am reminding others. I think this recipe is a perfect example. I started making this dish a few years ago and now I make so many variations of it, I can hardly keep track. Adding various vegetables in the quinoa mix is always a great idea. Diced Carrots, Sweet Peas, Sweet Corn, Sweet Potato, Butternut Squash, to name a few. All these things go nicely with quinoa.

I hope everyone is having a great week so far. Take good care 🙂


read more
Apple Crisp

Jan 9, 2012 by

For those that don’t know me, I have a deep love for my family. I suppose it only gets magnified knowing that I’m so far away from them. But it warms my heart whenever we do get a chance to talk and catch up with each other. I’m always so happy to help with any recipes or techniques should they inquire. Recently, my cousin called me with a question that was so simple, but somehow I didn’t have an answer for her. She had an apple and wanted to know if I had any recipes for a single apple. I looked for recipes for a while just to satisfy that desire to have a recipe for a single apple 🙂 Although I did not find exactly what I was looking for, I played around with the basic concept of apple crisp and came up with my own version. I did it quite a few times until my husband and I agreed that we had arrived at something special. So thanks to Kim, I’m able to share this recipe today.

I wanted to keep the ingredients as simple as possible and good for you too.


Royal Gala Apple


Whole Grain Oats


Apple Crisp Ingredients


5.0 from 2 reviews
Apple Crisp
 
Prep time
Cook time
Total time
 
A simple recipe for Apple Crisp
Author:
Recipe type: Dessert
Serves: 1
Ingredients
  • Apple Filling:
  • 1 Apple - Royal Gala (or a firm apple like Granny Smith)
  • 1 Tbsp Agave Nectar
  • 1 Tsp Lemon Juice
  • 1 Tsp Flour
  • Butter for greasing oven-proof bowl
  • Oats Topping:
  • 2 Tbsp Butter, softened
  • 1 Tbsp Flour
  • 1 Tbsp Brown Sugar
  • 1 Tsp Cinnamon Powder
  • 4 Tbsp Whole Oats
Instructions
  1. Peel the apple and cut into small chunks.
  2. Use butter and grease a small oven proof bowl (I used a16oz bowl, 5inches in diameter)
  3. In a separate bowl, mix apple, agave nectar, lemon juice and flour so that apple is fully coated
  4. Empty coated apple into prepared oven proof bowl
  5. In a small bowl, add softened butter, flour, sugar, cinnamon and oats
  6. Combine using a fork and then crumble with your fingers until all the ingredients are combined
  7. Spread oats mixture on top of the apple in the prepared bowl
  8. Bake in a 375F oven until nicely browned on top, about 25 minutes
  9. Remove from oven and allow to rest for about 10 minutes
  10. Enjoy by itself or with traditional vanilla ice-cream


Apple Filling with agave nectar, lemon juice and flour


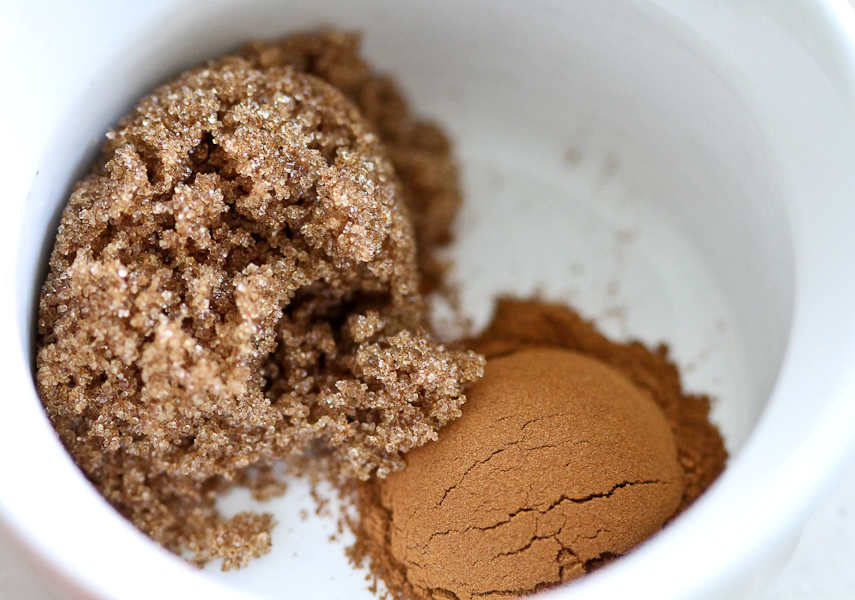
For some reason, Brown Sugar and Cinnamon look so beautiful together…


Brown Sugar and Cinnamon


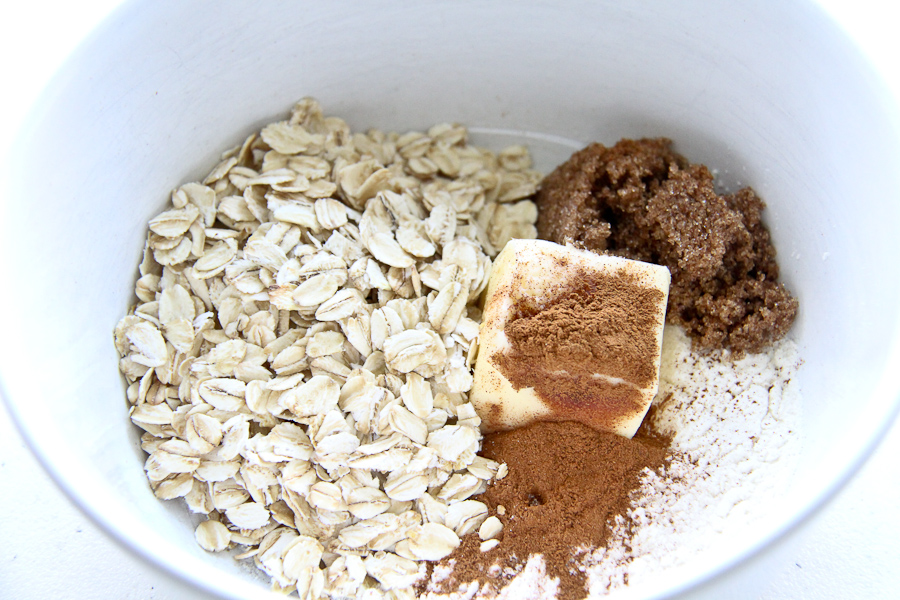
Ingredients for the Topping


Ready for the oven


The result is a very clean and lean Apple Crisp that I’ve enjoyed many times. Thanks, Kim!


Kim's Apple Crisp


Apple Crisp


Have a great week everyone!

~Lyn


Related Posts Plugin for WordPress, Blogger... read more
Post Popularity Graphing by Knowledge Ring