Easter Muffins

Apr 7, 2012 by

It has been a busy few days and I’m just getting to post this now. The kids were tugging at my legs to get at these little treats. I did not decorate all the muffins because, well… my kids do a really cute thing. They eat the frosting and then say “Mommy! I’m finished!” – and they literally leave the muffin behind. Seriously. If there is frosting, more than likely, they will not eat the cake. Maybe this little thing they do isn’t so cute after all.

I found this recipe in a little book called “100 Muffins From 1 Easy Recipe”. Chances are, I’m going to make every muffin in this book. What caught my eye about this recipe was not necessarily the theme, even though I was certainly looking for an Easter recipe. The cupcakes were adorable! Very simple, compared to what I’ve seen out there, but adorable none the less. I will be the first to say it out loud that I’m not the best at decorating cakes. I only just started a few months ago (barely). I’m teaching myself so that I can at least do something, if needed. Practice makes perfect. I did my best so here’s my first Easter Muffin 🙂


Easter Muffins - Chocolate Muffins with Nest Frosting and Mini Chocolate Eggs


5.0 from 2 reviews
Easter Muffins
 
Prep time
Cook time
Total time
 
A simple chocolate muffin, decorated with a simple frosting and mini chocolate eggs for Easter
Author:
Recipe type: Dessert
Serves: 12
Ingredients
  • 1½ Cups All Purpose Flour, Unbleached
  • ½ Cup Unsweetened Cocoa Powder
  • ⅛ Tsp Salt
  • ½ Cup Light Brown Sugar
  • 2 Large Eggs
  • 1 Cup Buttermilk
  • 6 Tbsp Sunflower Oil or Melted Butter (cooled)
  • Frosting:
  • 6 Tbsp Butter, Softened
  • 1½ Cups Confectioners' Sugar
  • 1 Tbsp Milk
  • A small pack of Sugar Coated Mini Chocolate Eggs, to decorate
Instructions
  1. Preheat oven to 400F
  2. Grease a 12 cup muffin pan or line with liners
  3. Sift together flour, cocoa, baking powder and salt into a large bowl
  4. Stir in the brown sugar
  5. Lightly beat eggs in a large measuring jug. Beat in the buttermilk and oil
  6. Make a well in the centre of the dry ingredients and pour in the buttermilk liquid
  7. Stir until just combined. Do not over mix
  8. Spoon the batter into the prepared muffin pan
  9. Bake for 20 minutes
  10. Allow muffins to cool in the pan for about 5 minutes then transfer to wire rack to cool completely
  11. Frosting:
  12. In a large bowl, beat the butter until light and fluffy
  13. Sift in the confectioners' sugar and beat together until smooth and creamy
  14. Lastly, beat in the milk
  15. When the muffins are cooled completely, put the frosting in a pastry bag with a large star tip attached and pipe a circle around the top of each muffin to form a "nest"
  16. Place chocolate eggs in the centre of each nest as decoration


I found these a few weeks ago. So perfect! I love that they are reusable and colourful too.


Silicone Muffin Liners


I wore my apron to do this. I’ve been powdered up by Cocoa one time too many! 🙂


Sifting the flour, cocoa, baking powder and salt


So this recipe called for only 1/2 Cup of brown sugar. The muffins were not overly sweet so I can see myself adding chocolate chips to this recipe in the future. No frosting needed, of course.


Fold in the brown sugar


Muffin batter ready for the oven


These came out quite wonky to me 🙂 The photograph in the book looked waaaaaay better than mine. A+ for effort though, right? 🙂


Easter Muffins, decorated


And then my Diva daughter decided that she did not want the cupcake with the mini chocolate eggs. Actually, she said that they were not in fact cupcakes because they had no sprinkles on them. She pointed to where I keep the sprinkles and requested that I make “real” cupcakes for her so that she could eat it.

Well excuse me.

The sprinkle princess had her way.


Cupcakes with Sprinkles


Take good care of you

~Lyn


read more

Red Velvet Cupcakes with Cream Cheese Frosting

Feb 14, 2012 by

Today is Valentine’s Day and although I don’t celebrate it, I thought it would be awesome if I made something I’ve been wanting to make for a while now. A friend of mine made it and it was really nice and ever since, I keep seeing the recipe everywhere. It was a sign! So I did it. And it was FABULOUS. I swear, I ate my cupcakes in moderation.  I will not swear the same for the frosting! My daughter ate the frosting and half a cupcake. She then refused to eat any other cupcake without frosting. Major meltdown if her frosting had no sprinkles.  MAJOR.


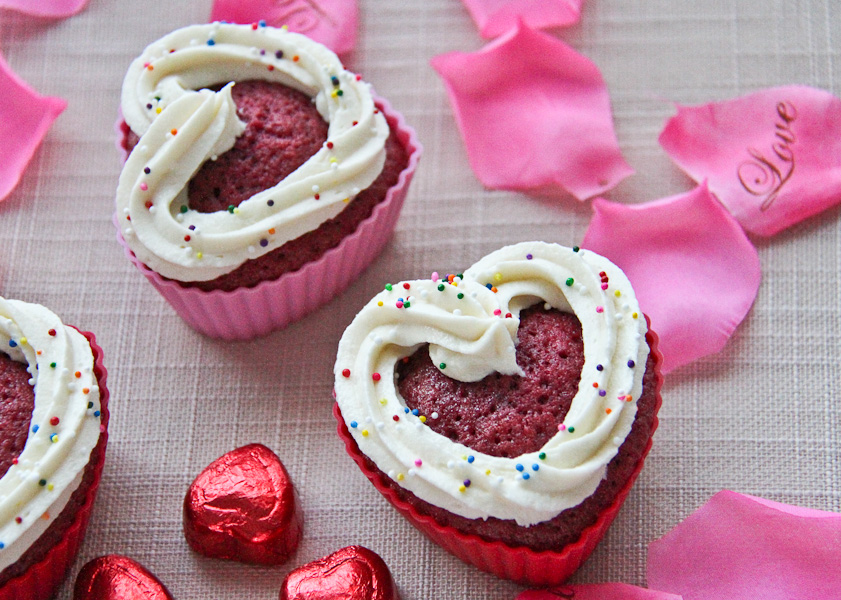
Red Velvet Cupcake with Cream Cheese Frosting


Red Velvet Cupcake with Cream Cheese Frosting


I’ll say this now – I will likely make these Red Velvet darlings once per year. Or maybe on a REALLY special occasion. No more than that. Perhaps this will be my Valentine’s Day treat for the family. I guess it’s better than nothing 🙂 It tastes great but oh my, could we use a bit more oil? Sugar? Please? I’m sure there’s a “light” version out there somewhere in cyberland. I’ll come across it eventually.

A general warning…don’t wear white or a light coloured shirt while making this recipe. Don’t say I didn’t tell you. I really ought to invest in an apron 🙂


Here’s the recipe and a few photographs. Cupcakes are awesome models.


5.0 from 2 reviews
Red Velvet Cupcakes with Cream Cheese Frosting
 
Prep time
Cook time
Total time
 
Red Velvet Cupcakes with Cream Cheese Frosting - a treat for any special occasion
Author:
Recipe type: Dessert
Ingredients
  • 2½ Cups Cake Flour
  • 1½ Cups Sugar
  • 1 Tsp Baking Soda
  • 1 Tbsp Cocoa Powder
  • 1 Tsp Salt
  • 2 Large Eggs
  • 1½ Cups Vegetable Oil
  • 1 Cup Buttermilk (I used 1%)
  • 2 Tbsp Liquid Red Food Coloring
  • 1 Tsp Vanilla Extract
  • 1 Tsp White Vinegar
  • Cream Cheese Frosting:
  • 8 oz Cream Cheese (low-fat)
  • 5 Tbsp Unsalted Butter, at room temperature
  • 2 Tsp Vanilla Extract
  • 2 Cups Confectioners Sugar
  • 2 Tsp Lemon Juice, freshly squeezed
Instructions
  1. Preheat oven to 350F
  2. Prepare cupcake liners (Paper or Silicone)
  3. In a medium bowl, add flour, sugar, baking soda, cocoa powder and salt. Combine with a whisk.
  4. In a large bowl, add eggs, vegetable oil, buttermilk, red food coloring, sugar and vanilla. Combine with a hand-held mixer (or standing mixer if you have one)
  5. Gradually add dry ingredients into the wet, mix until smooth consistency is achieved
  6. Add batter into prepared cupcake liners
  7. Bake for 18 minutes, rotating half way through
  8. If a toothpick or sharp knife comes out clean after insertion, allow cupcakes to cool
  9. For the frosting, combine cream cheese and butter with a mixer until smooth
  10. Add Vanilla Extract, mix to combine
  11. Gradually add the confectioners' sugar and mix until combined and smooth.
  12. Lastly, add the lemon juice and give it one last mix to combine
  13. Put frosting in the refrigerator for about 10 minutes
  14. When cupcakes are completely cooled, add frosting
Notes
This recipe yields 24 cupcakes

This recipe was adapted from Annie’s Eats.


Silicone Hearts


Filling the Silicone Hearts


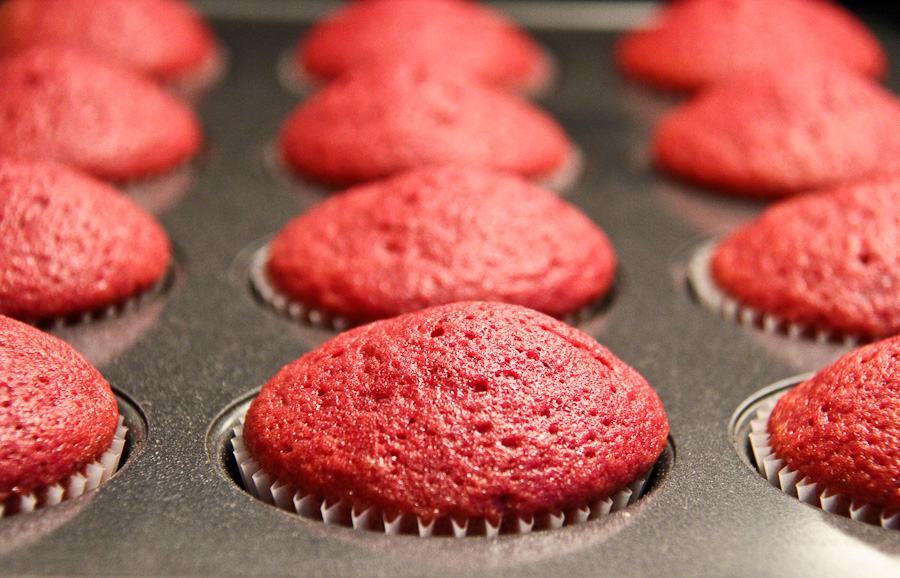
Cupcakes are ready!


These are ready too...


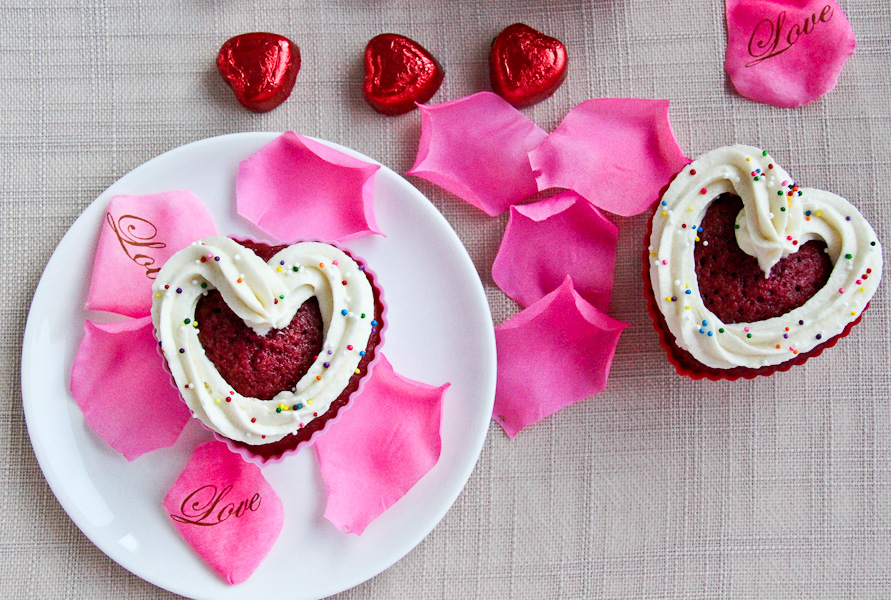
Red Velvet Heart Shaped Cupcakes with Cream Cheese Frosting


Red Velvet Cupcakes with Cream Cheese Frosting


Naked Red Velvet Cupcake


Uber moist Red Velvet Cupcake


So anyway, I had a great time photographing my cupcakes. Like my silicone hearts? Beats the reusable cupcake liners! There were only 12 in a pack so I used 12 paper liners also. Fact: The cream cheese frosting was the star of the show. It’s just so GOOD!


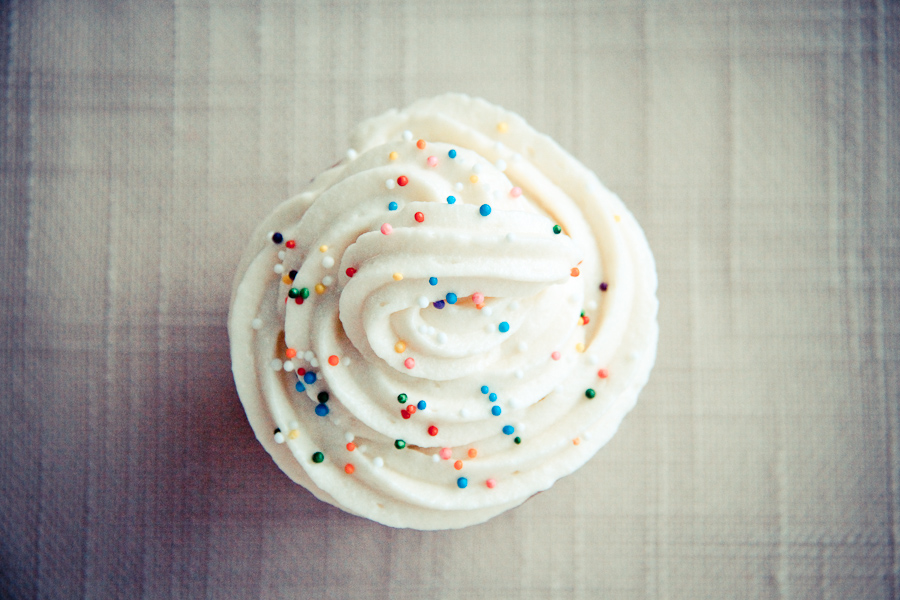
The GOODNESS of Cream Cheese Frosting


I won’t be doing much romancing today – no more than the usual (wink). But I’m sure I’ll be watching some romantic comedy or the other on television tonight with the husband. If you celebrate Valentine’s Day, have a good one. If you don’t celebrate, have a good one!


~Lyn

Related Posts Plugin for WordPress, Blogger... read more
Post Popularity Graphing by Knowledge Ring